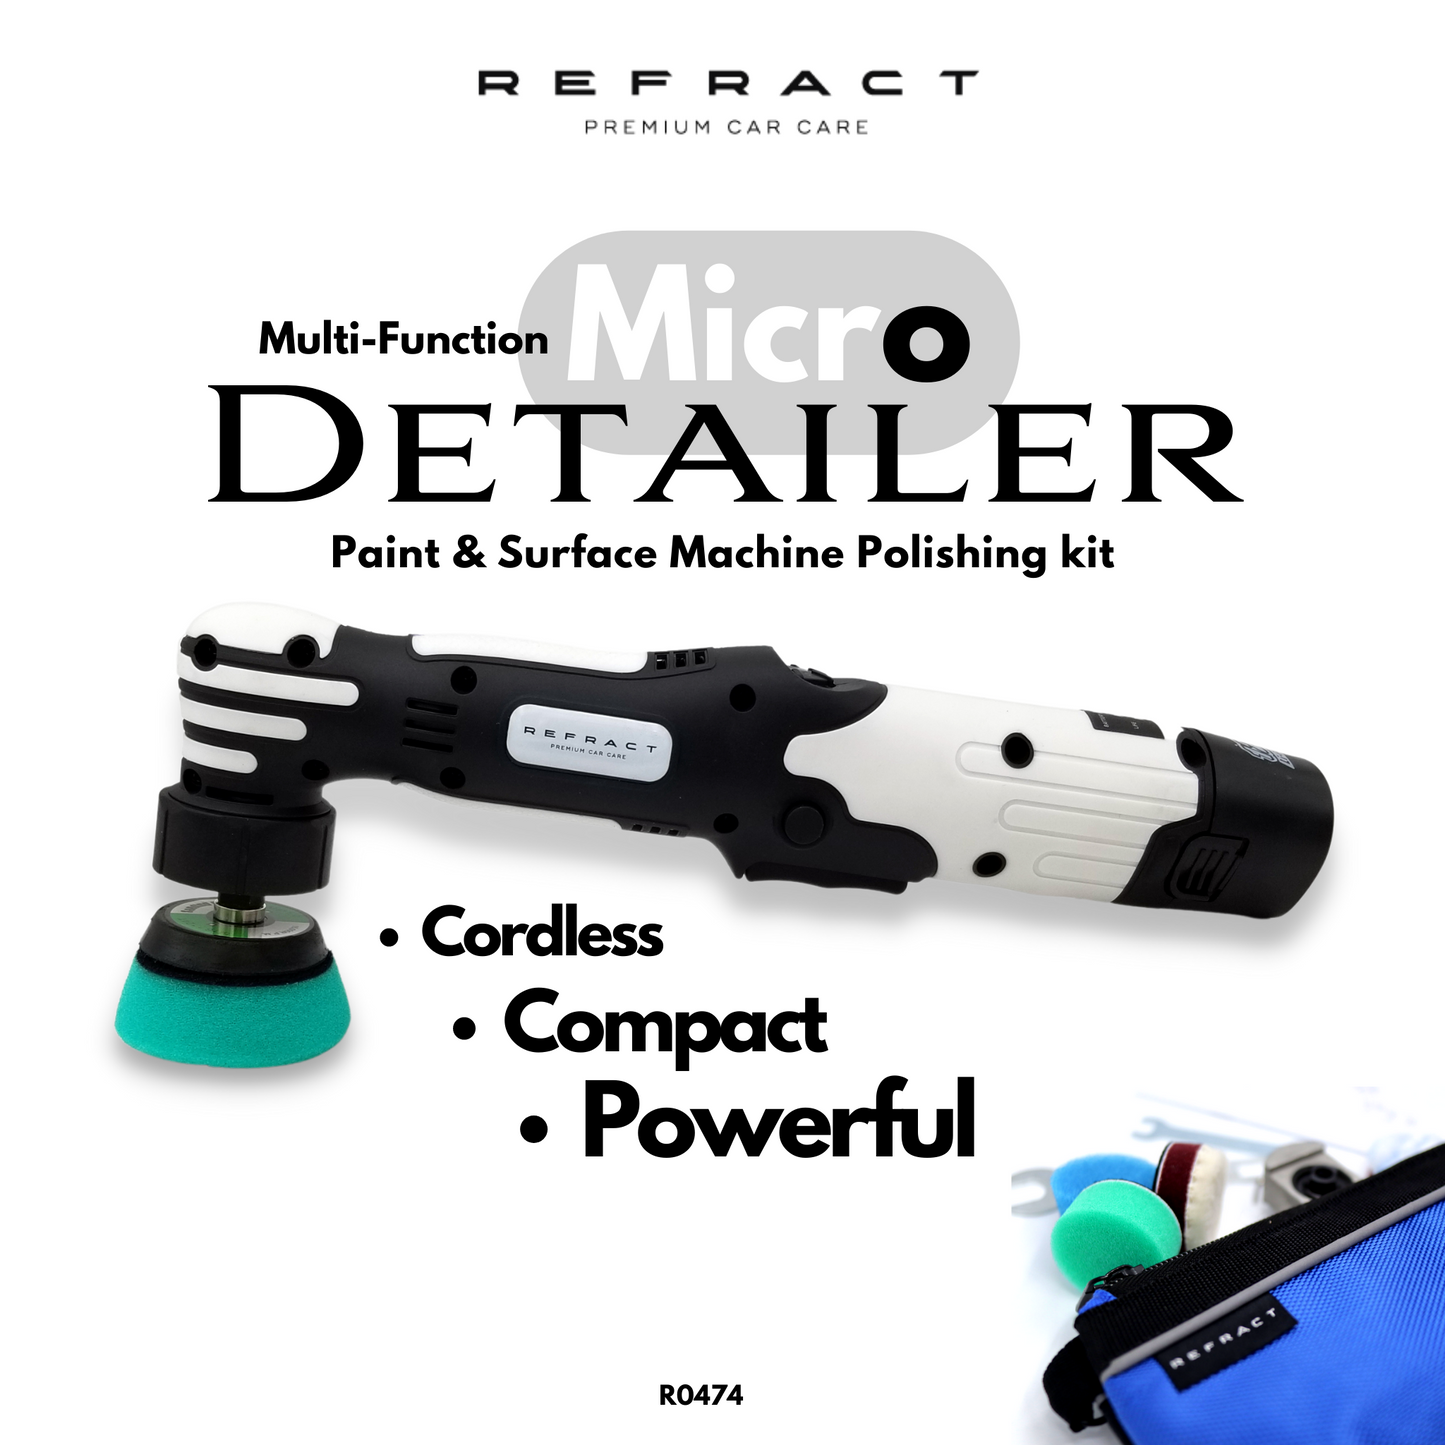
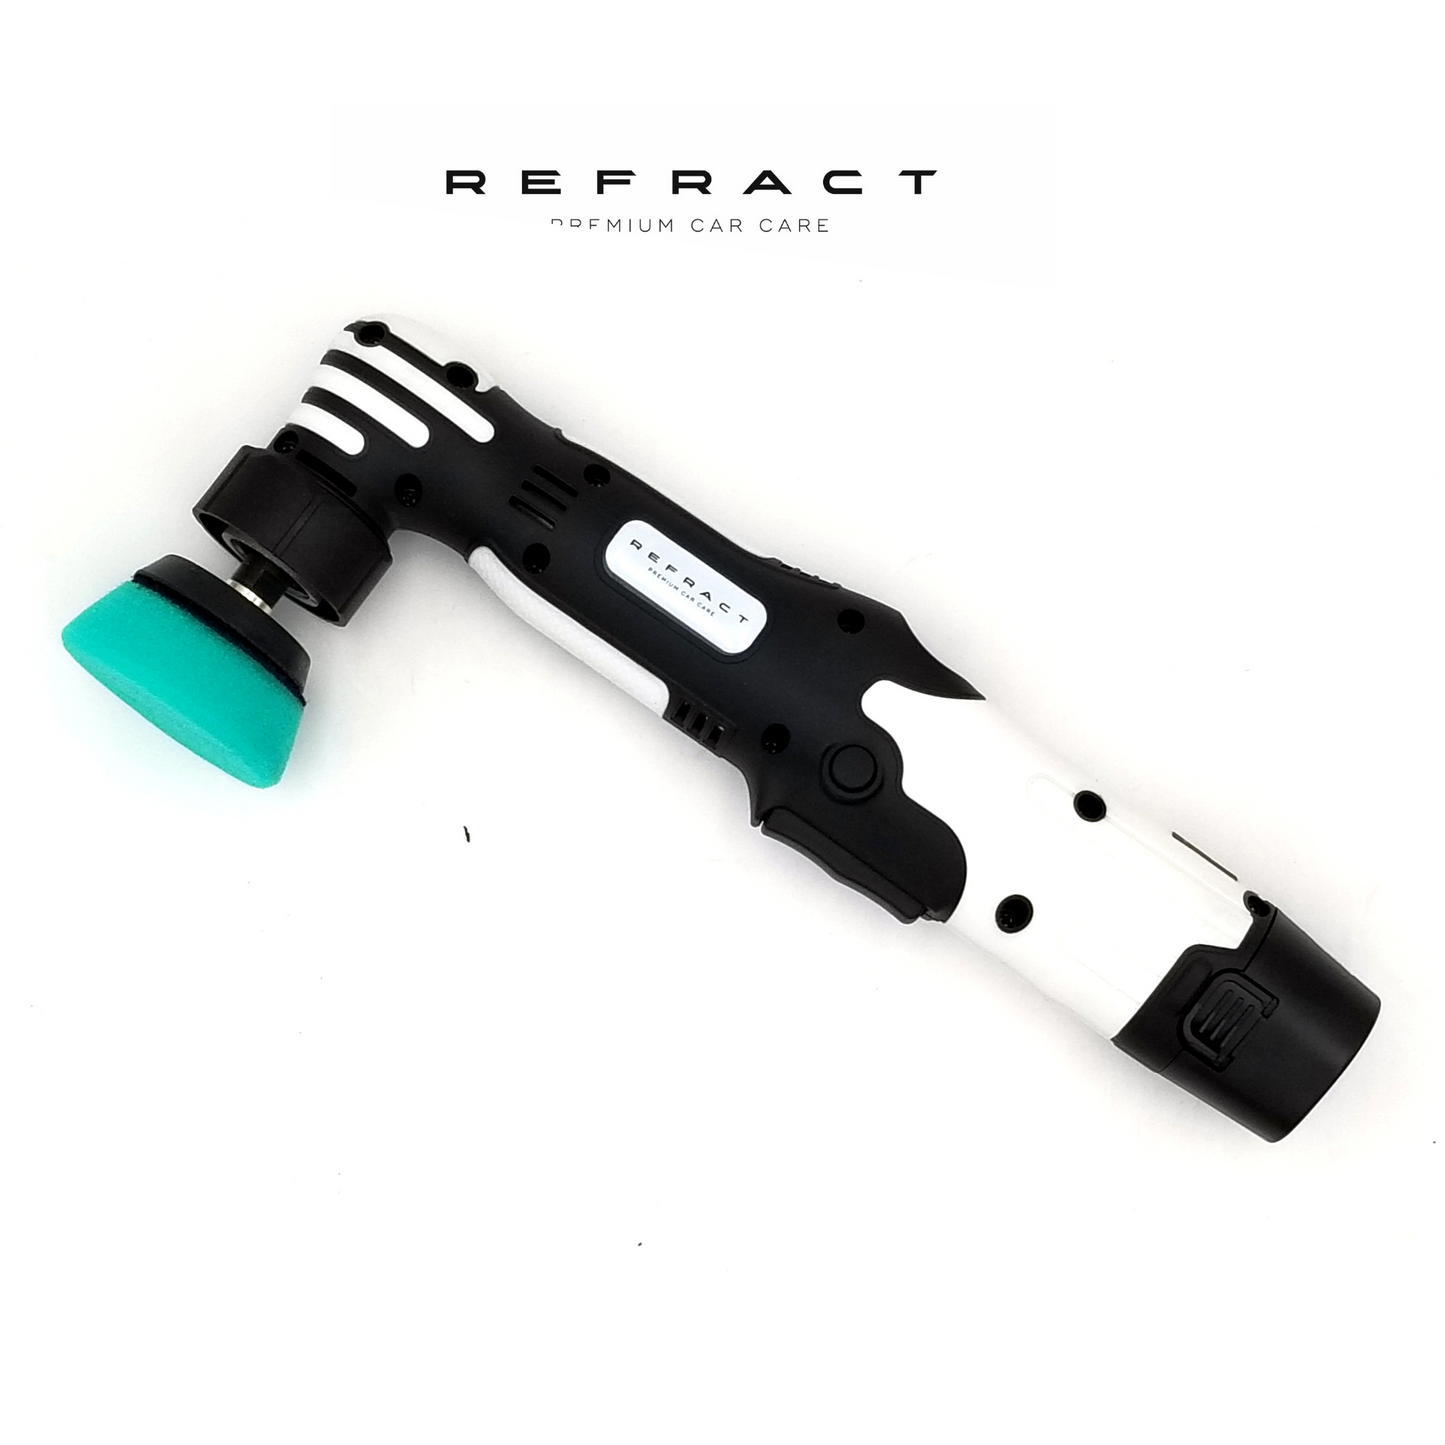
Micro Detailer Nano Polisher Kit - Multi Function
Micro Detailer Nano Polisher Kit - Multi Function
Couldn't load pickup availability
Micro Detailer Nano Polisher Kit - Multi Function
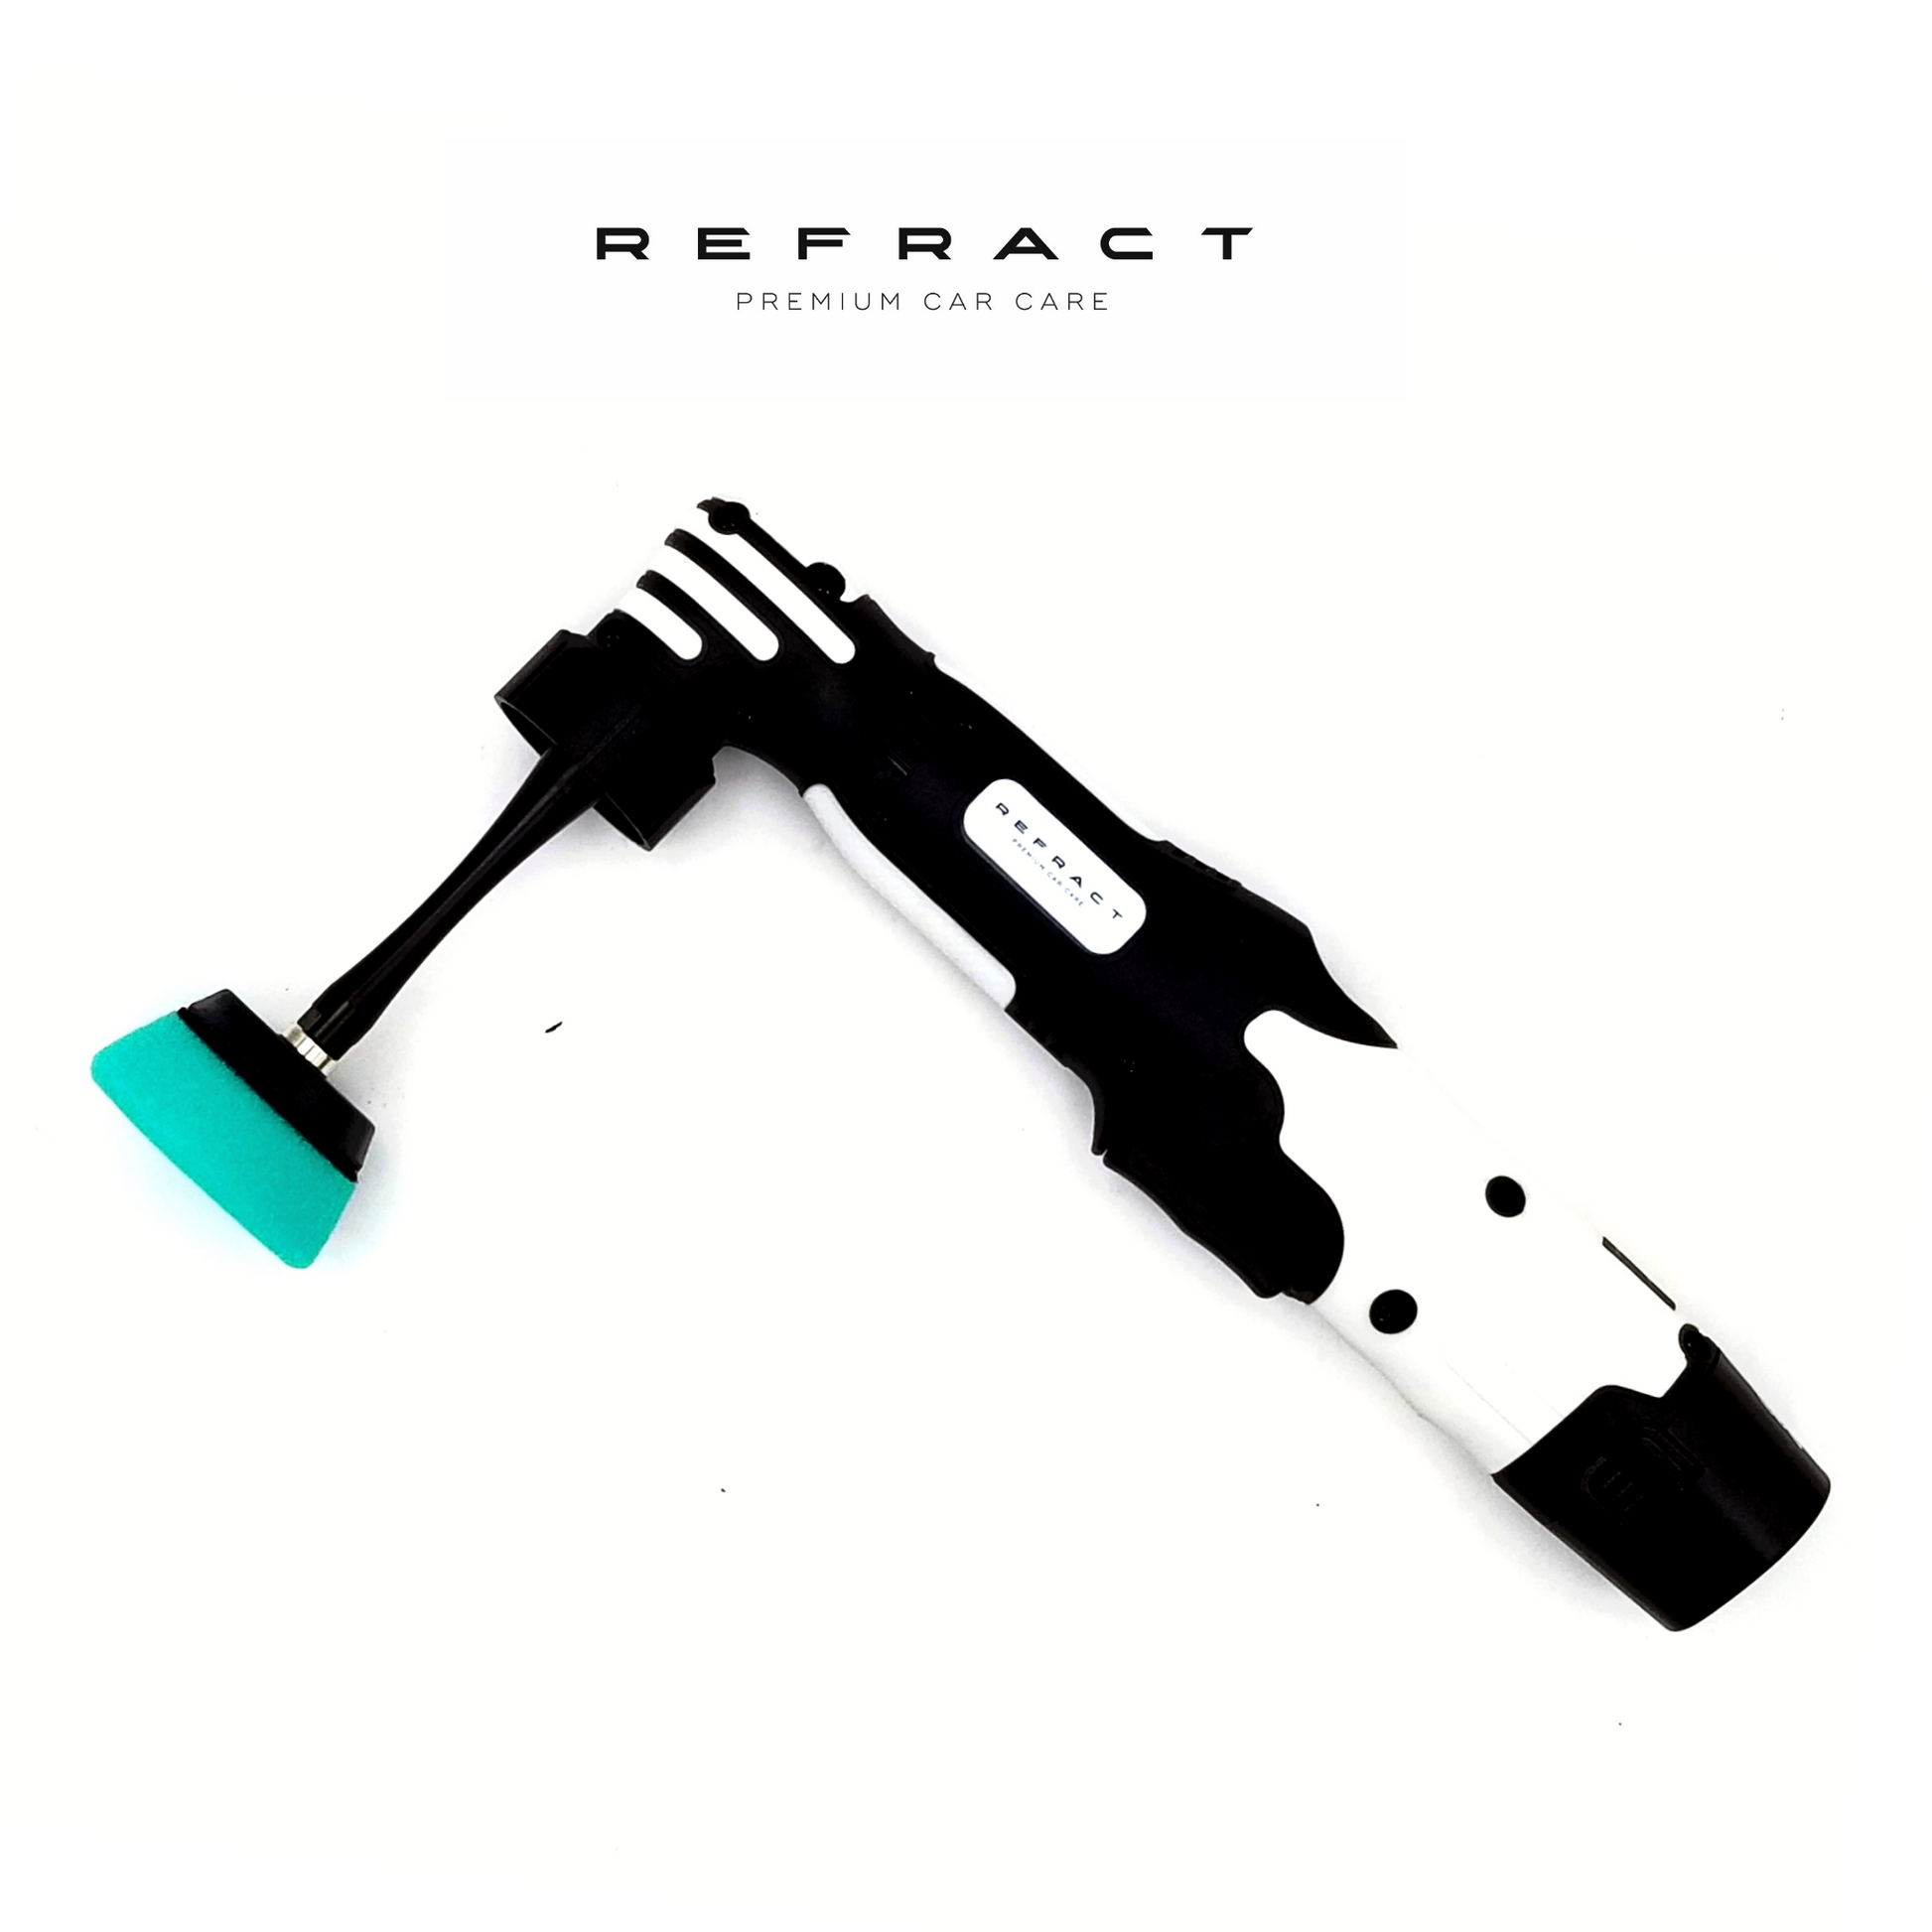
Dual Action & Rotary
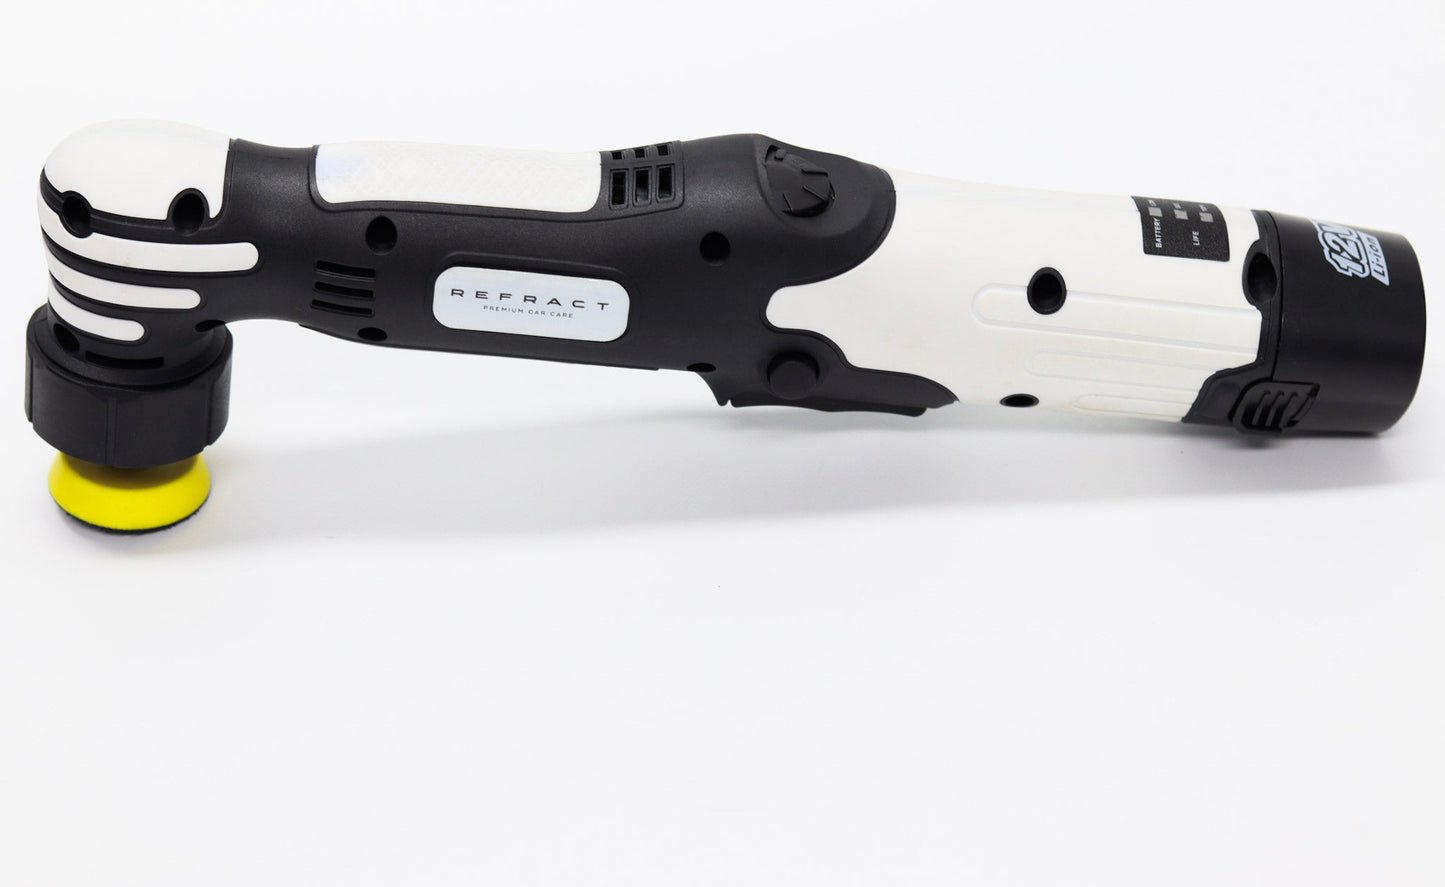
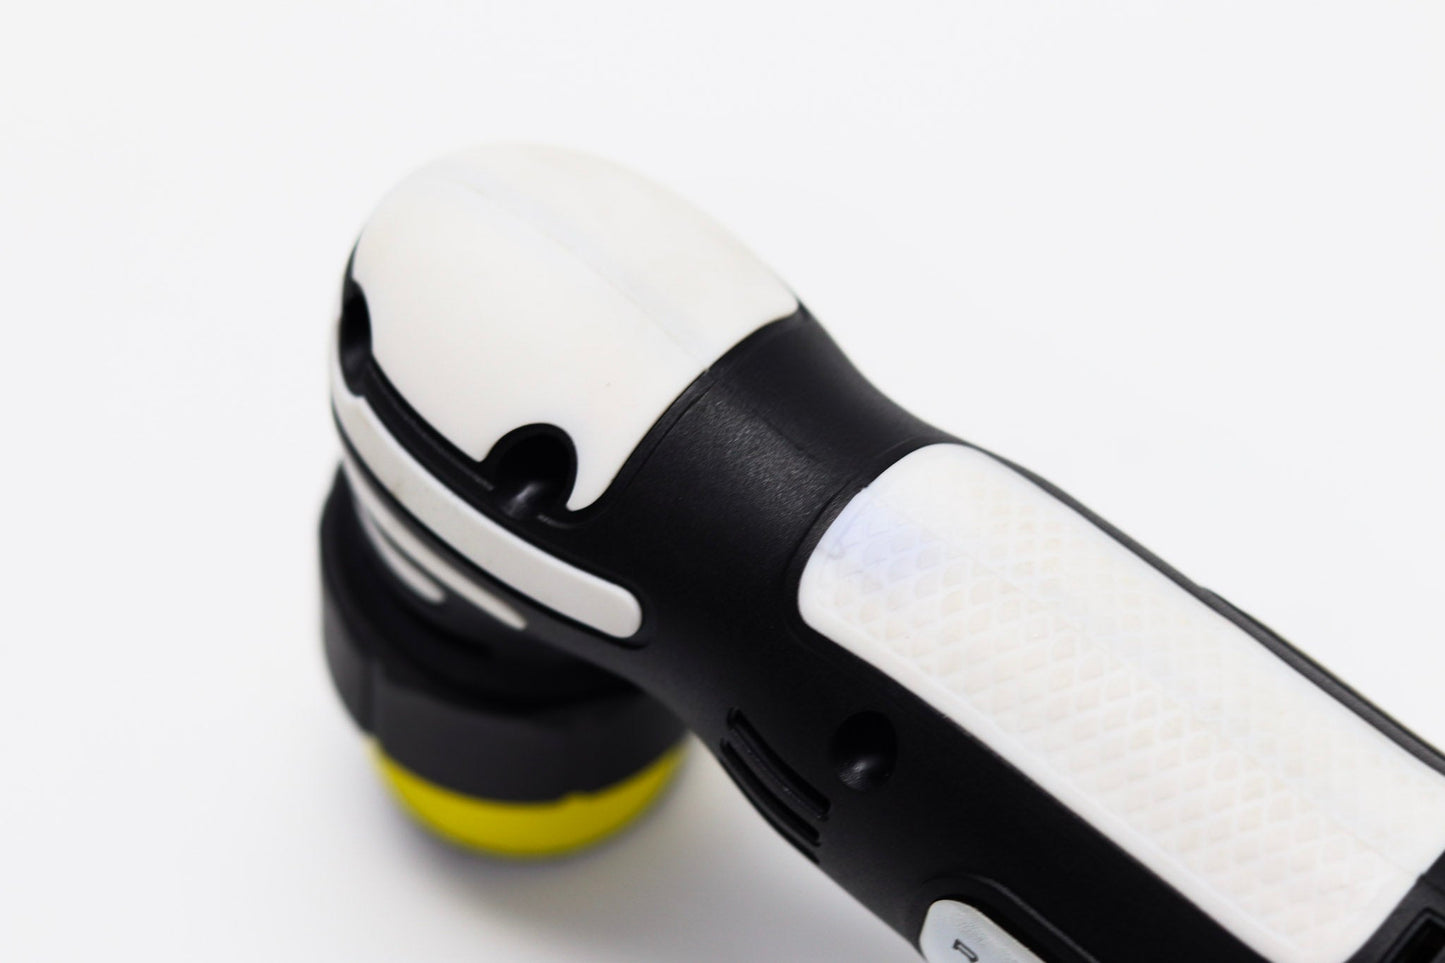
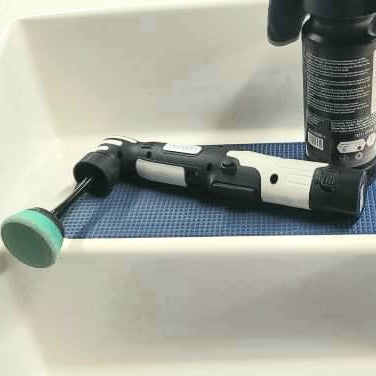
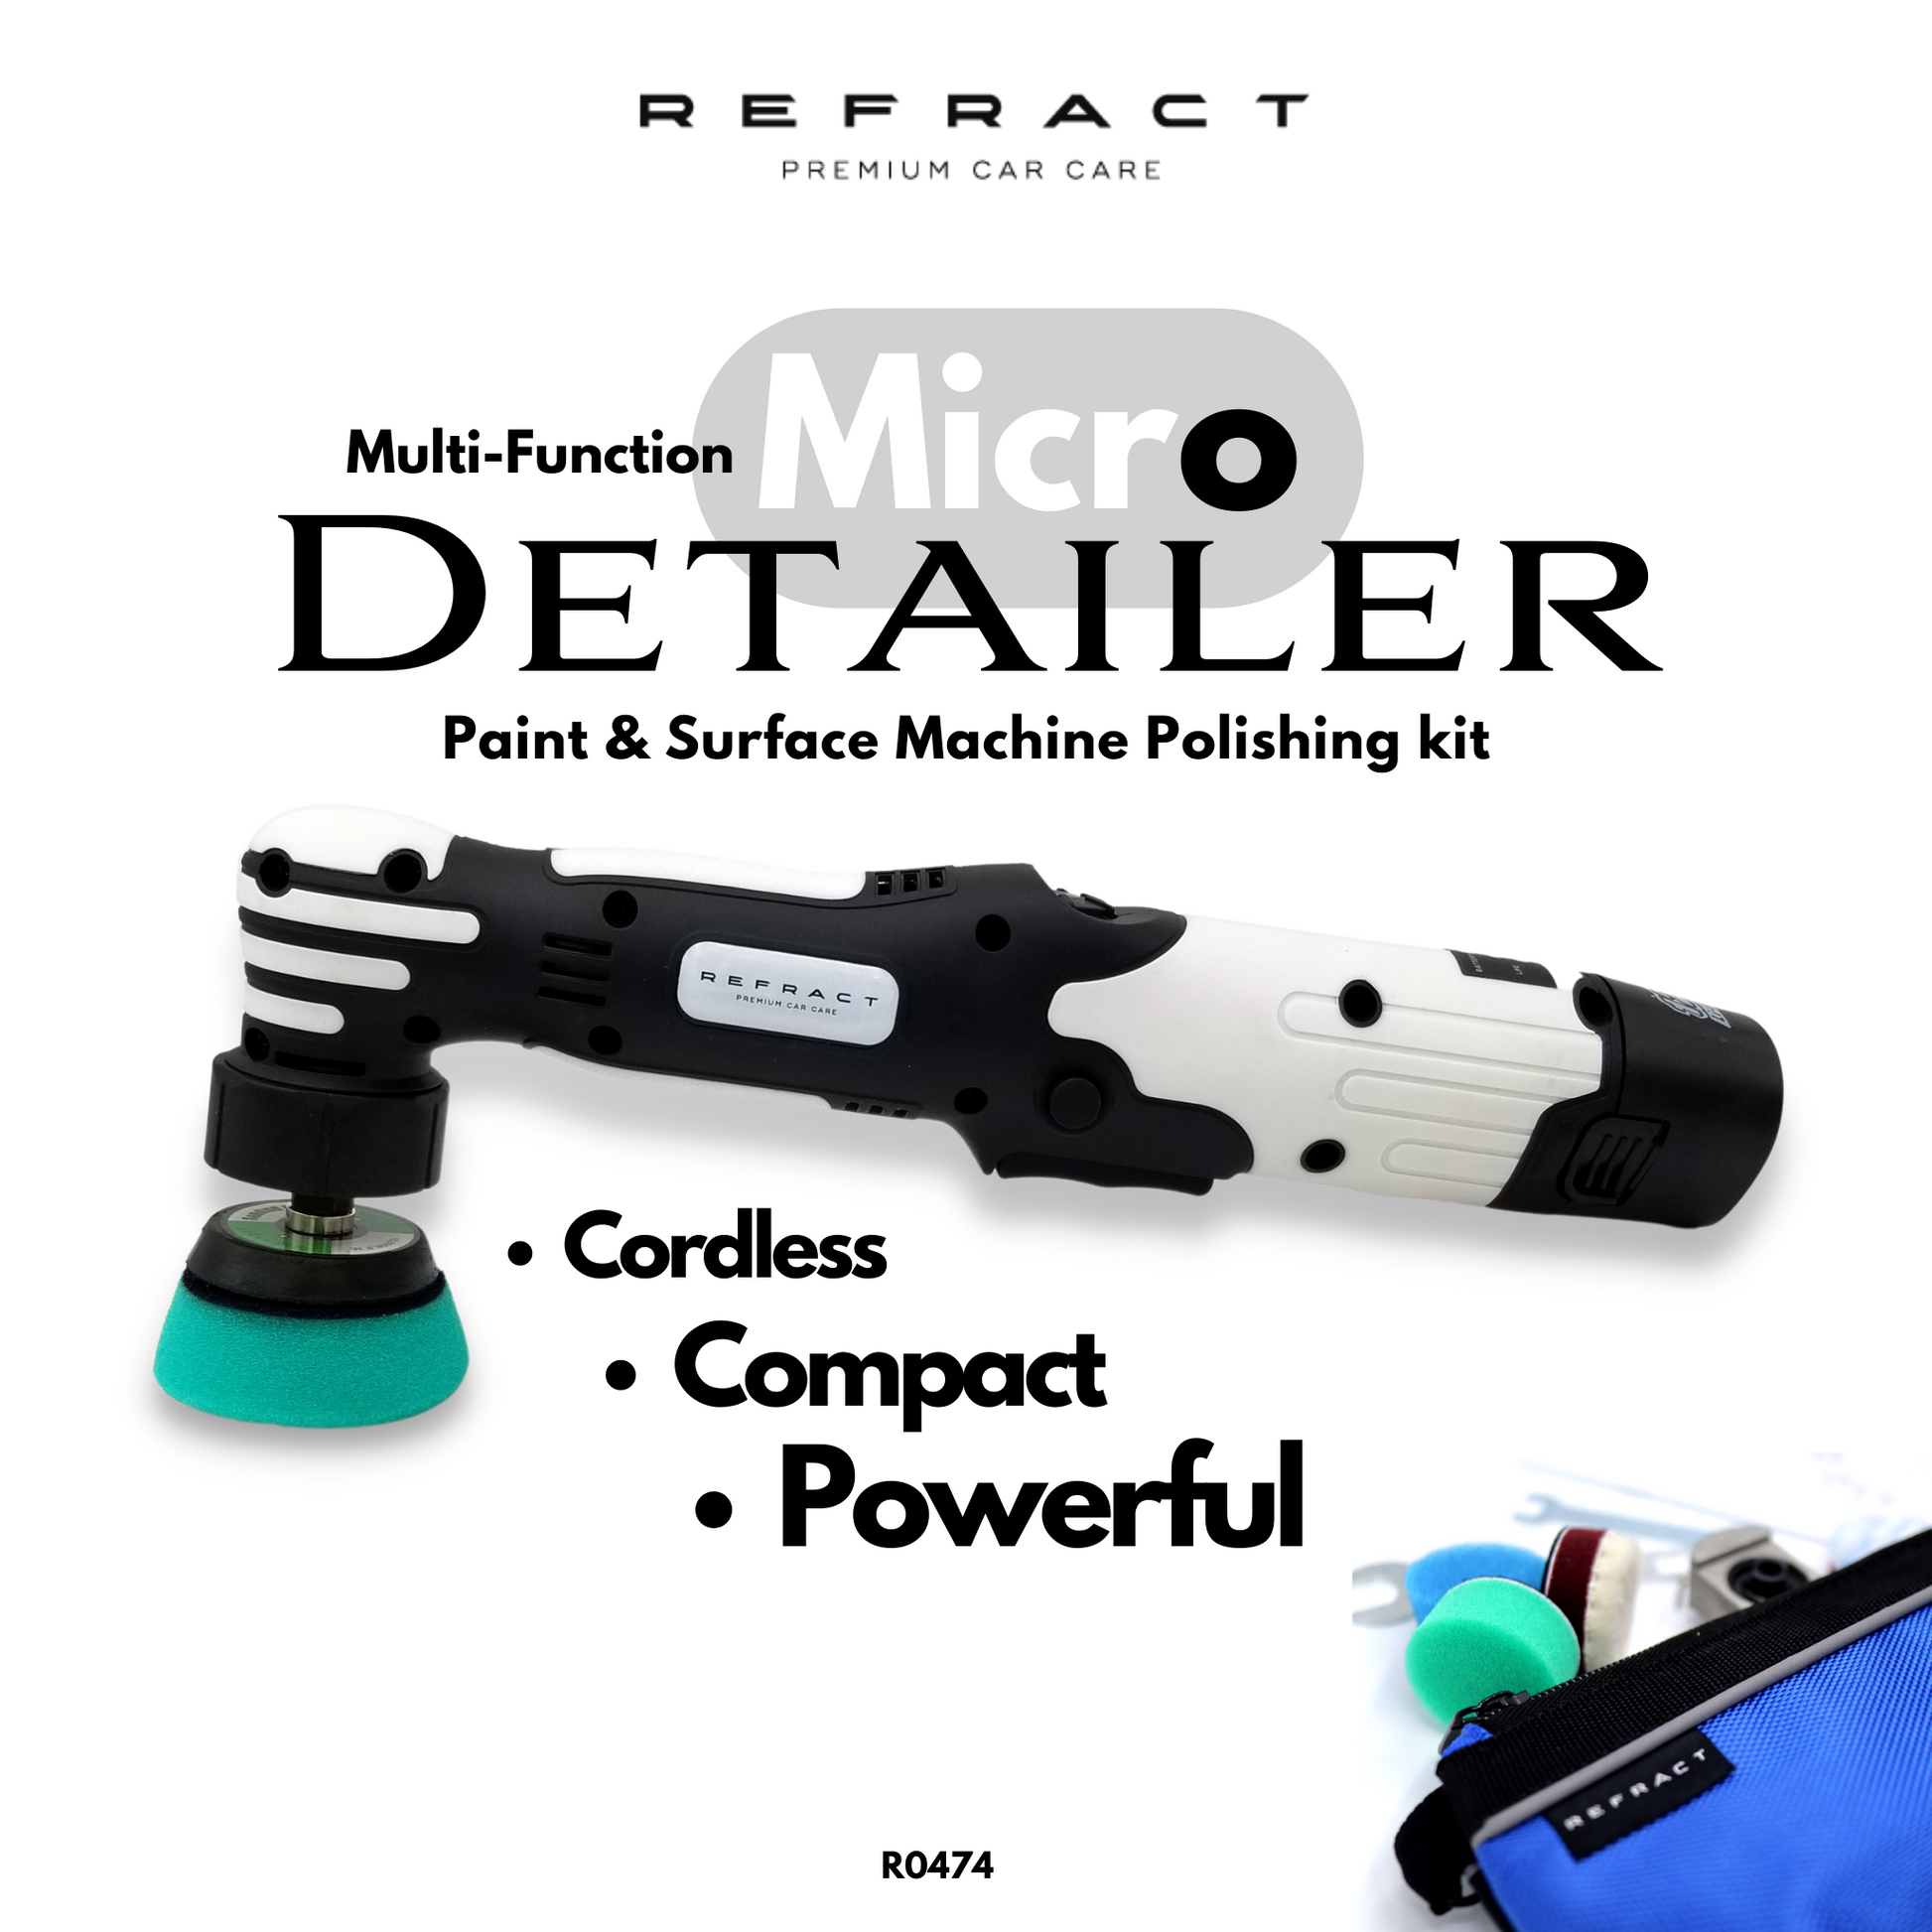
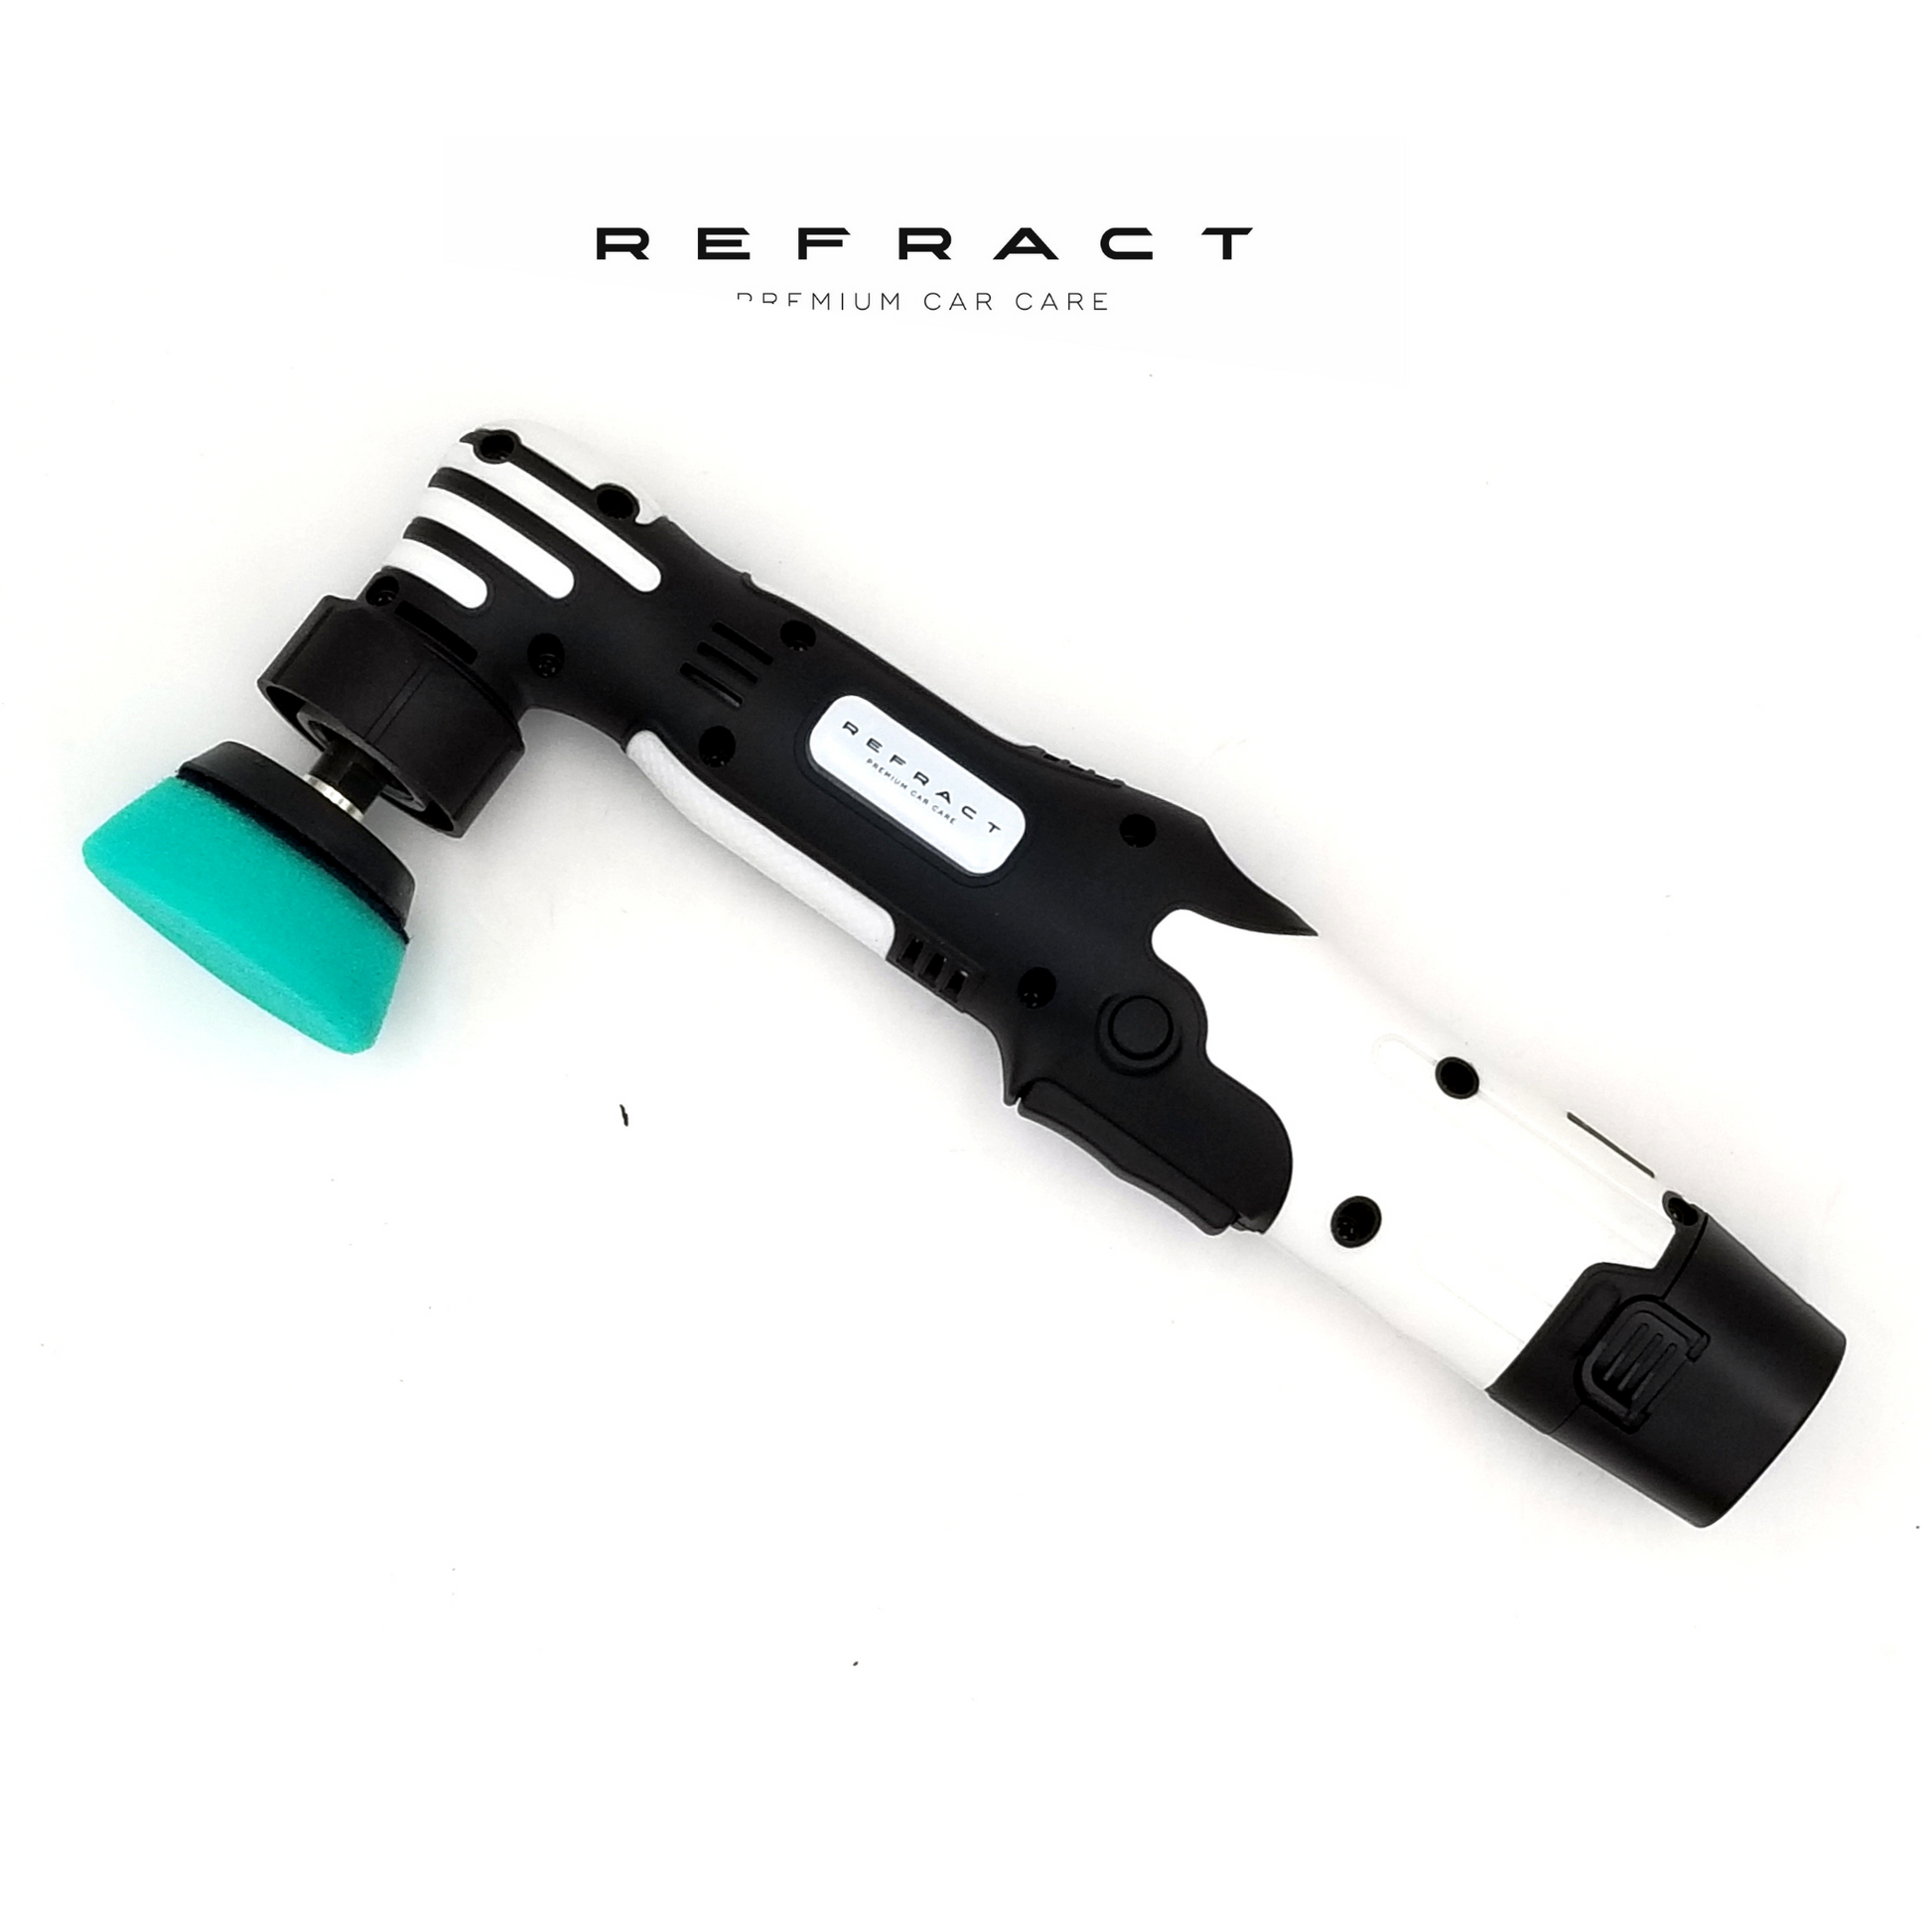
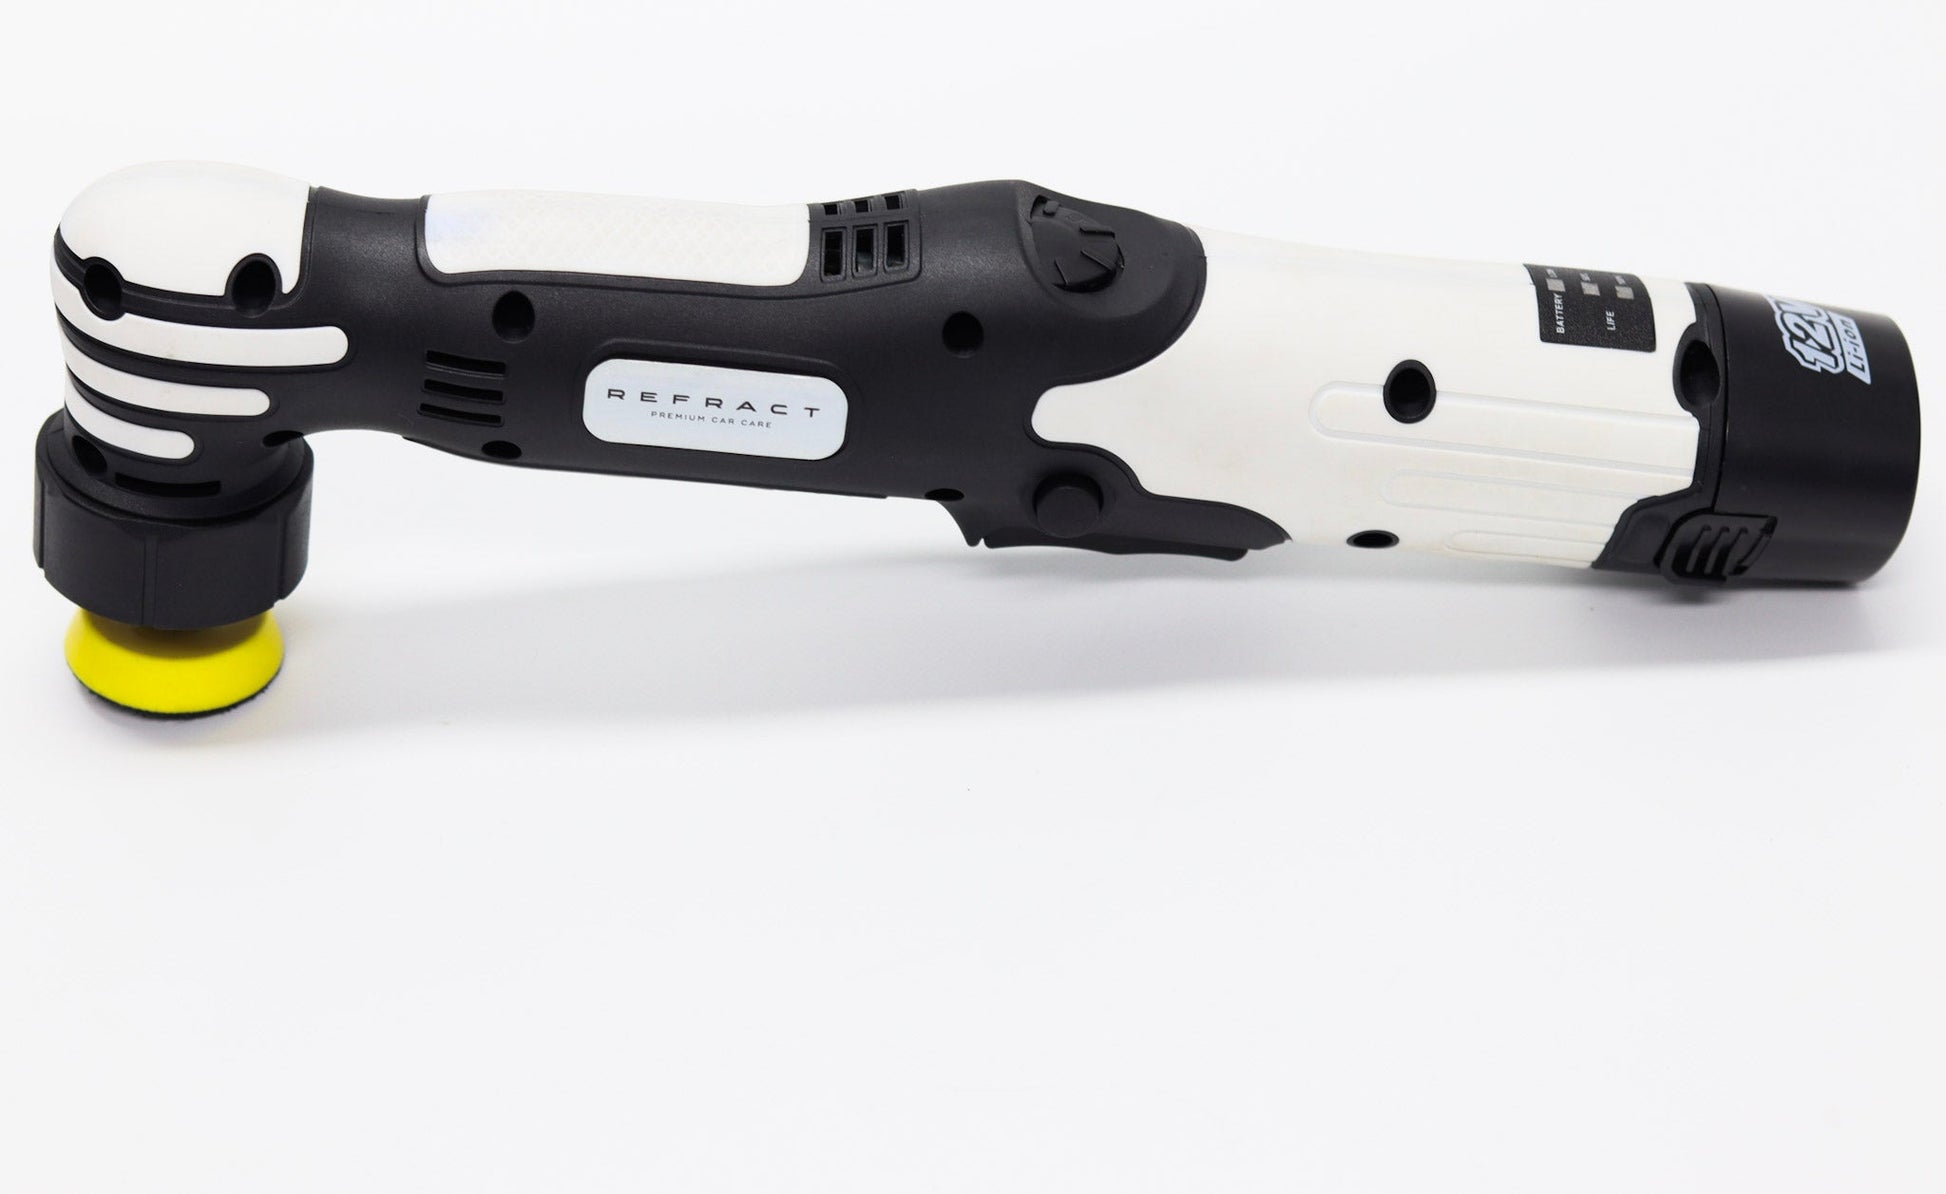
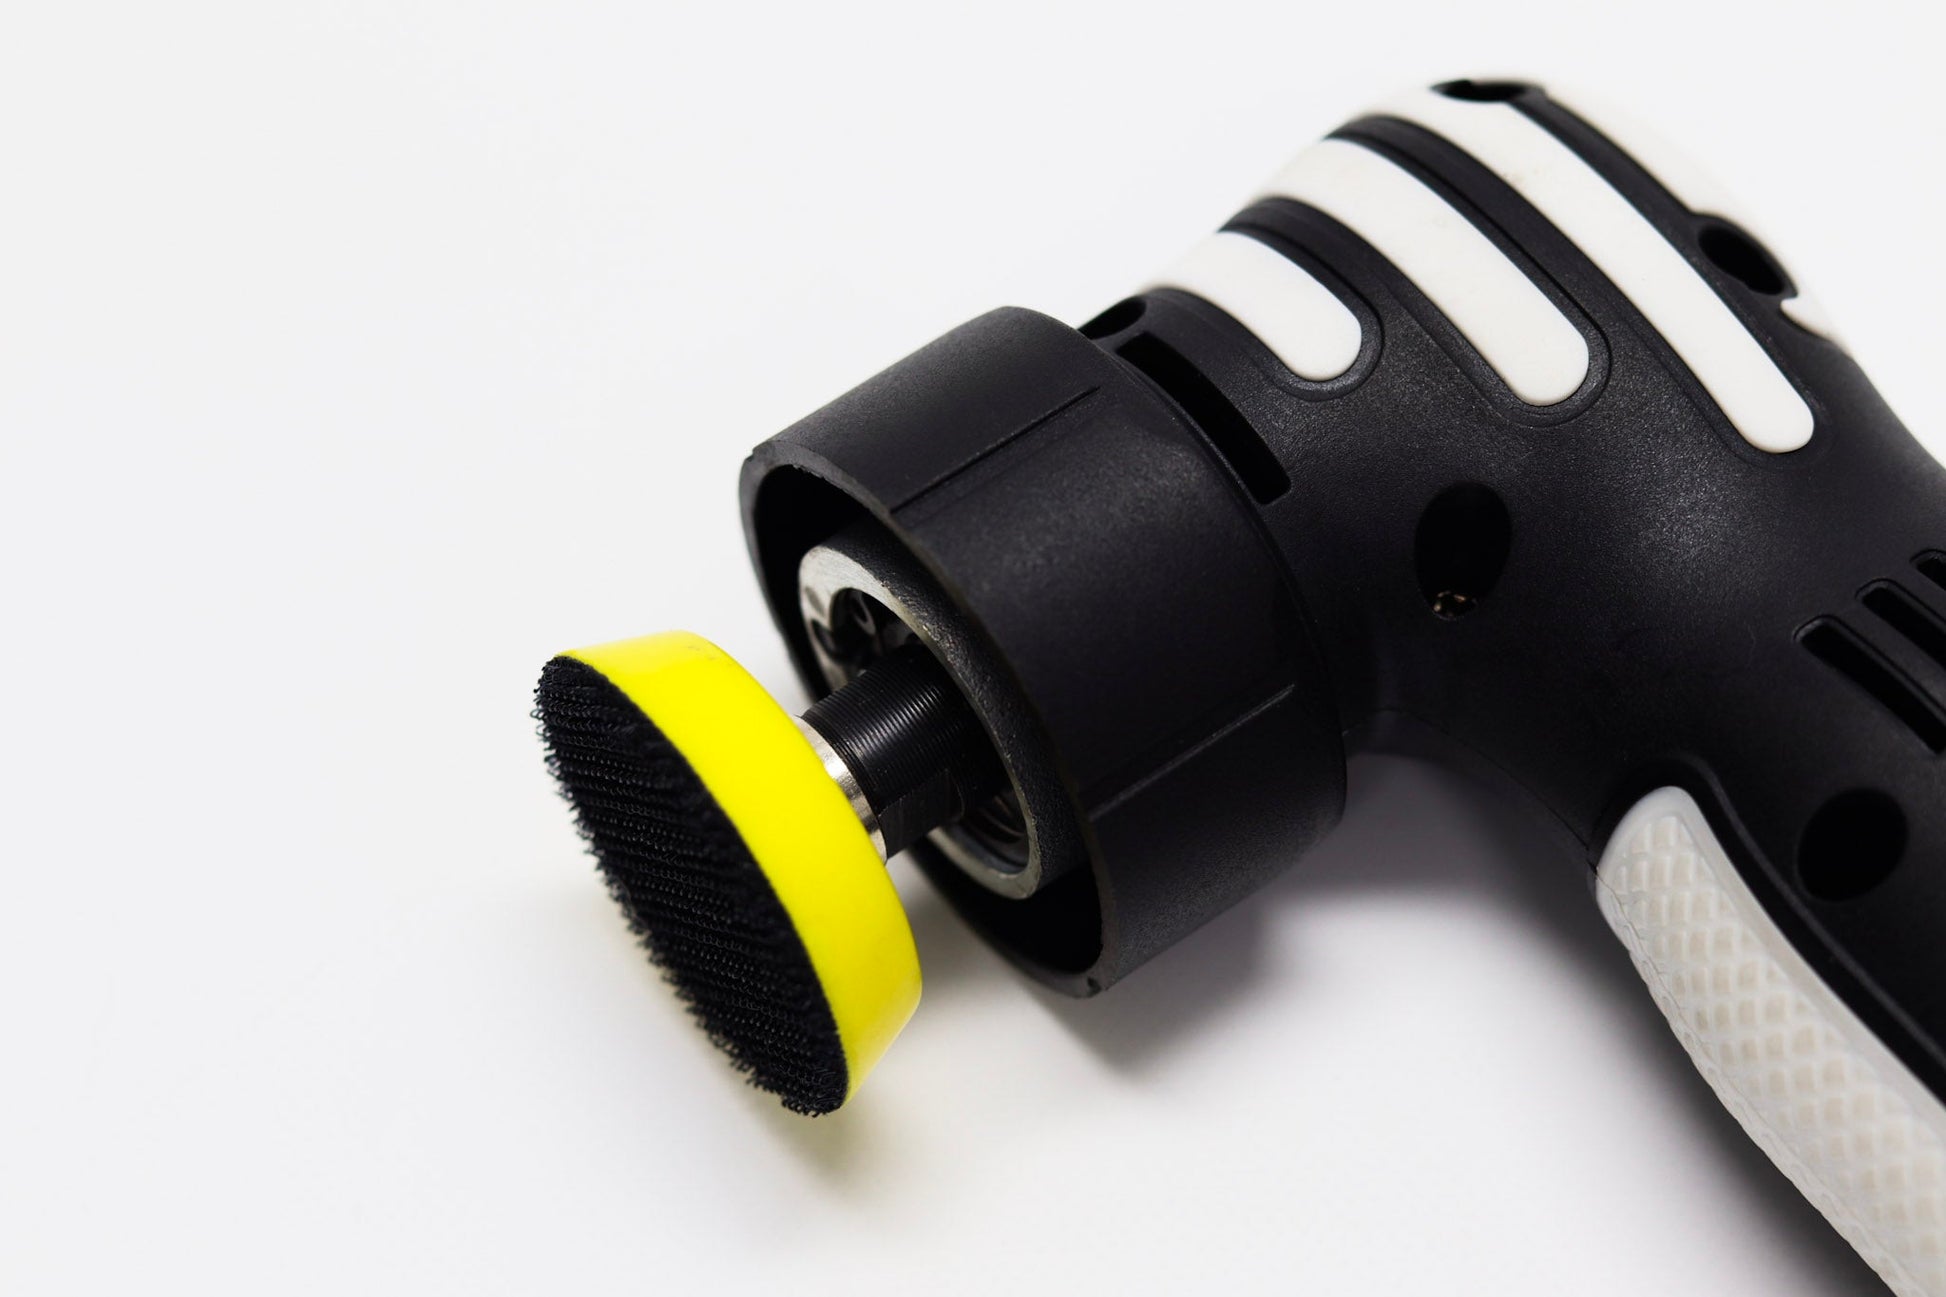
The perfect little polishing tool to remove defects off exterior paint & interior surfaces.
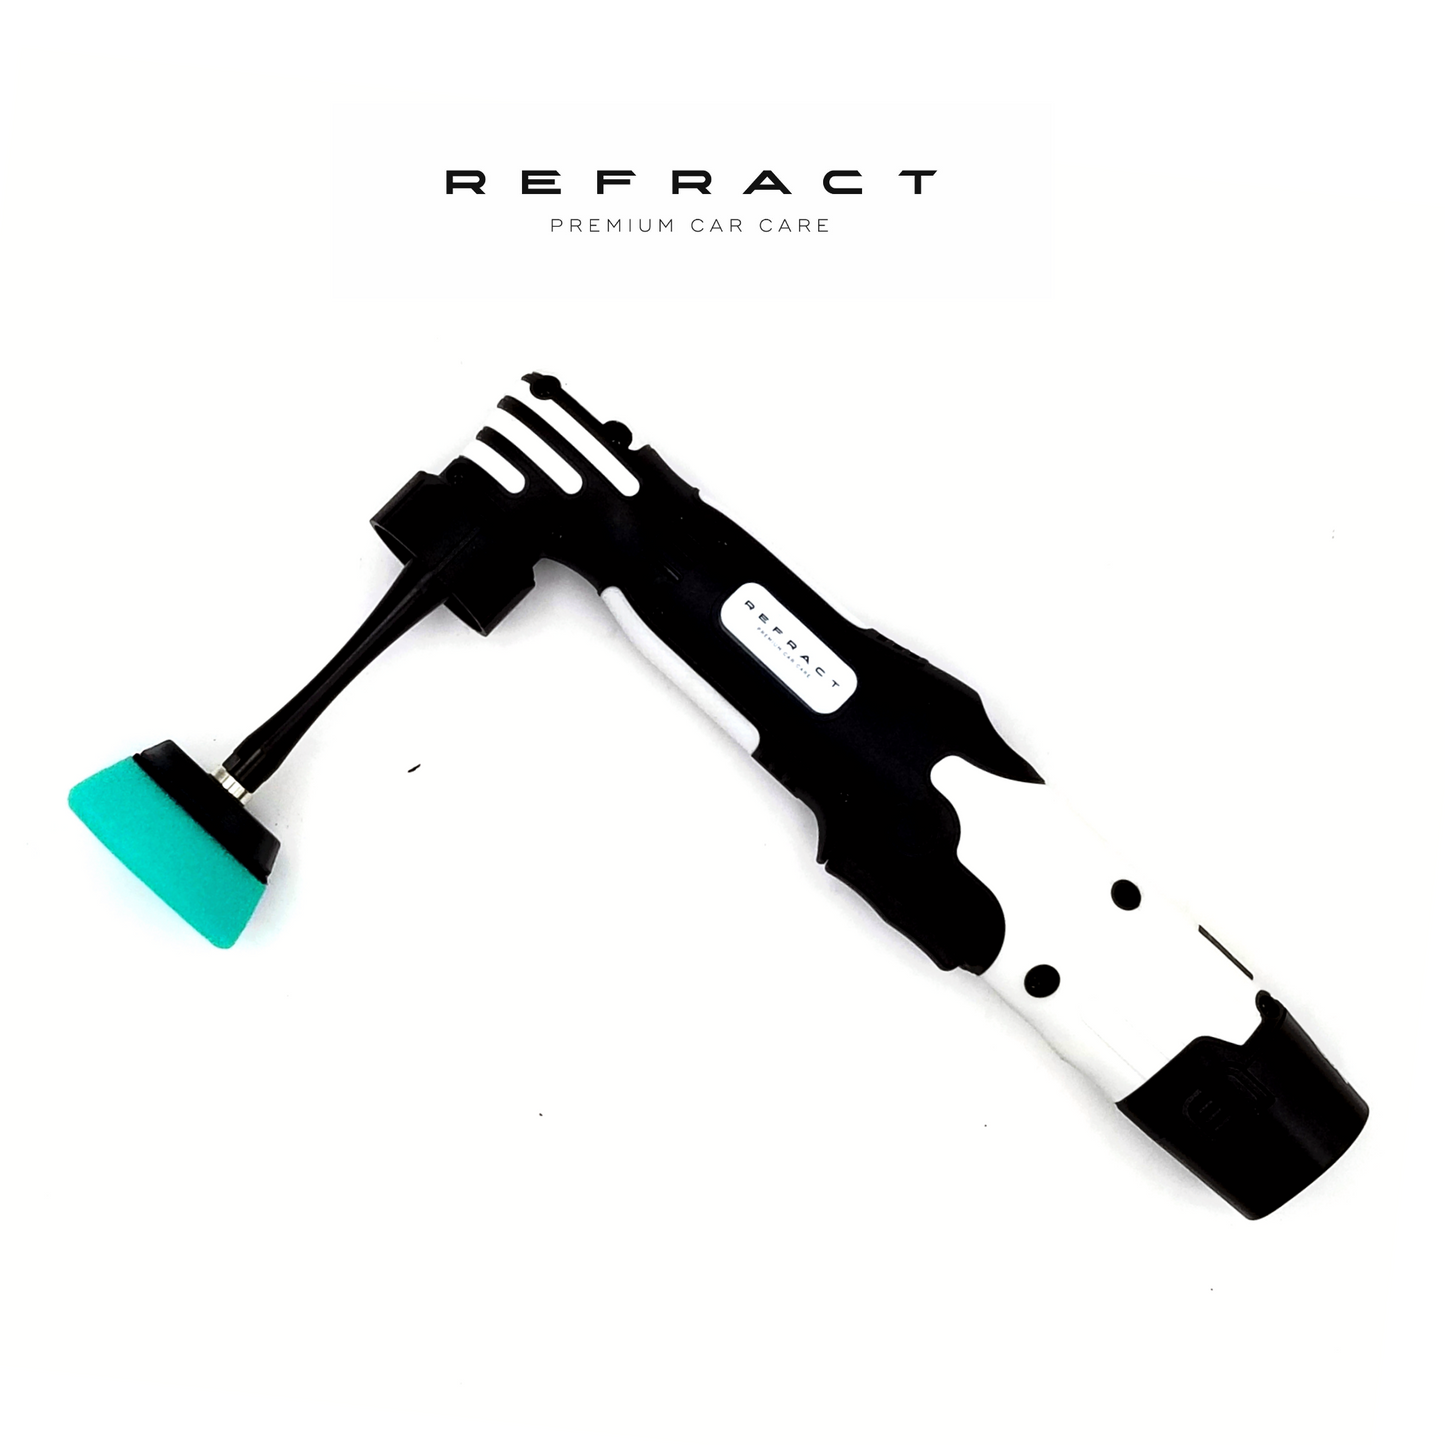
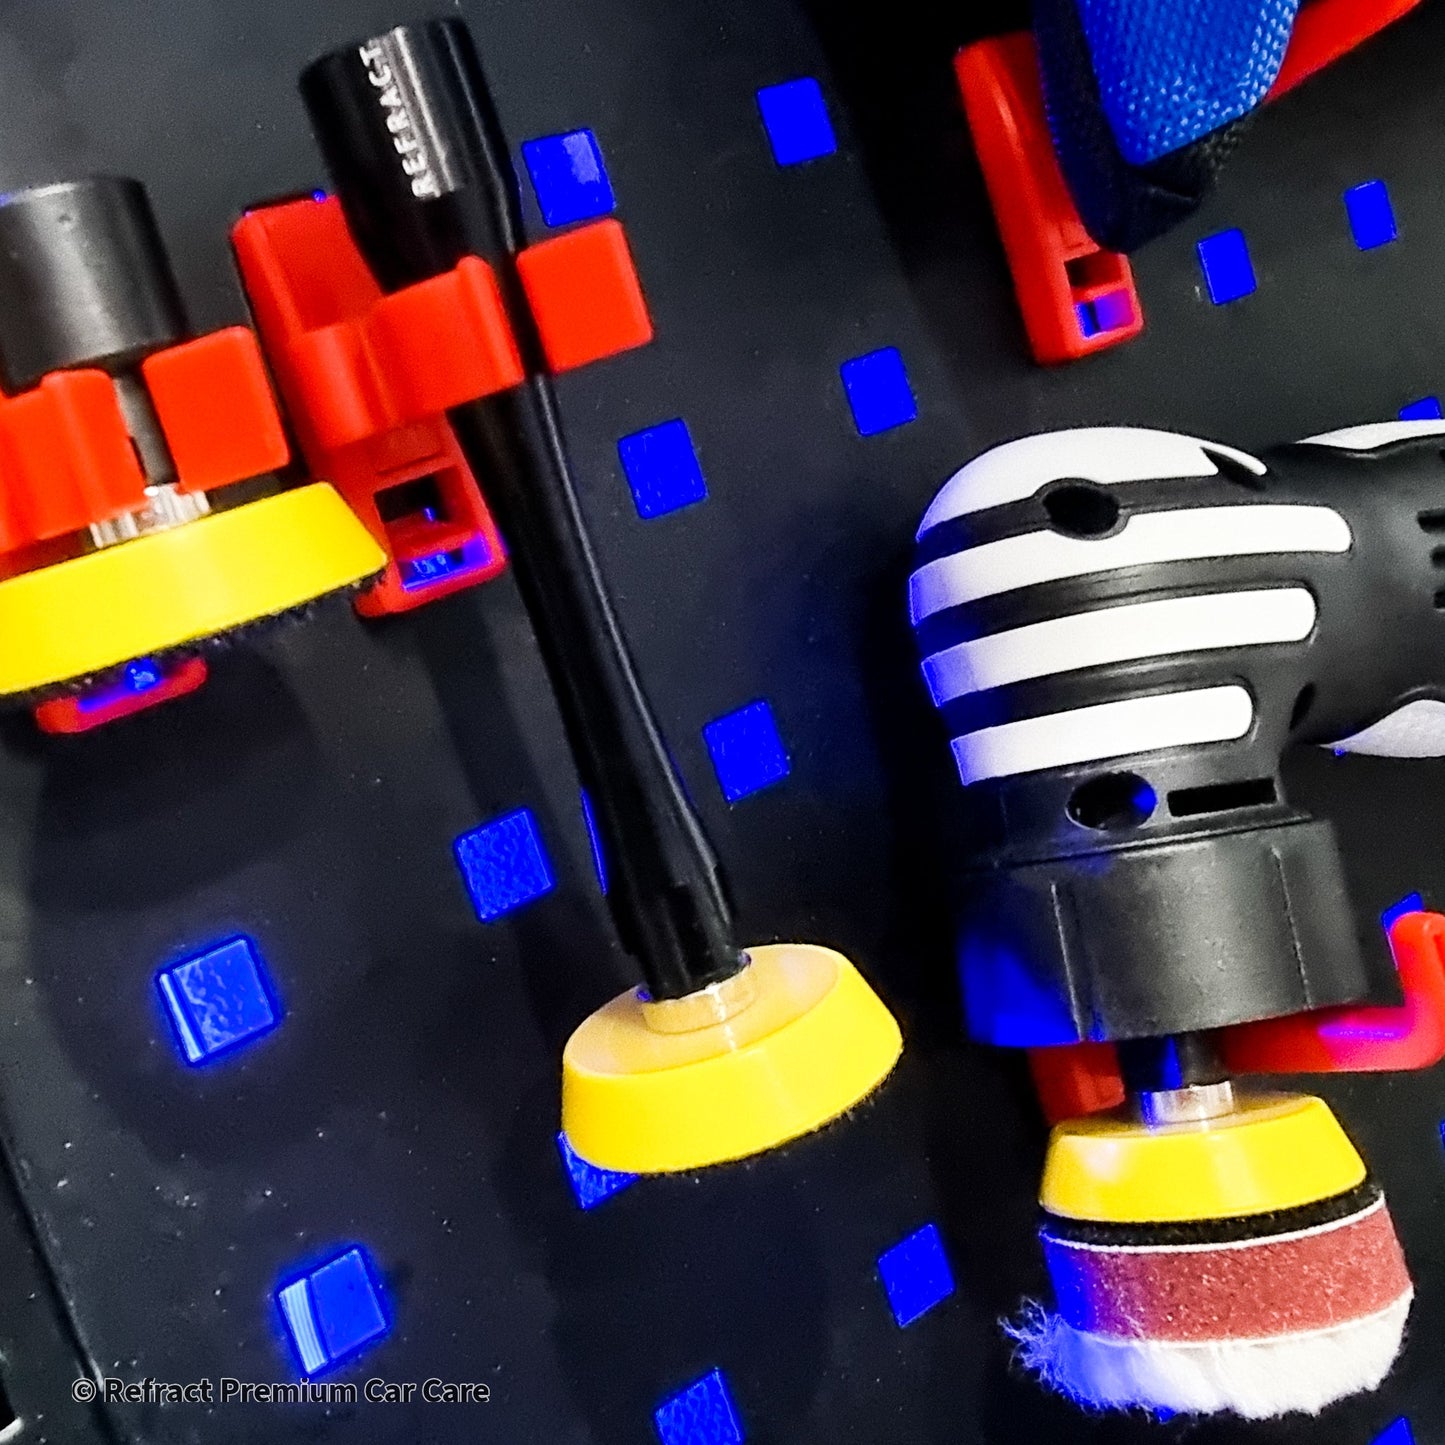
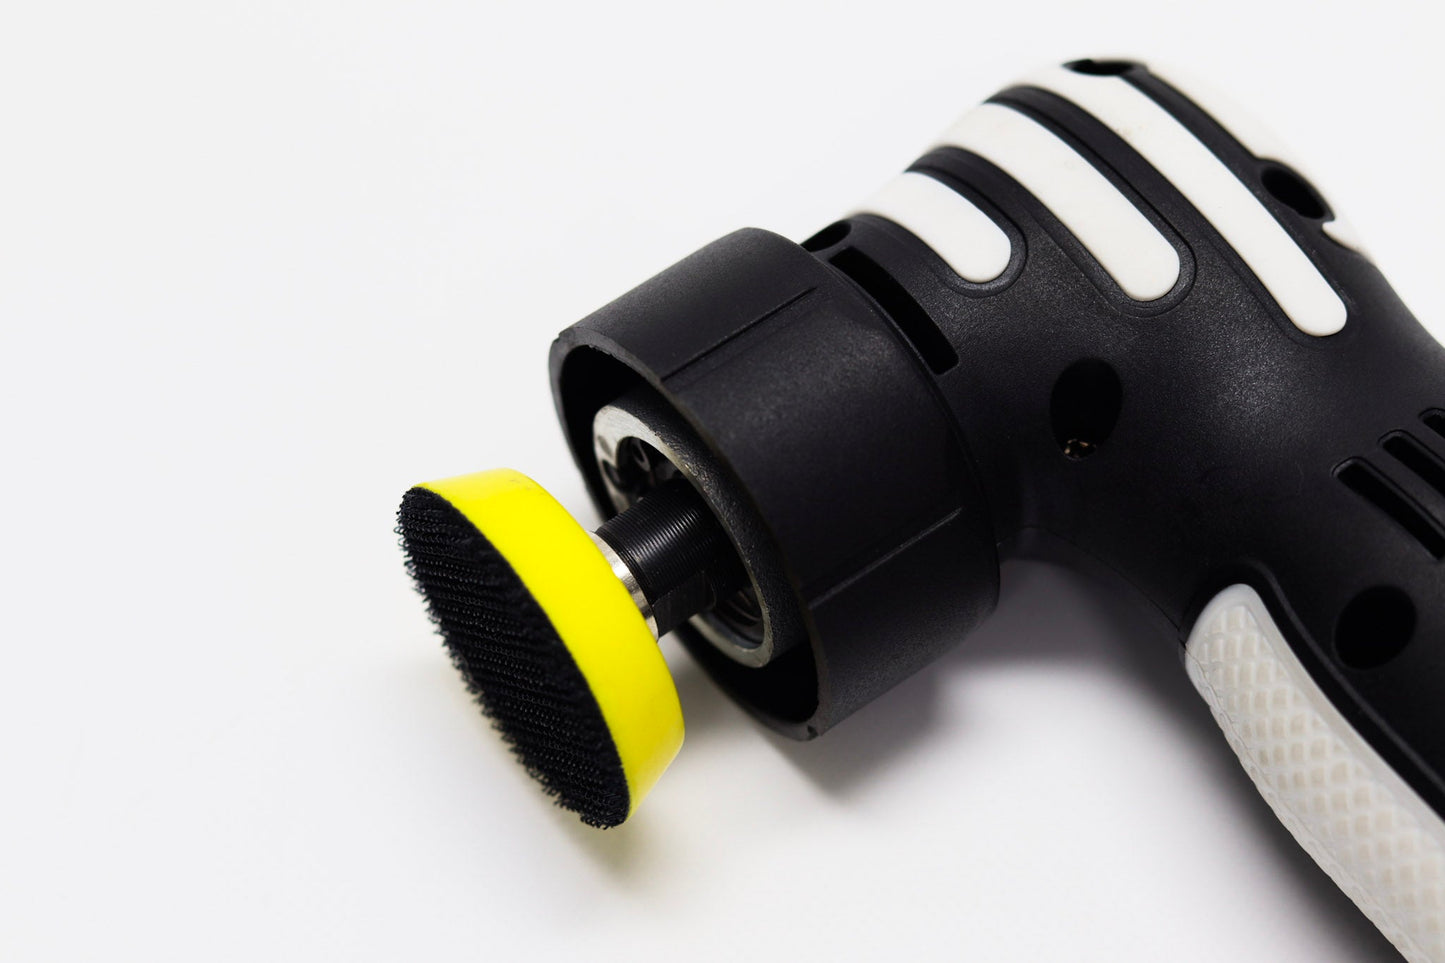
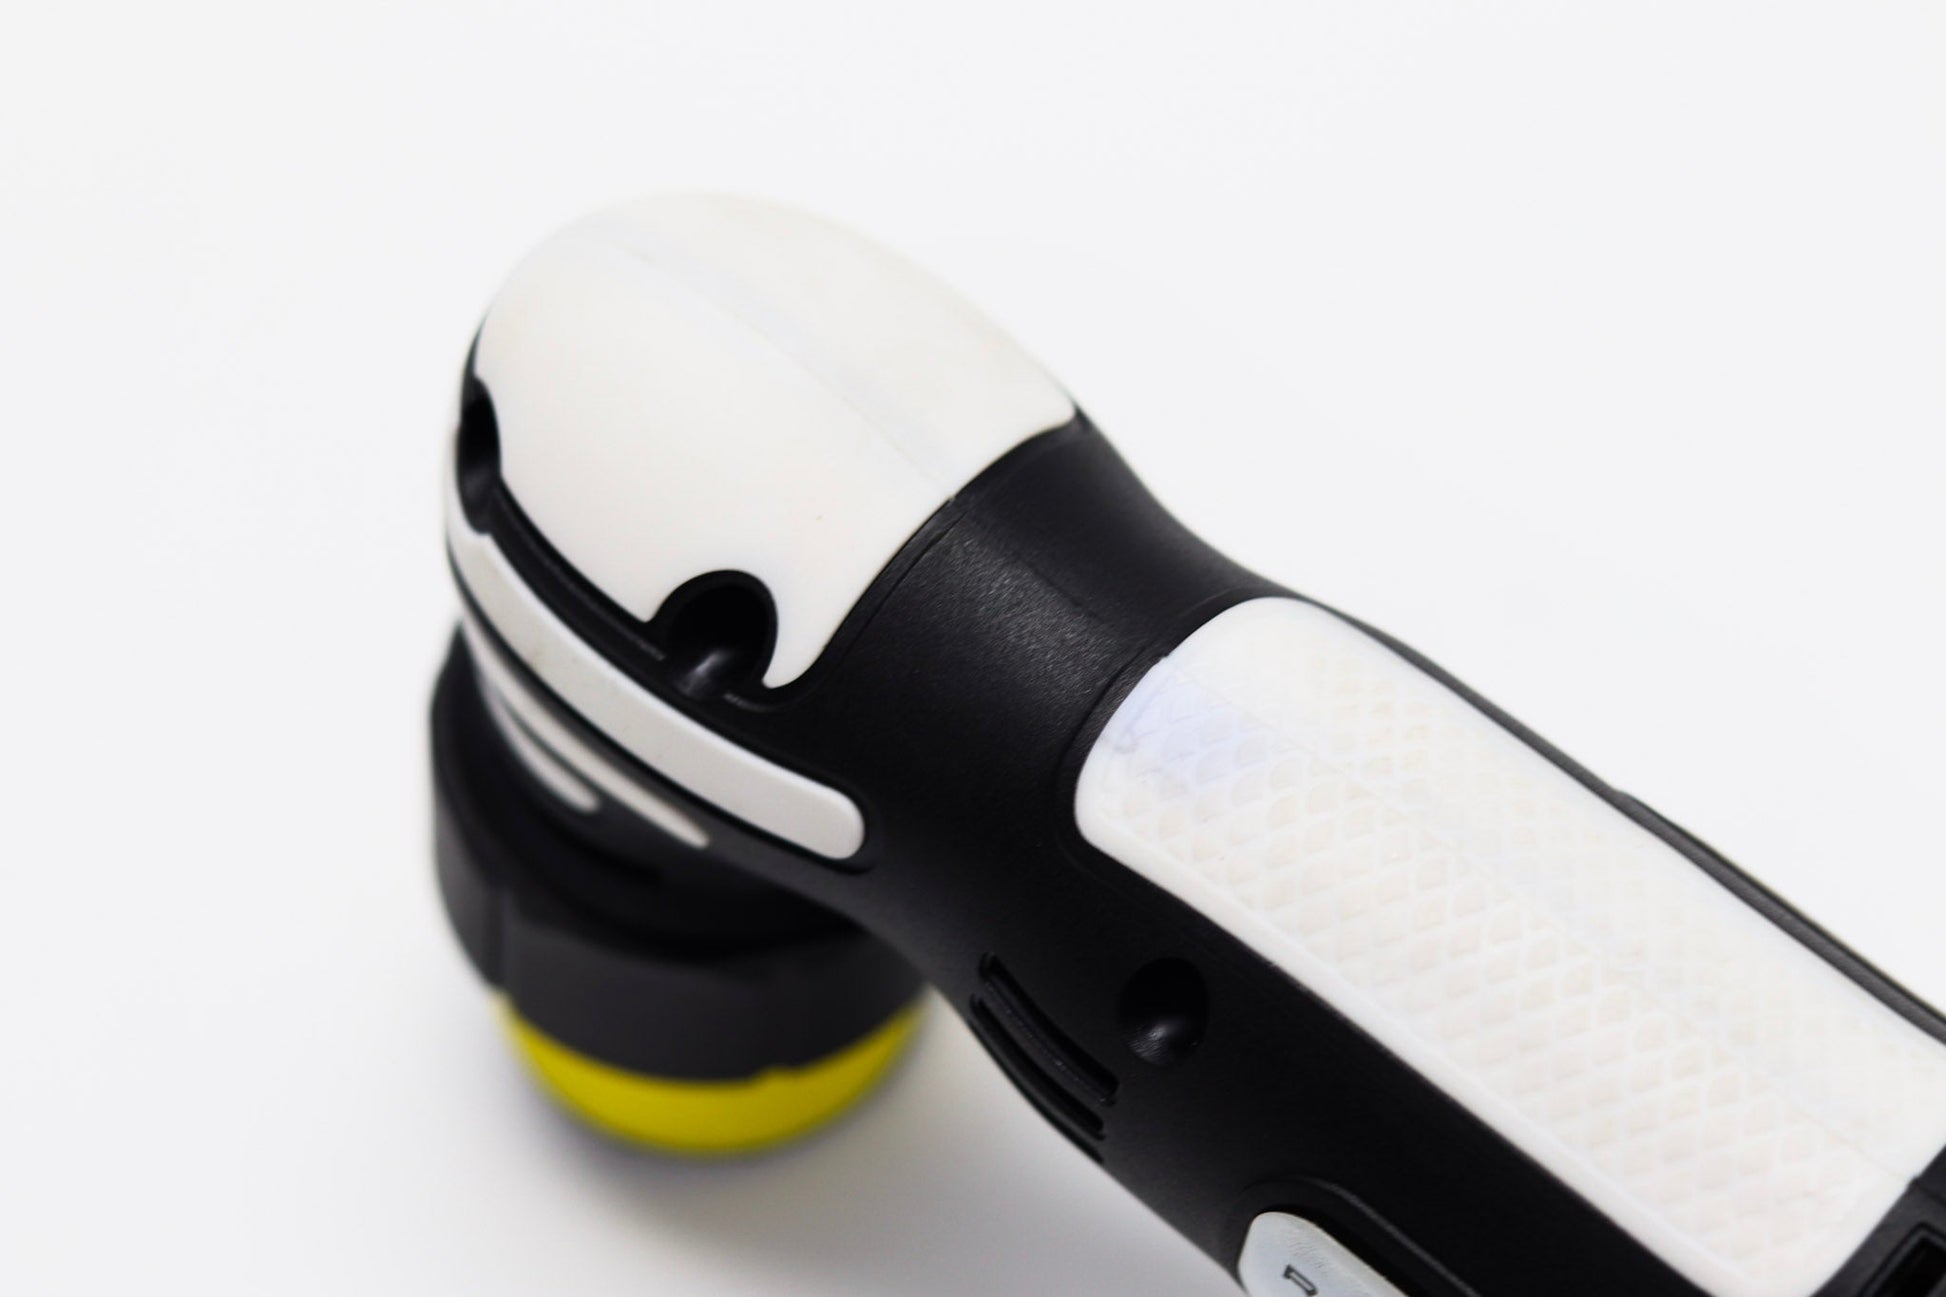
With the ability to change heads to a full dual action polisher or by simply screwing on of the rotary attachment shafts then you'll have all your detailing bases covered!
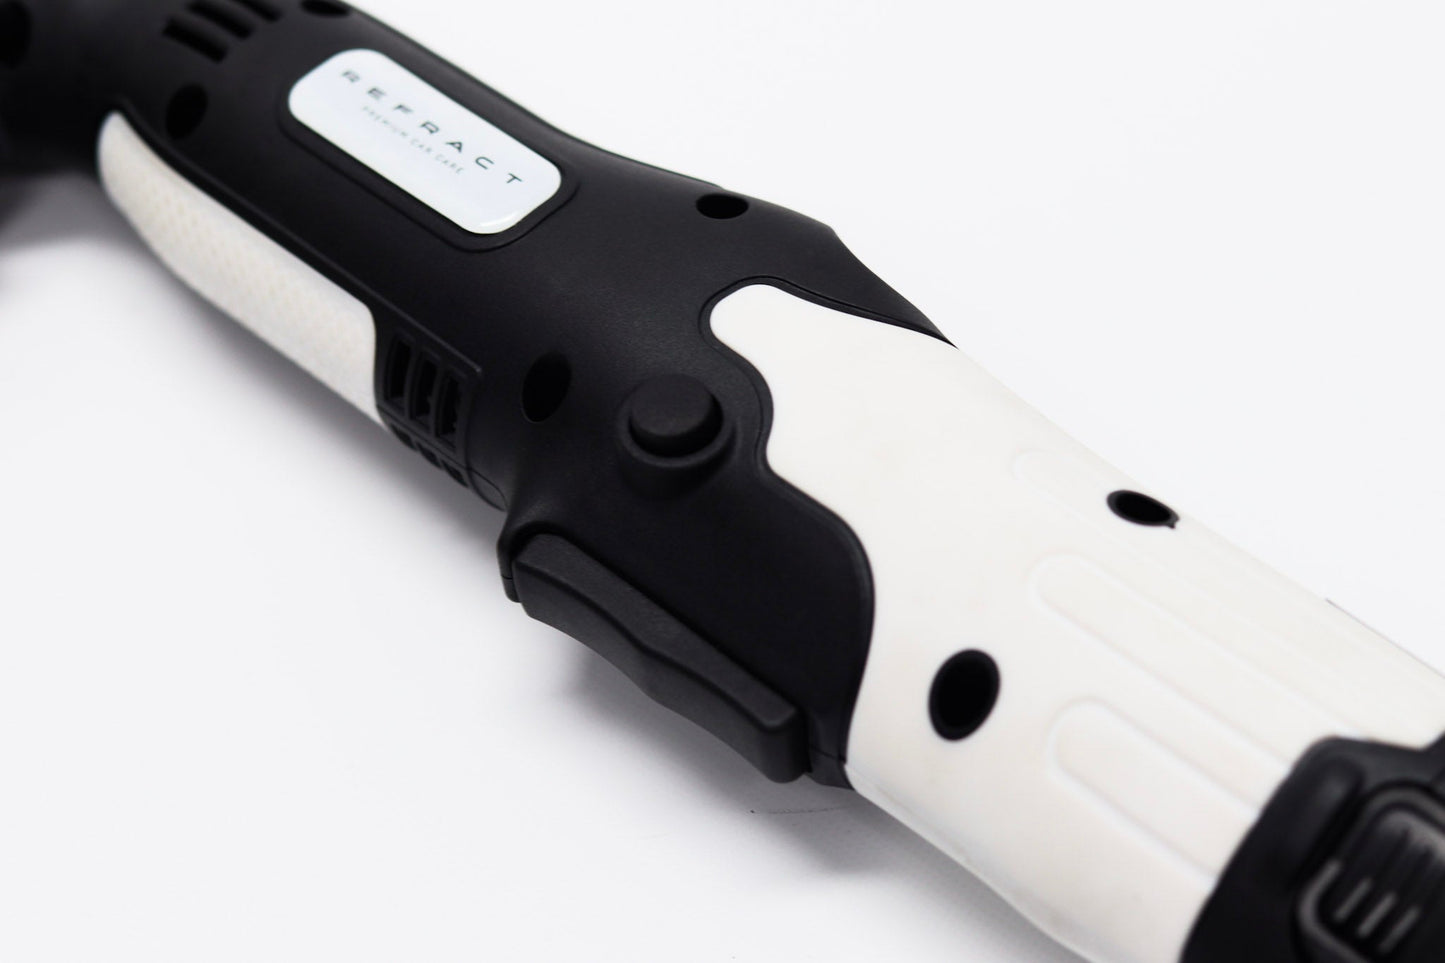
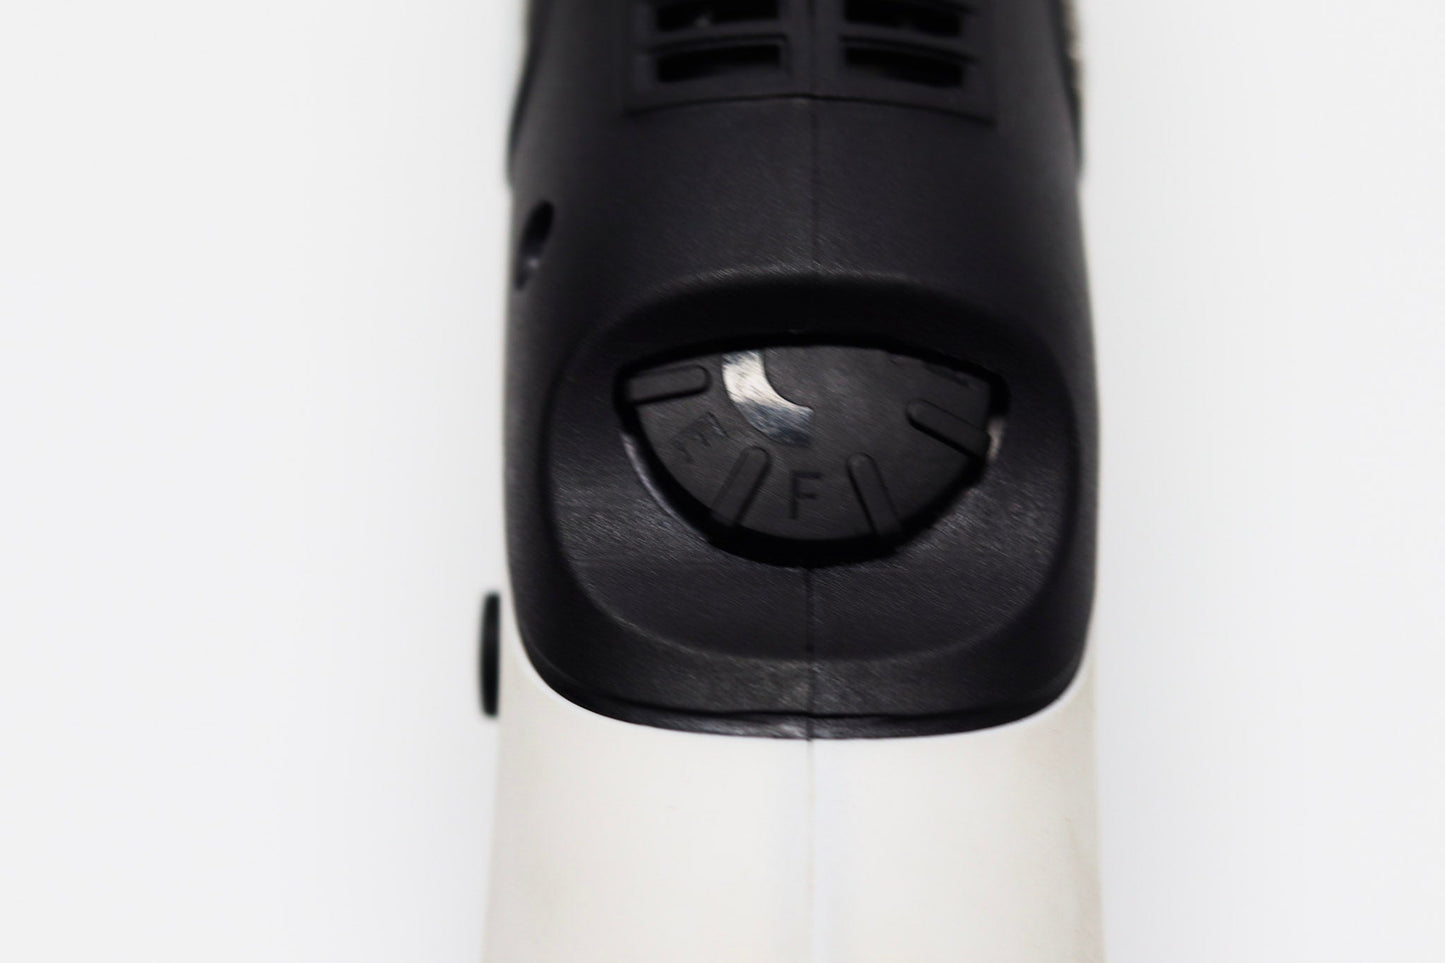
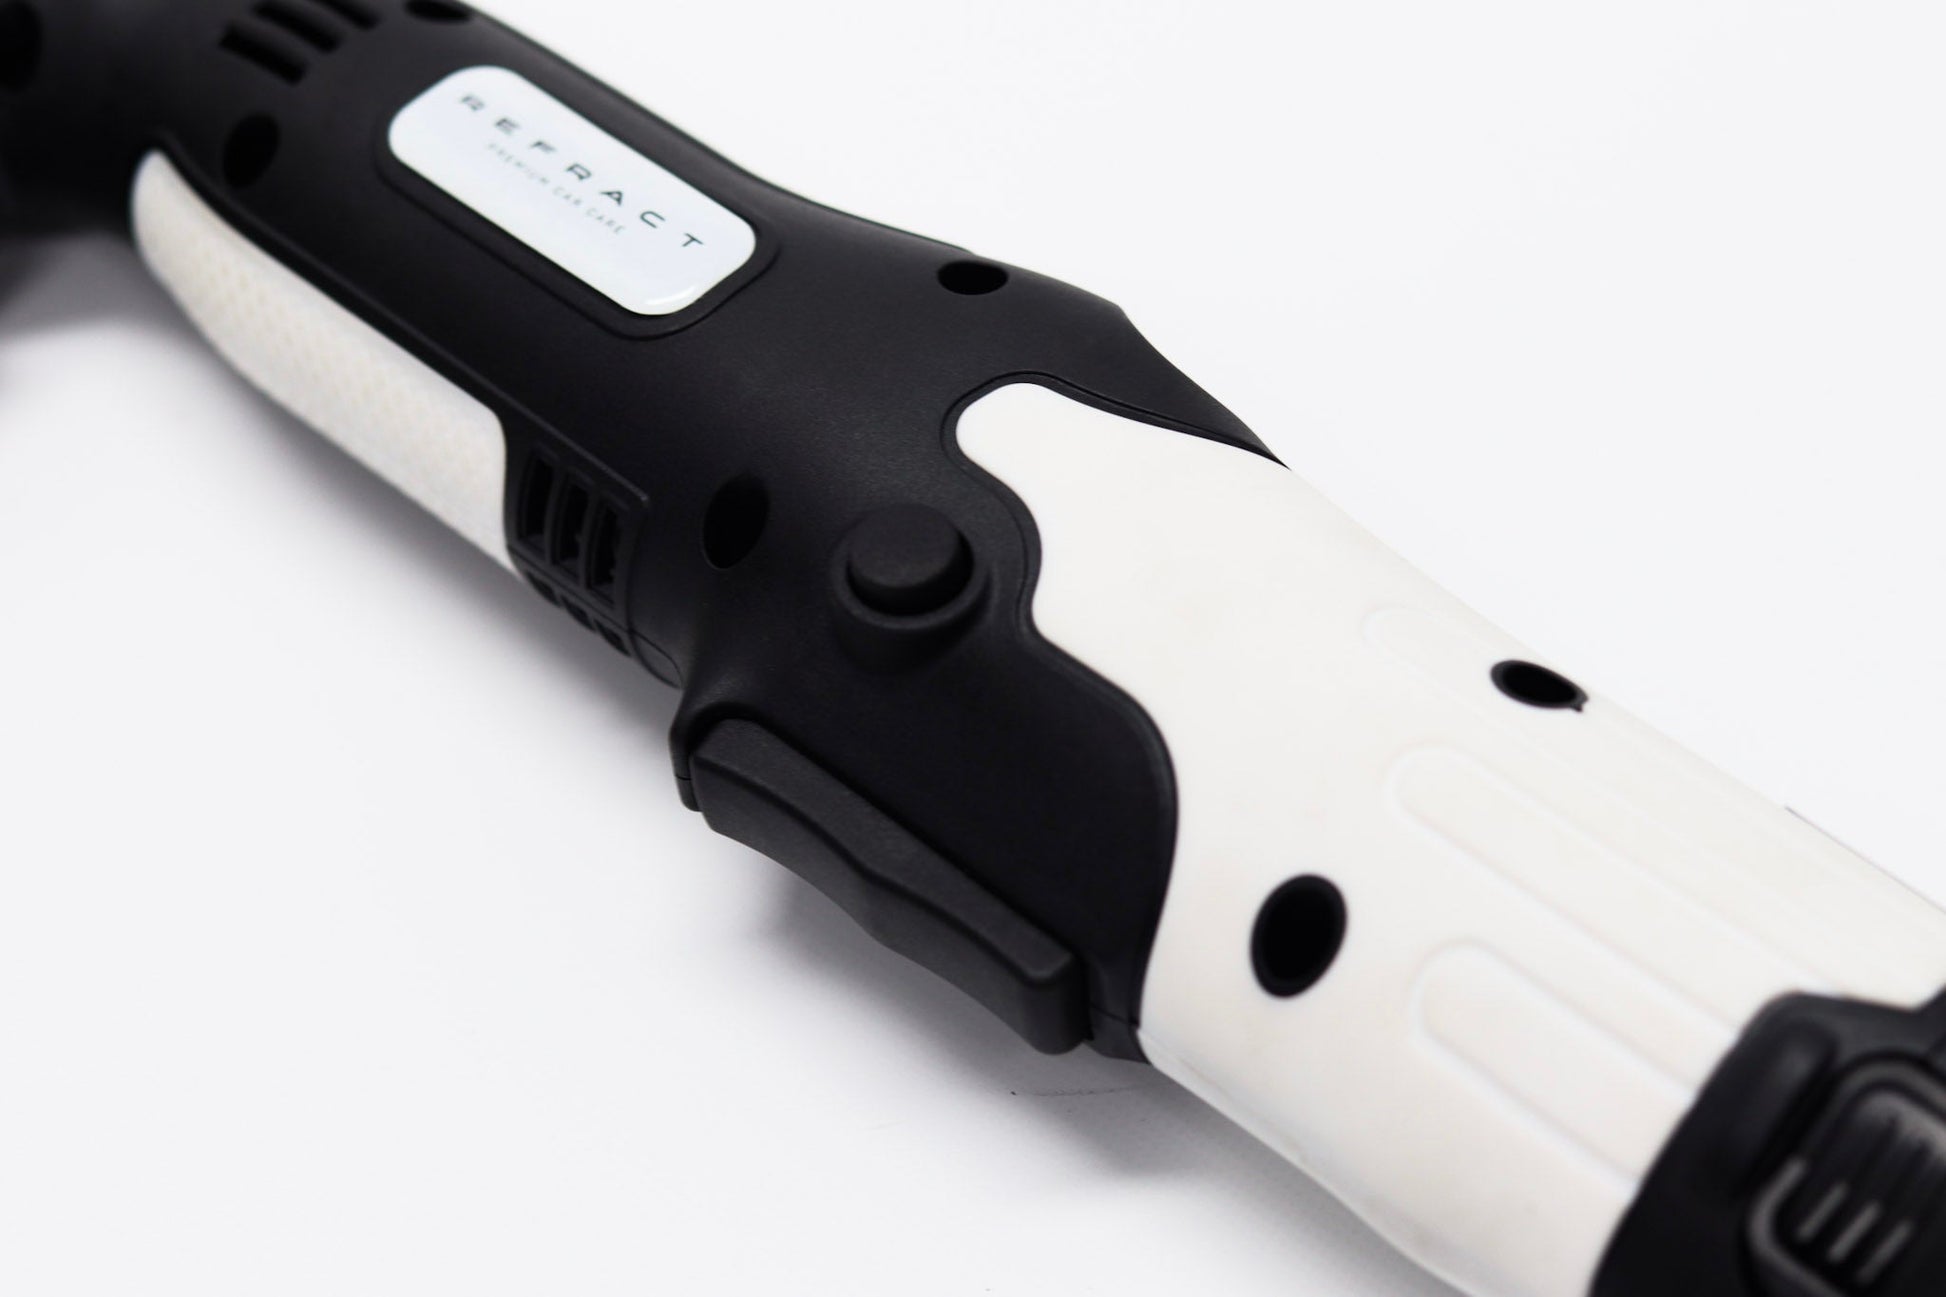
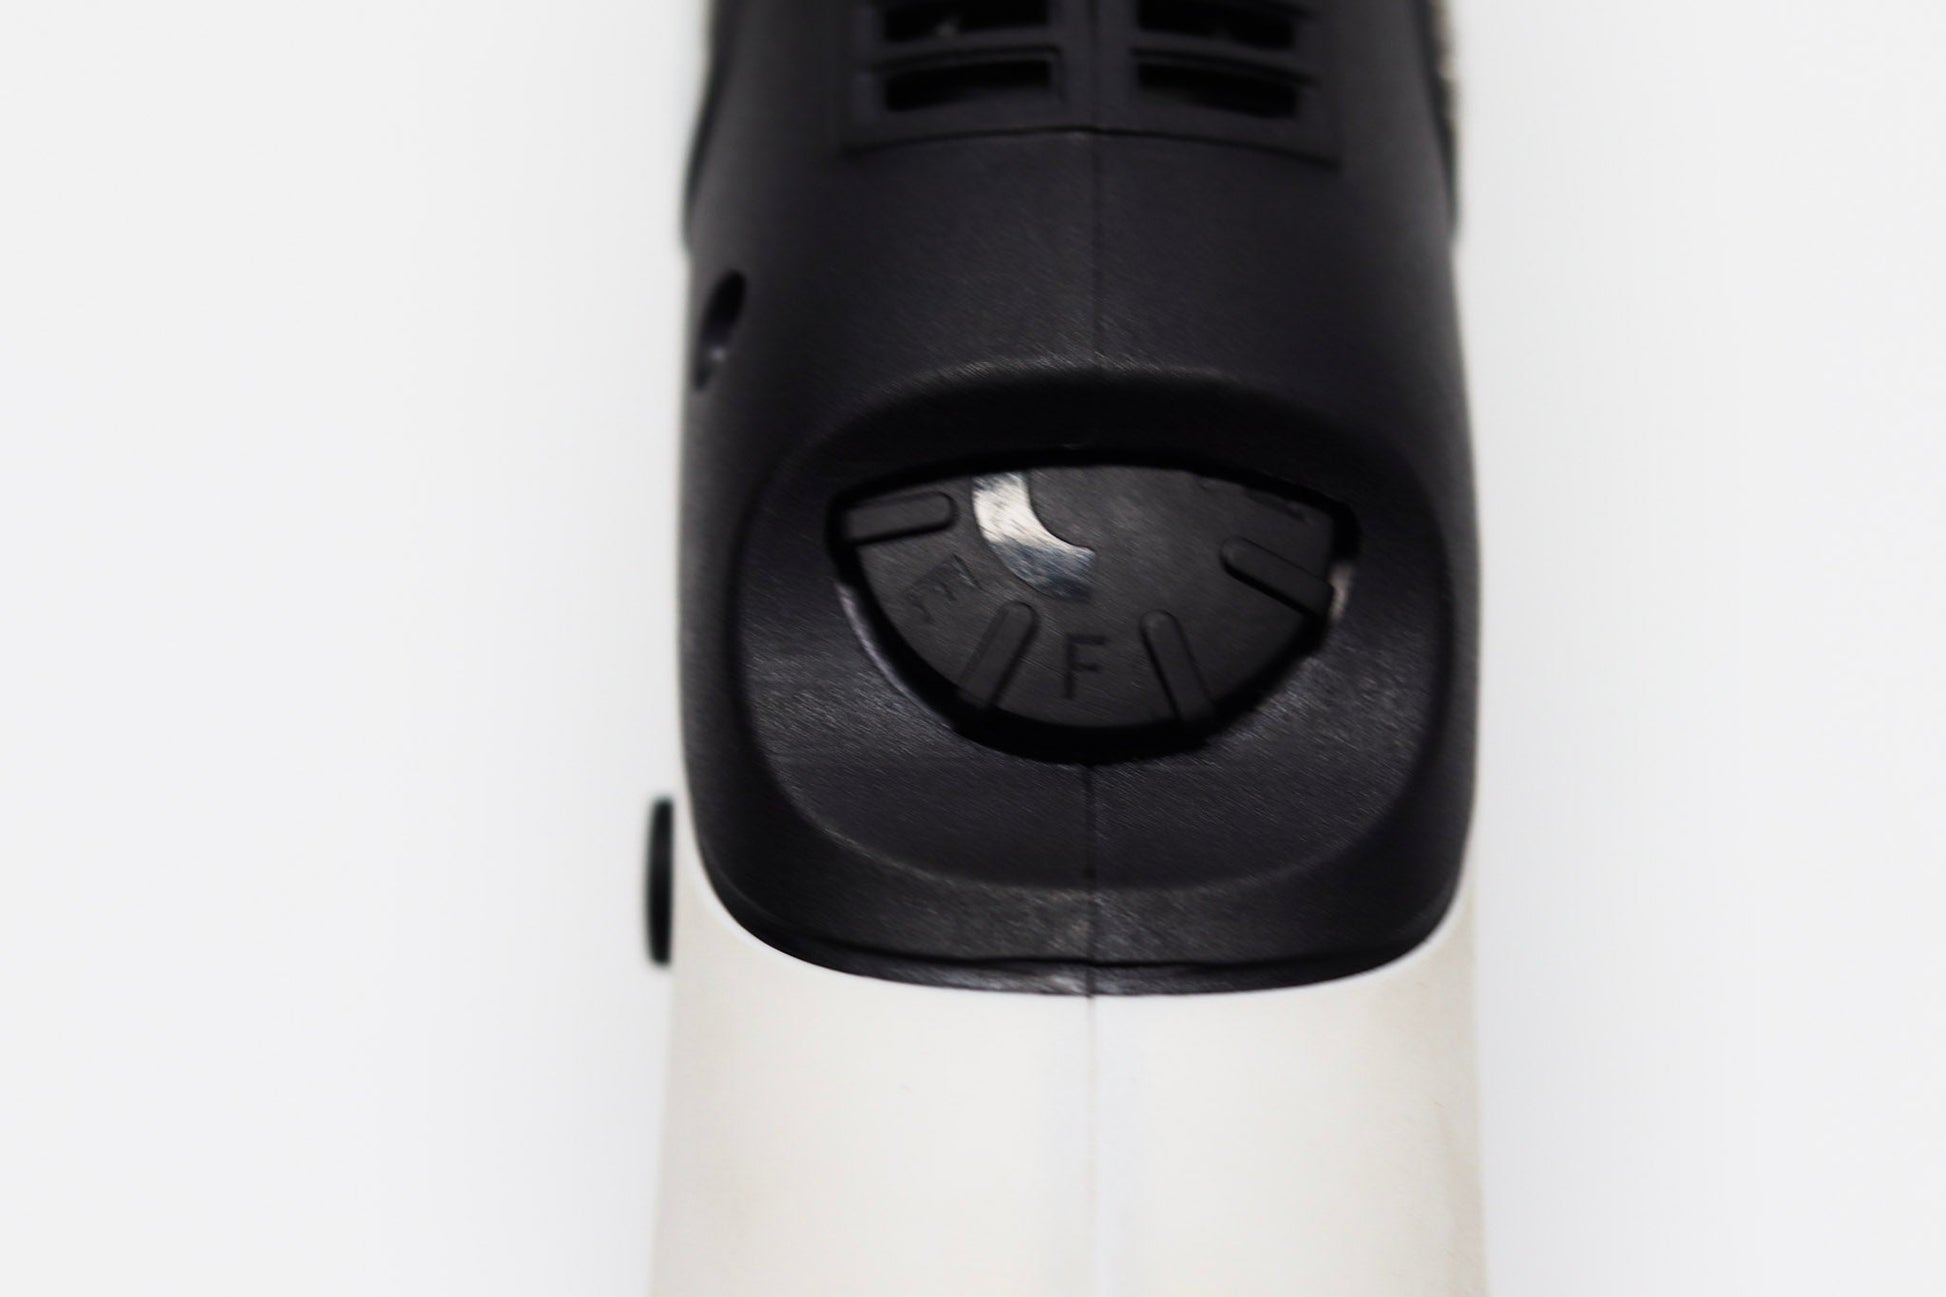
This New little Mini Polisher certainly packs a punch. The power it can deliver is impressive & now with a radial click type speed controller, 11 speed adjustment & lock-button on the side then we just know you're going to love it!
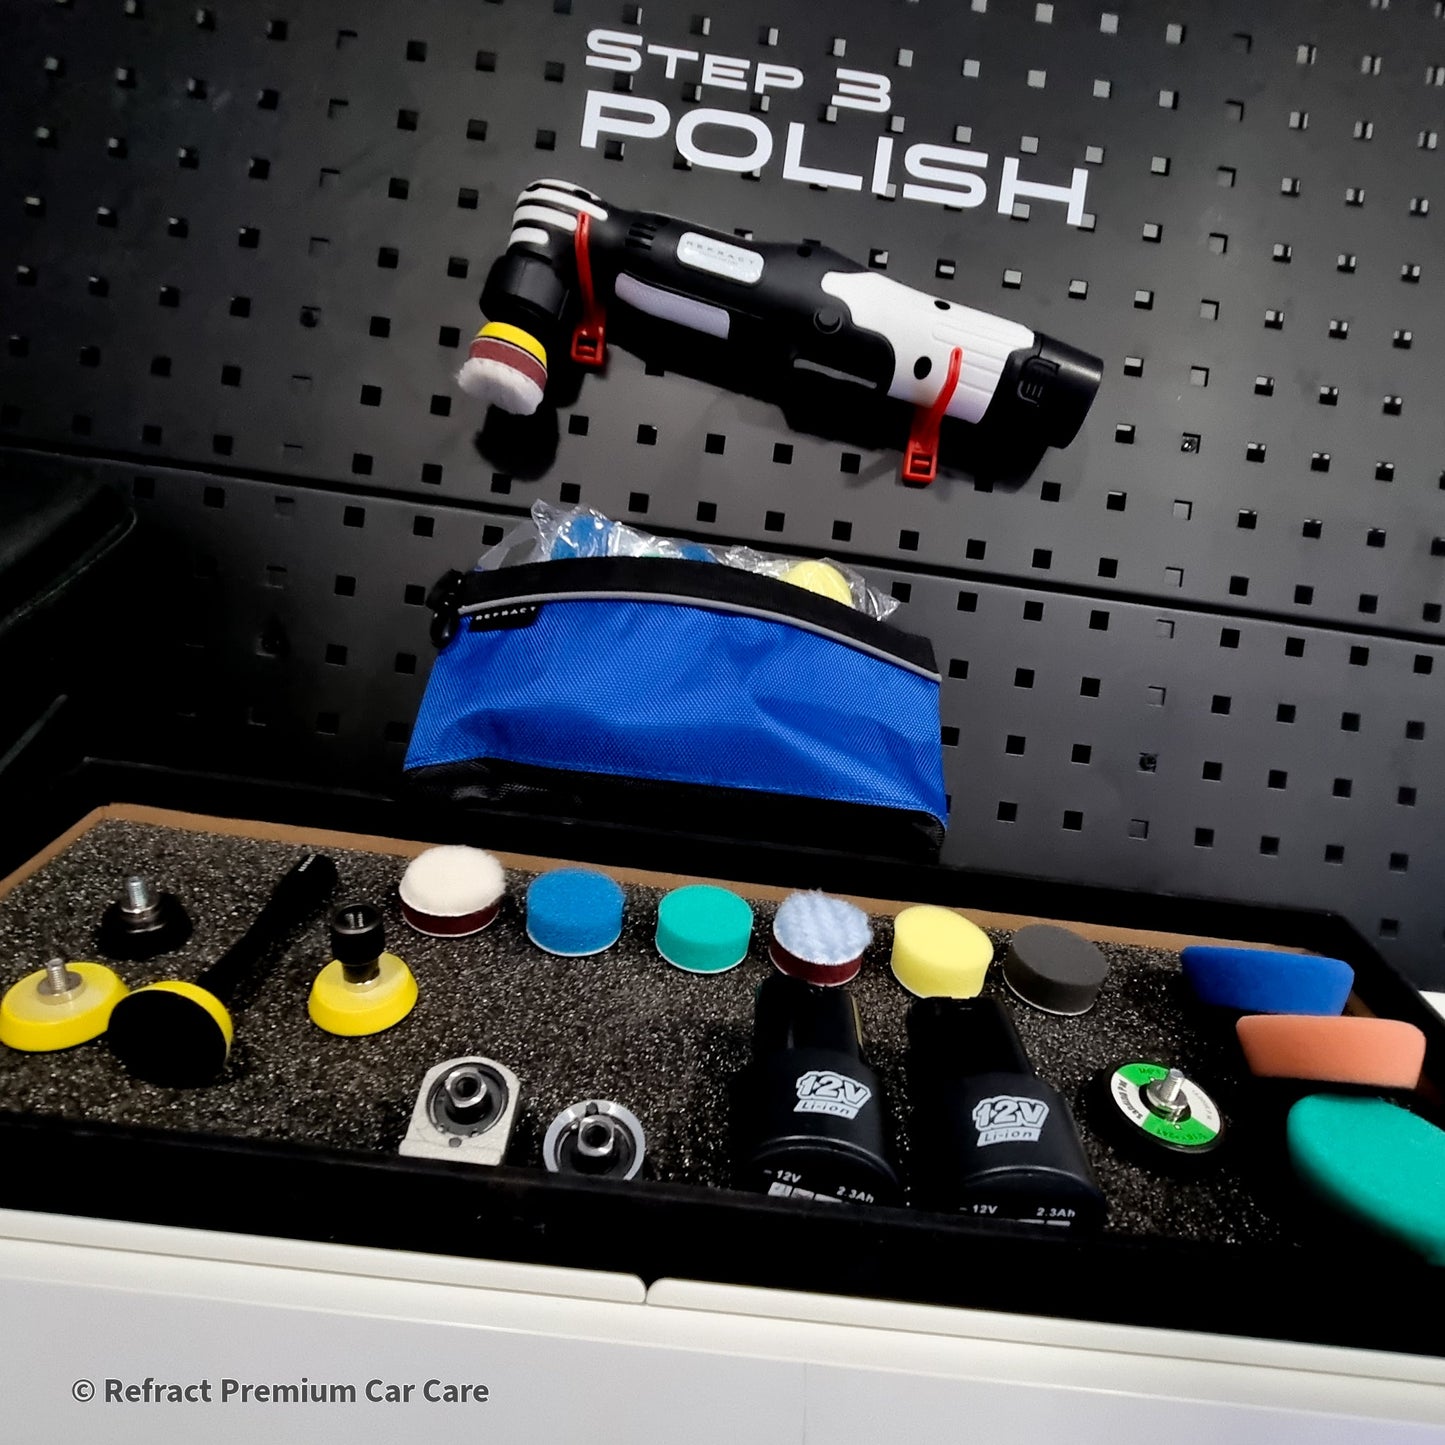
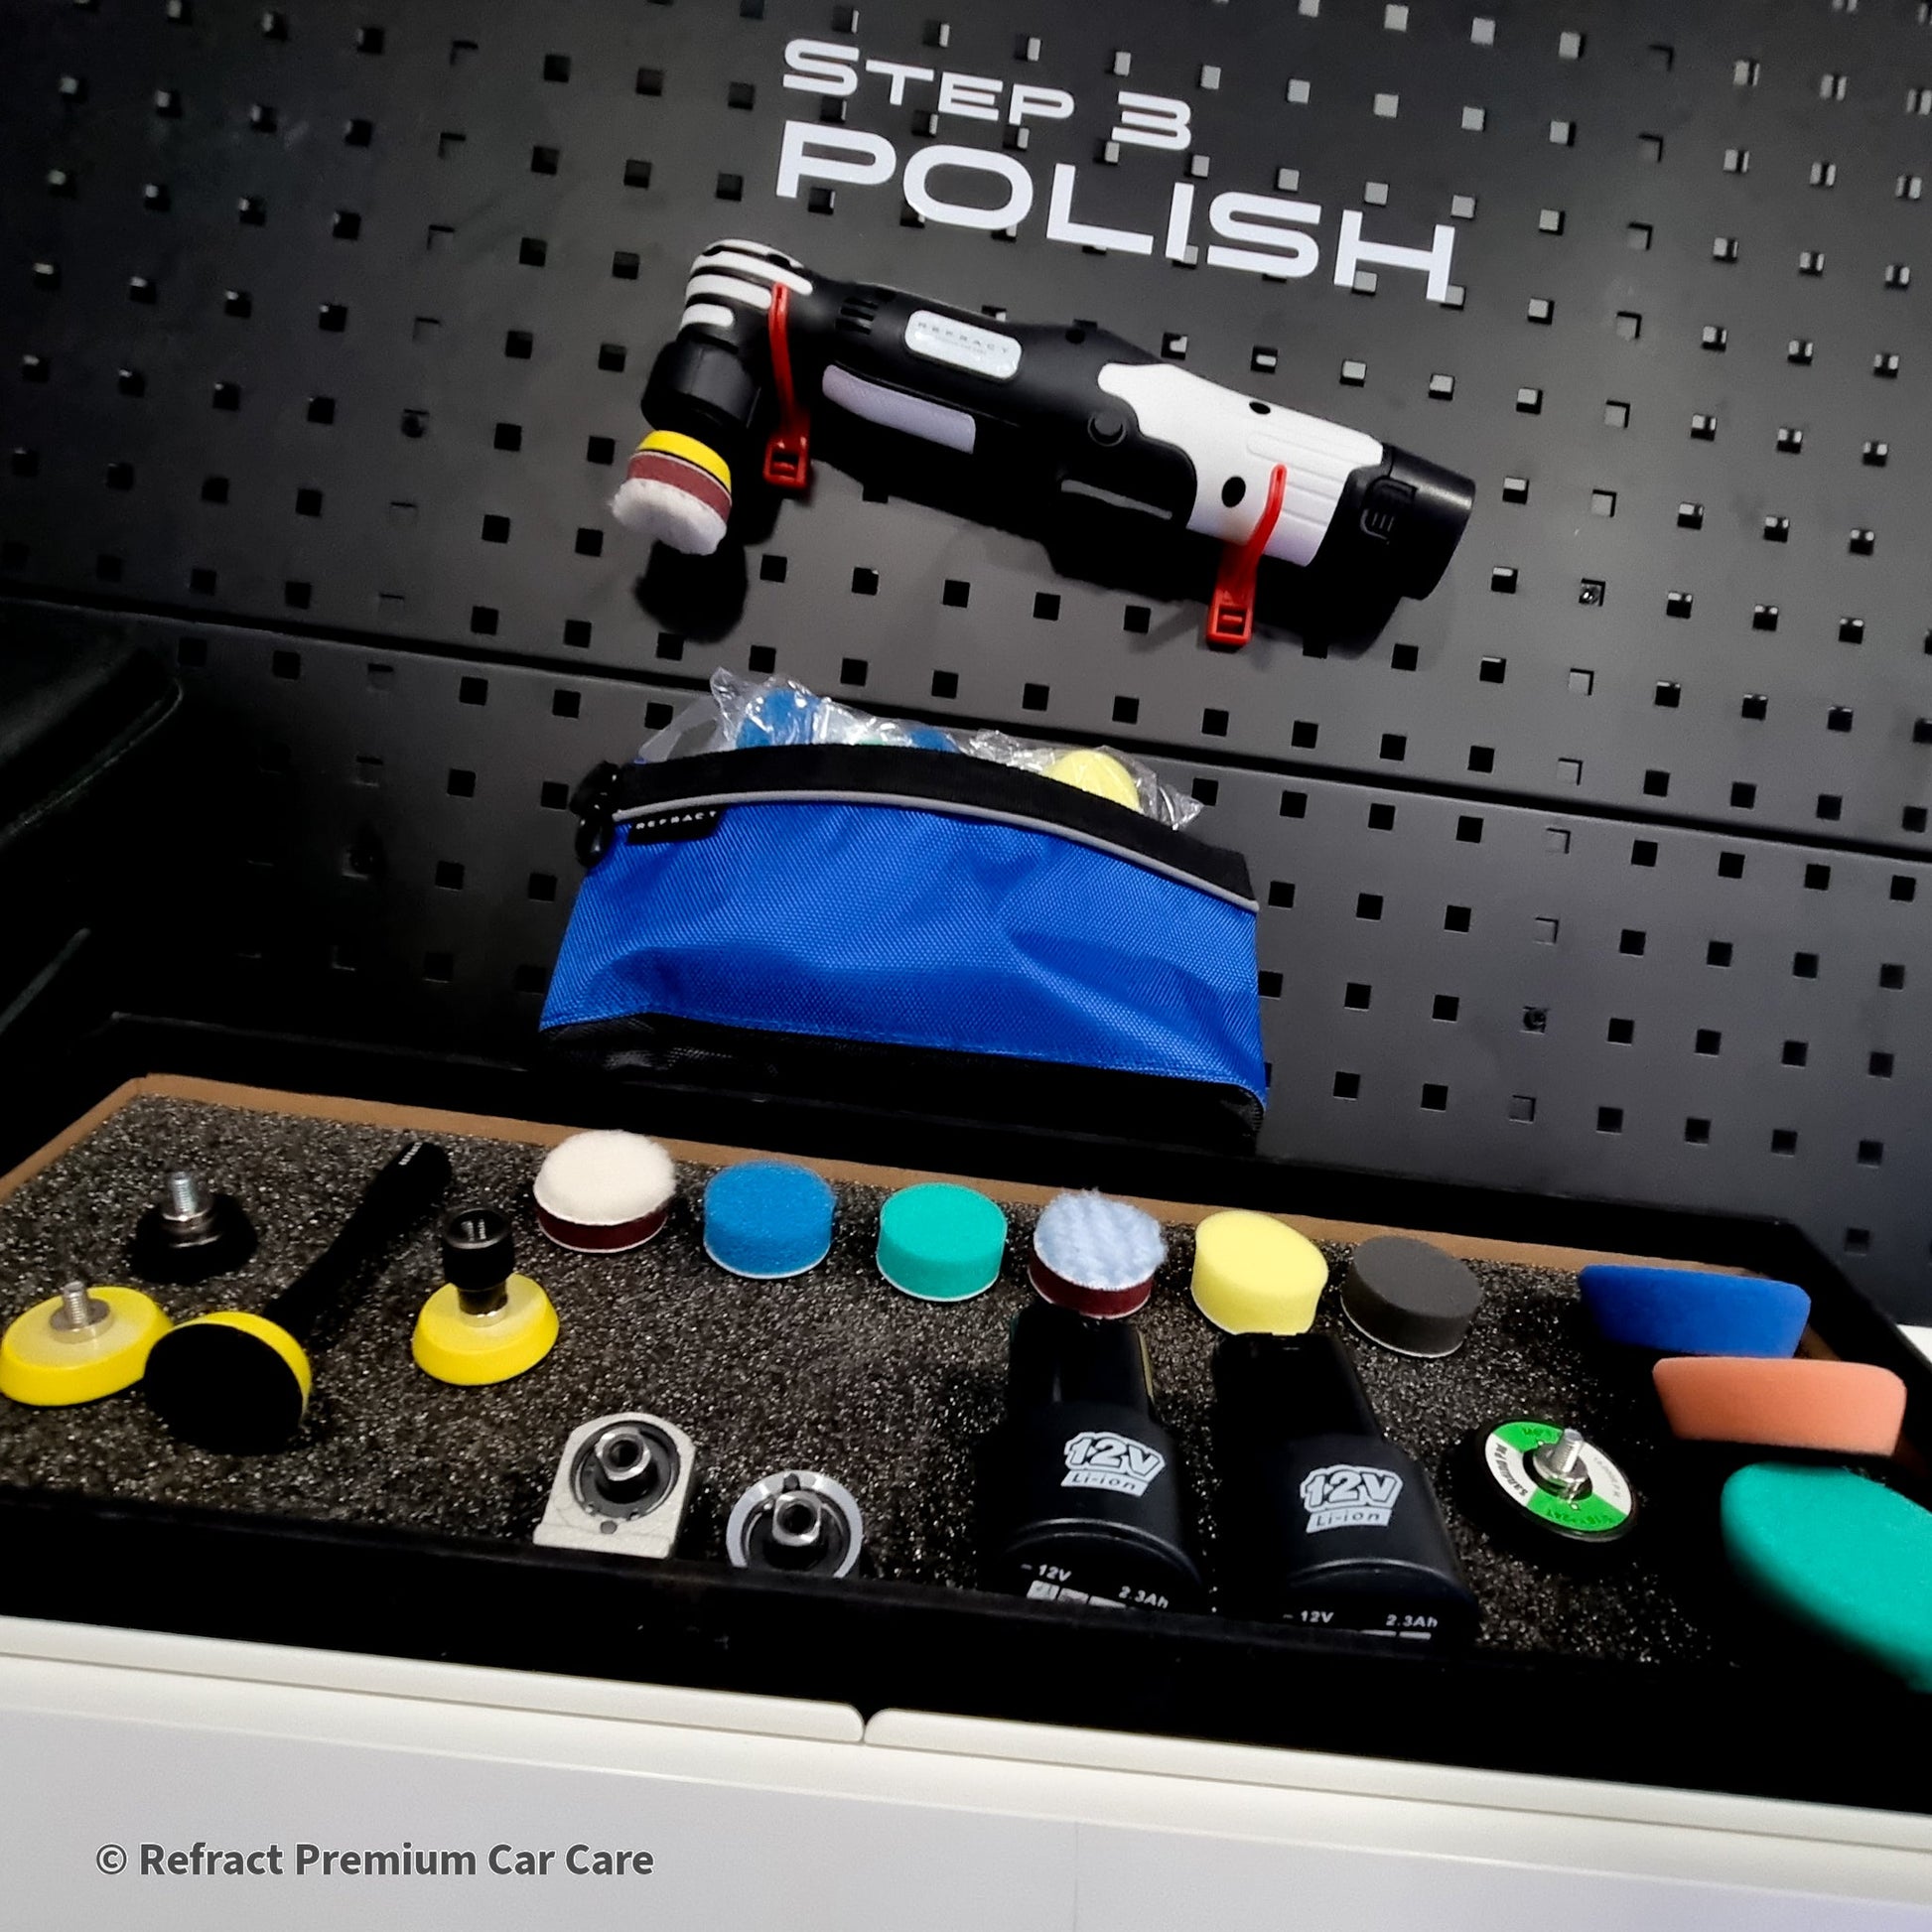
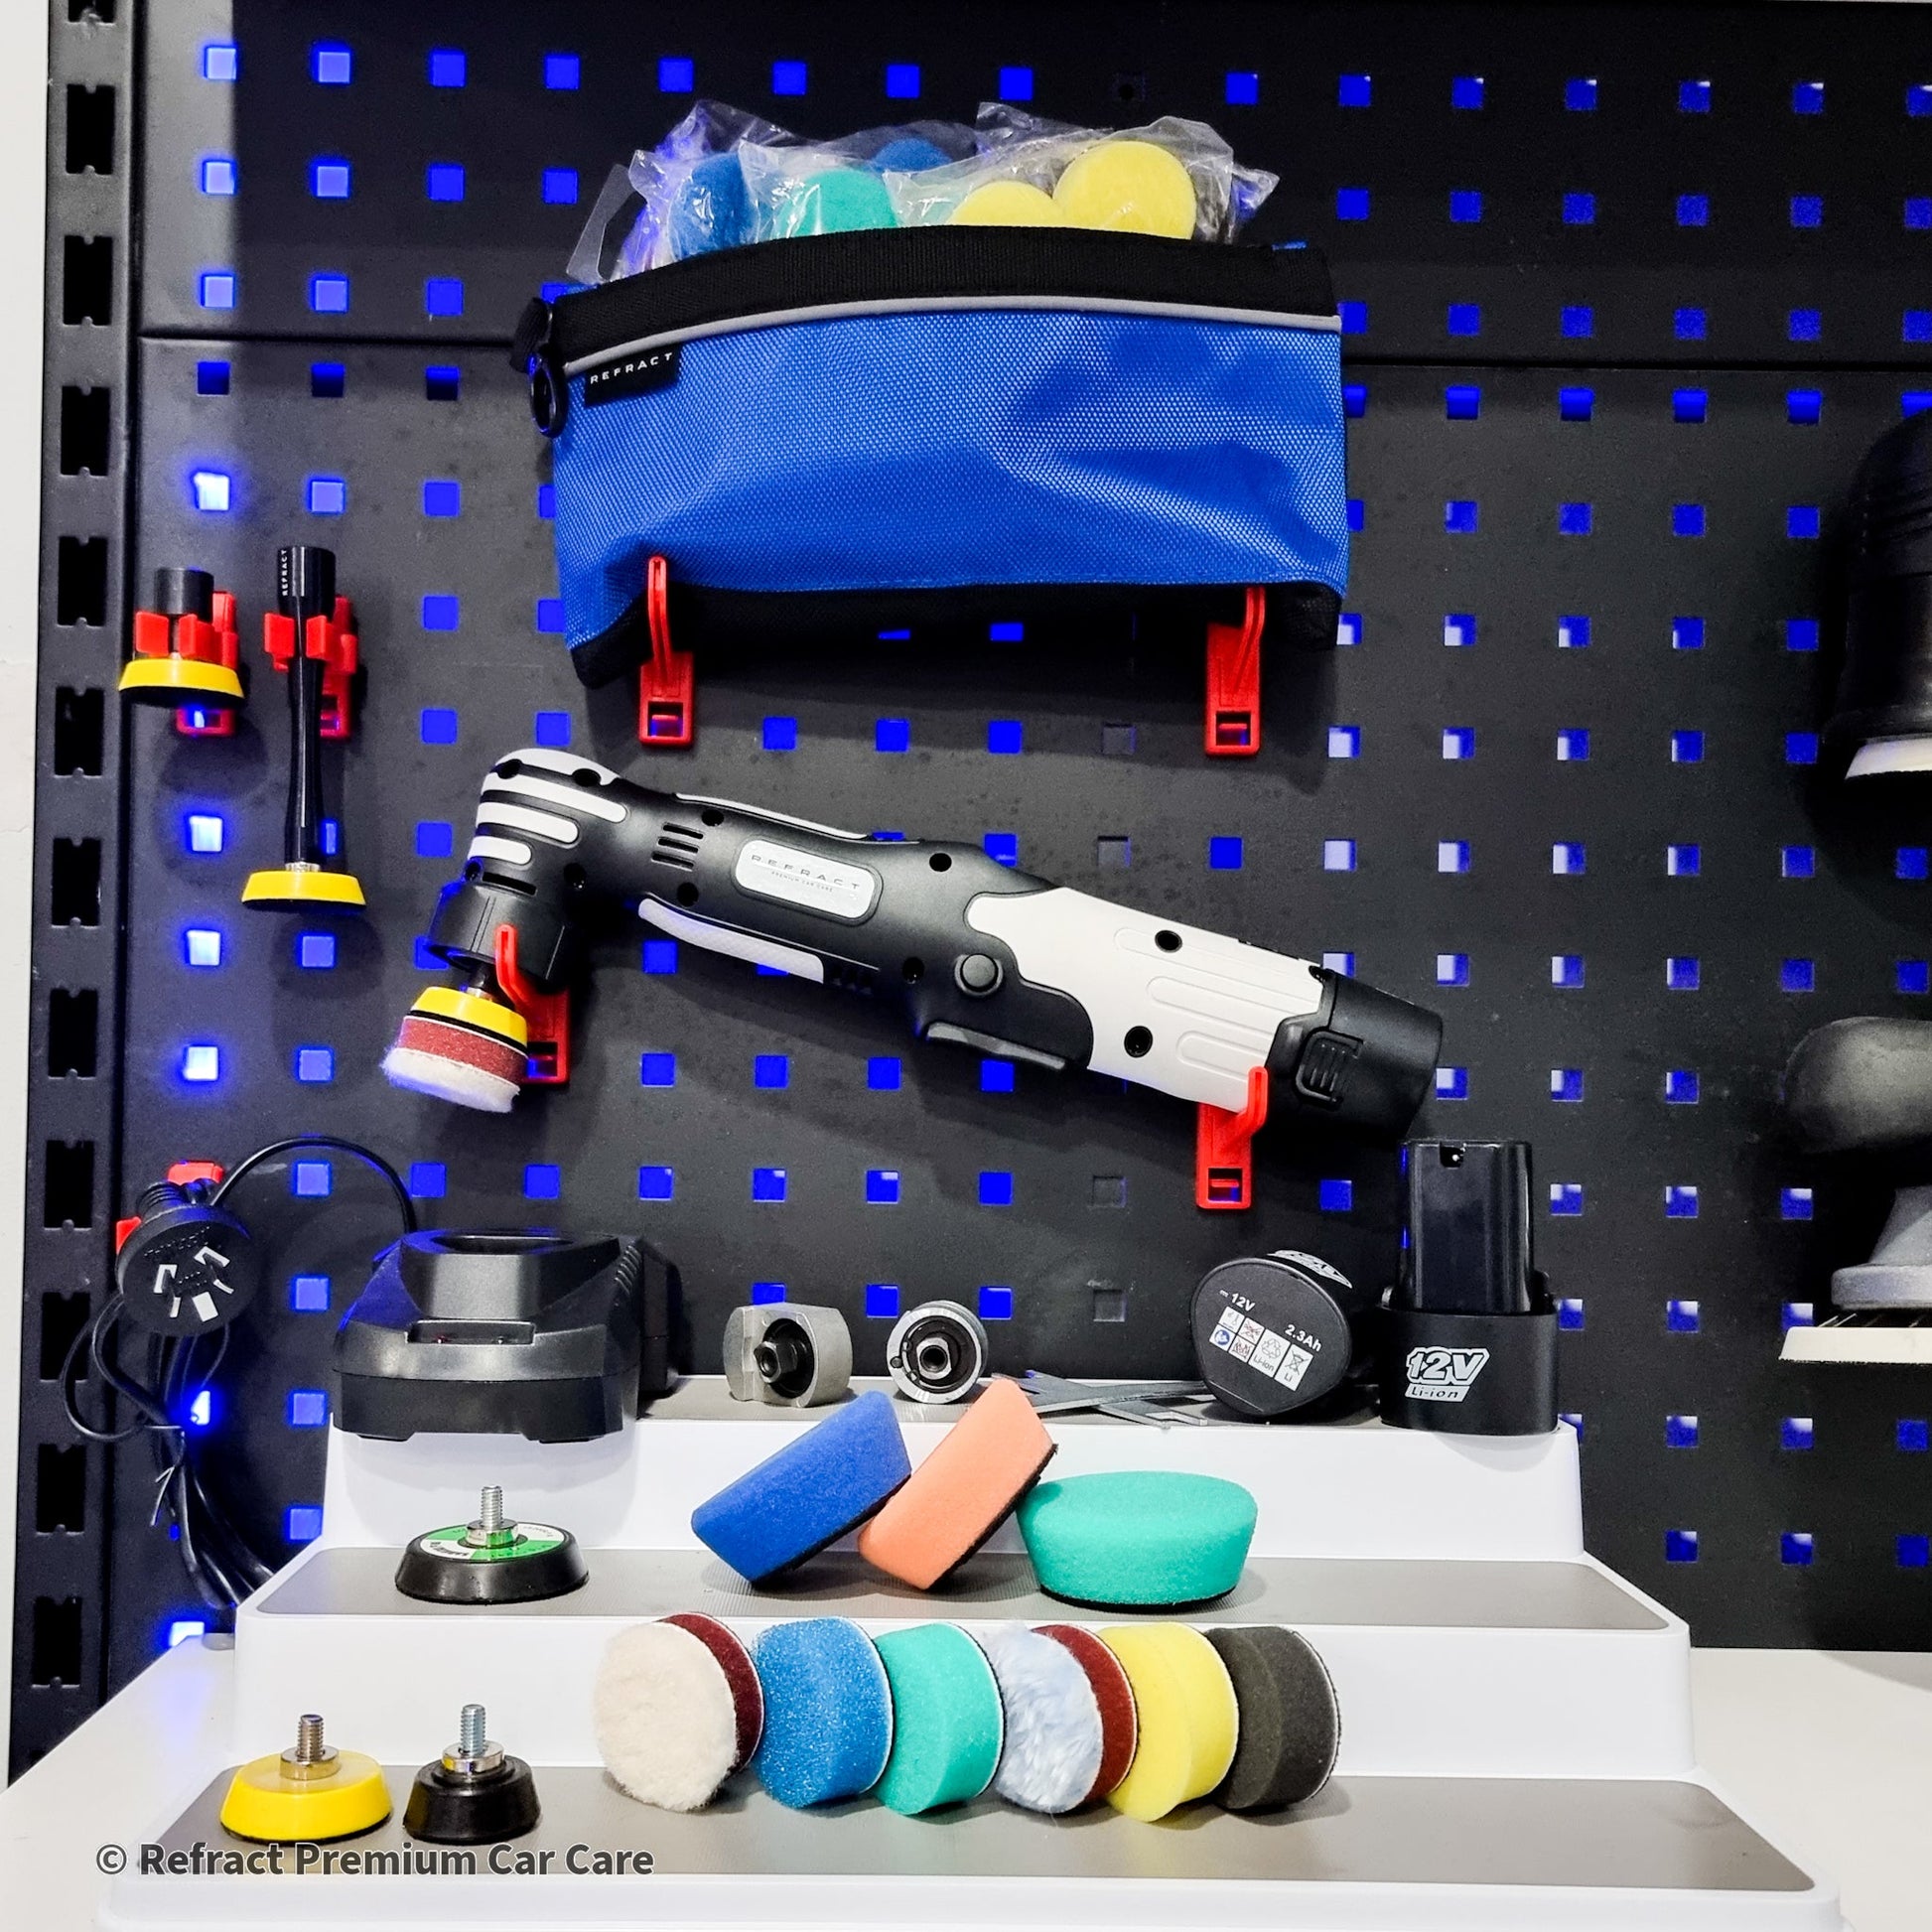
The Refract Battery Powered Micro Polishing Kit Includes:
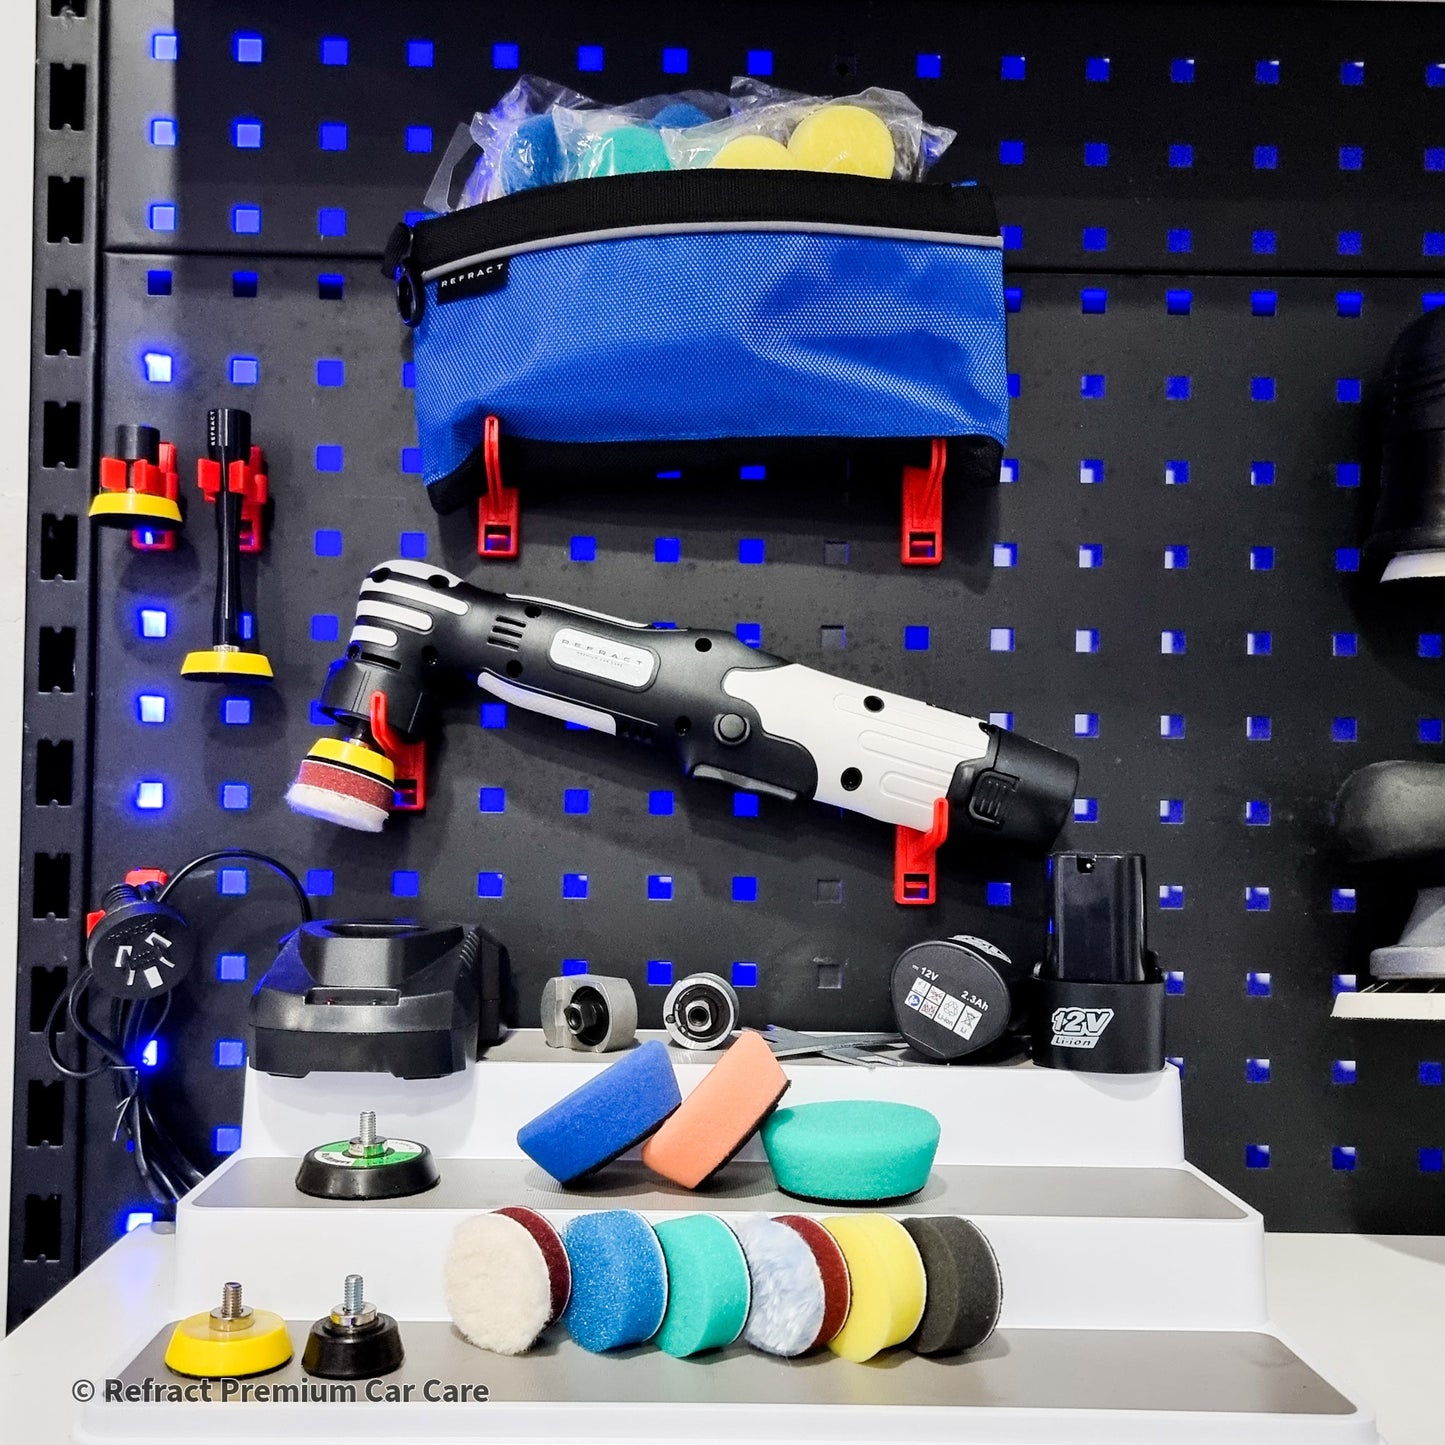
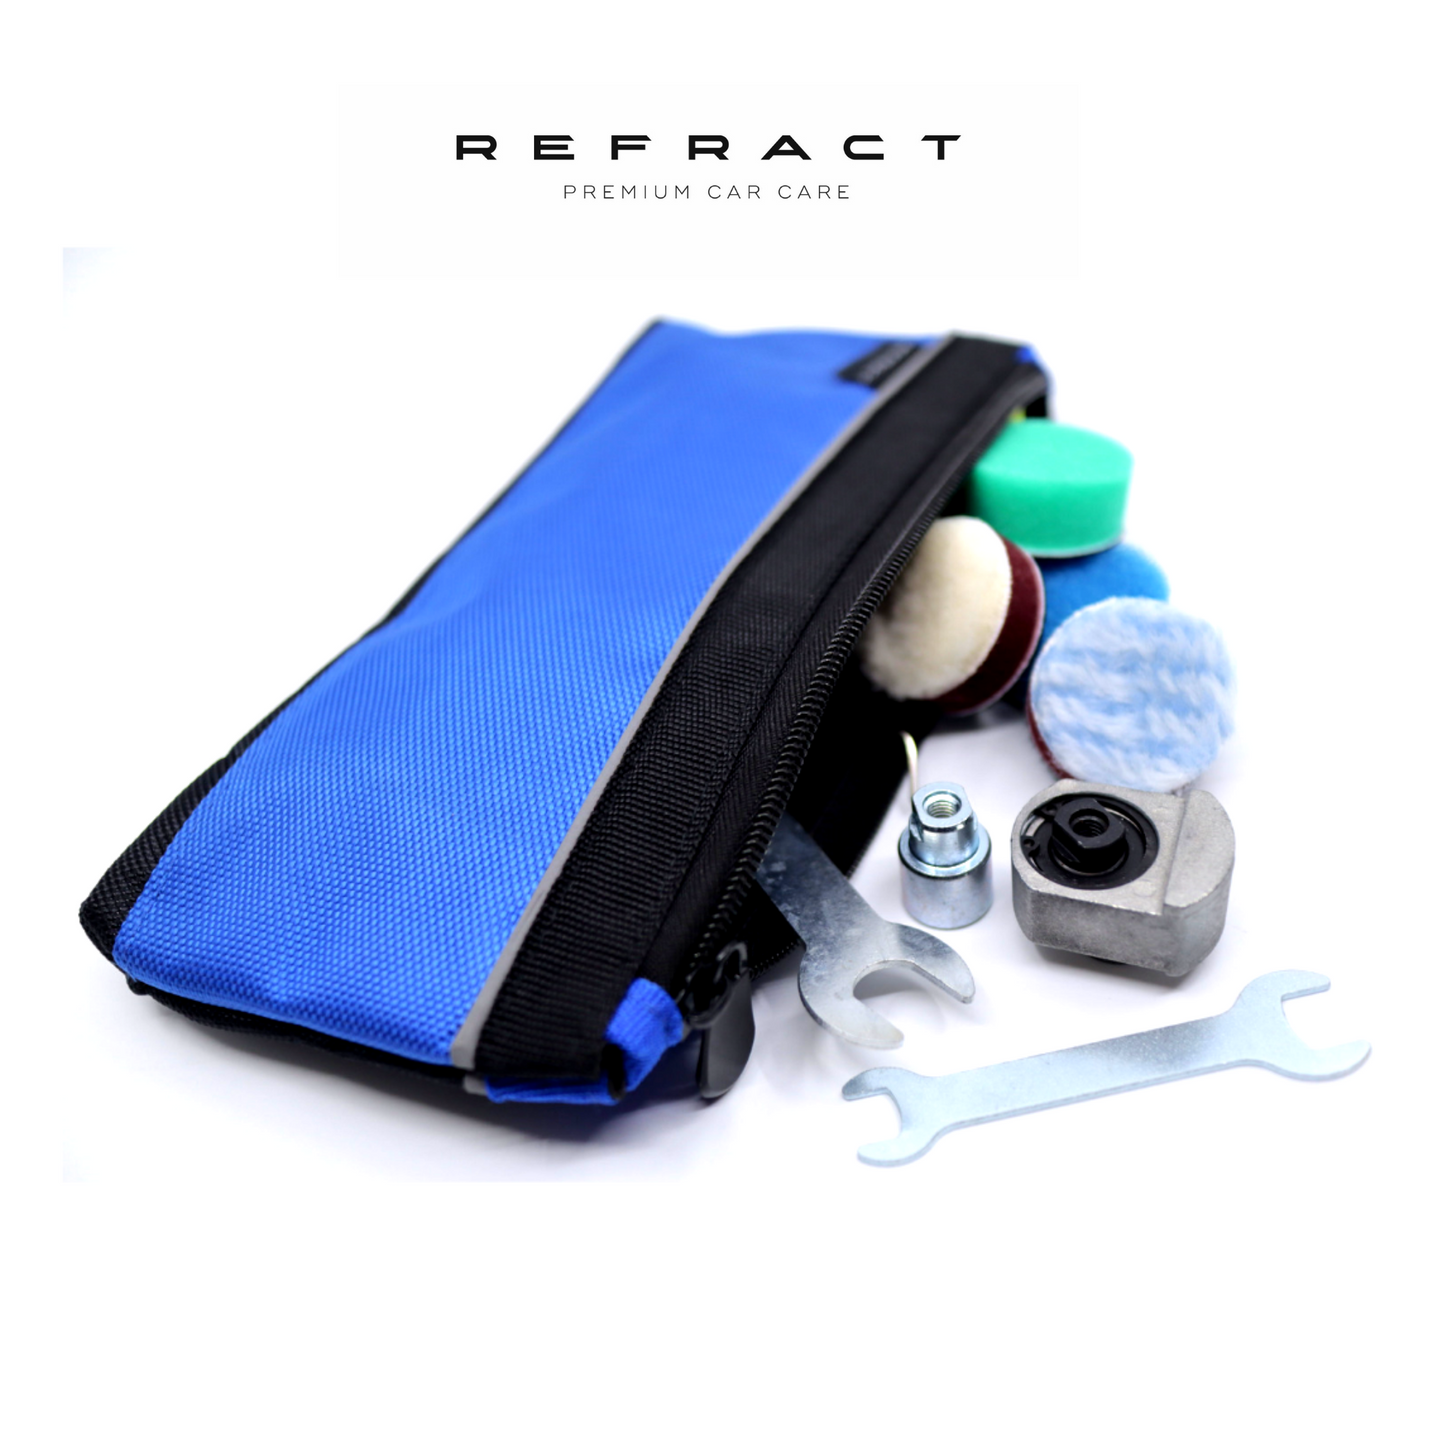
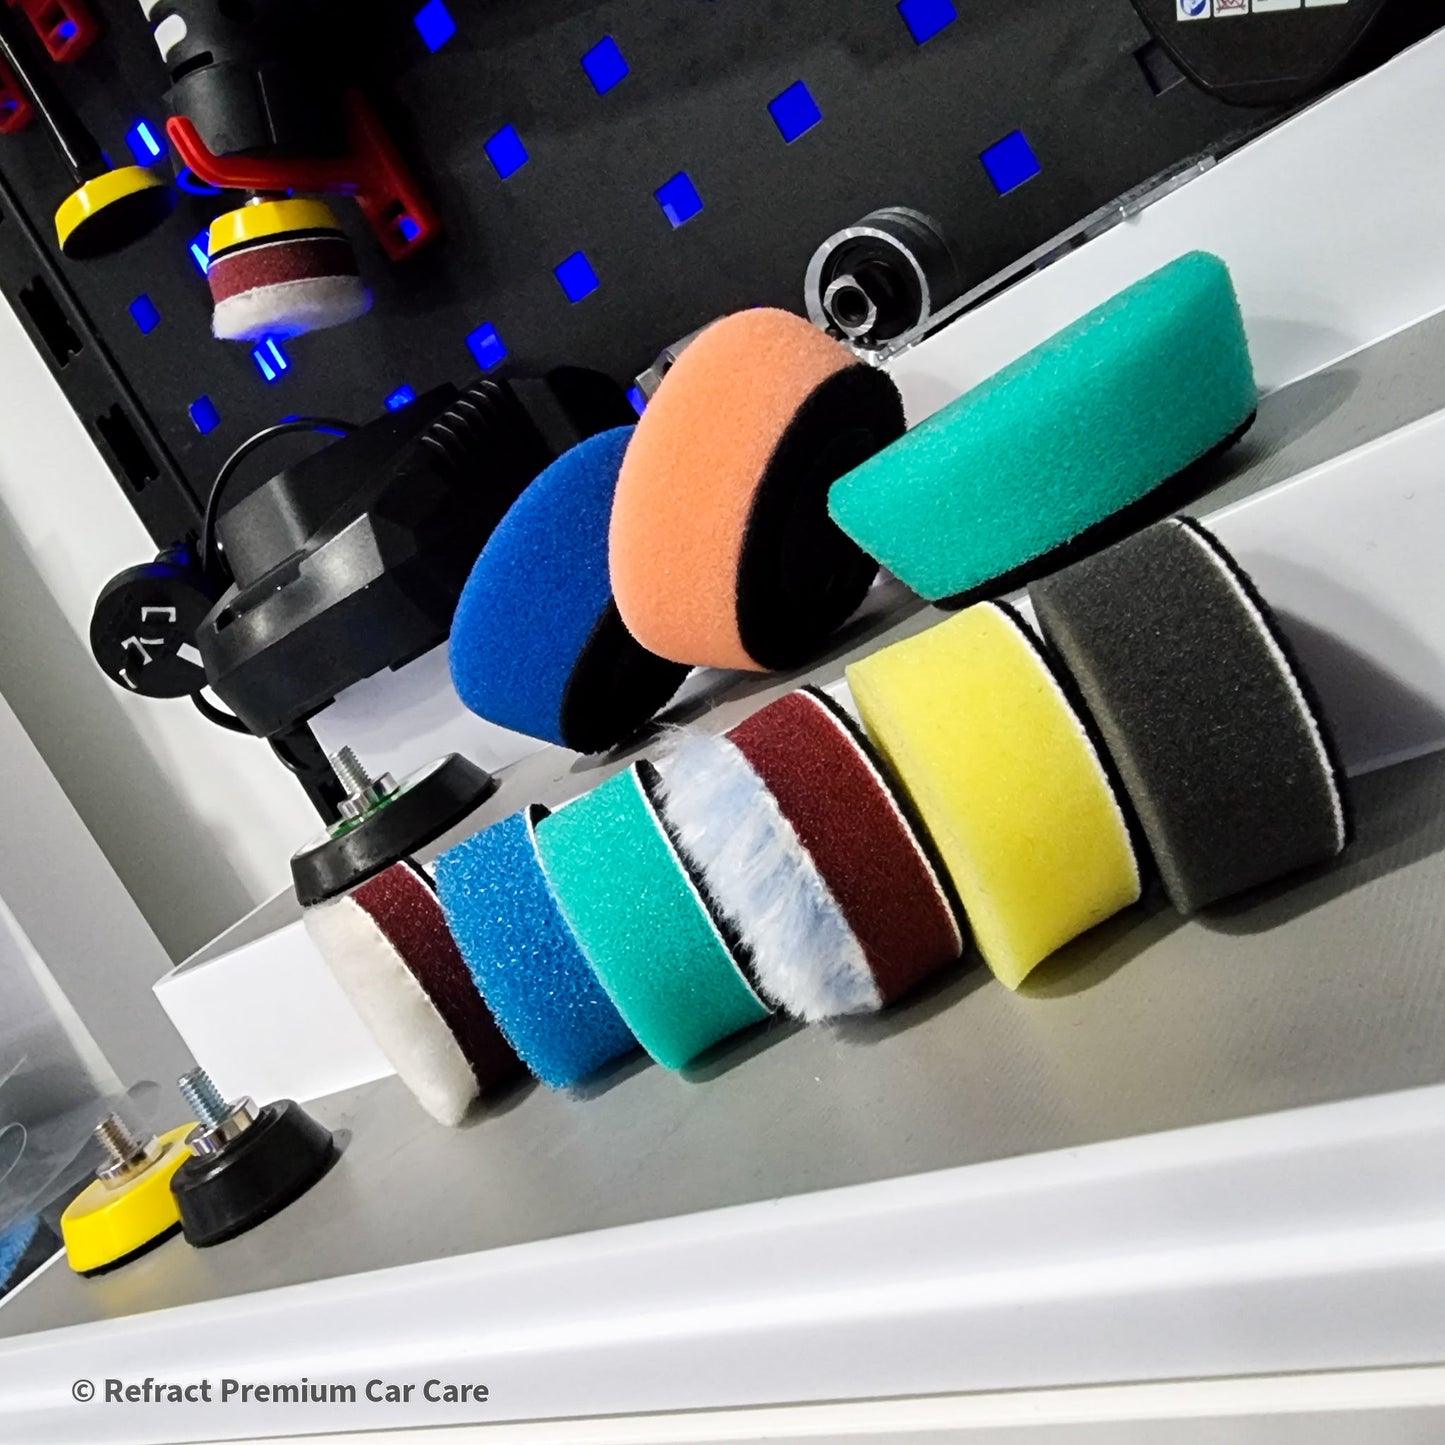
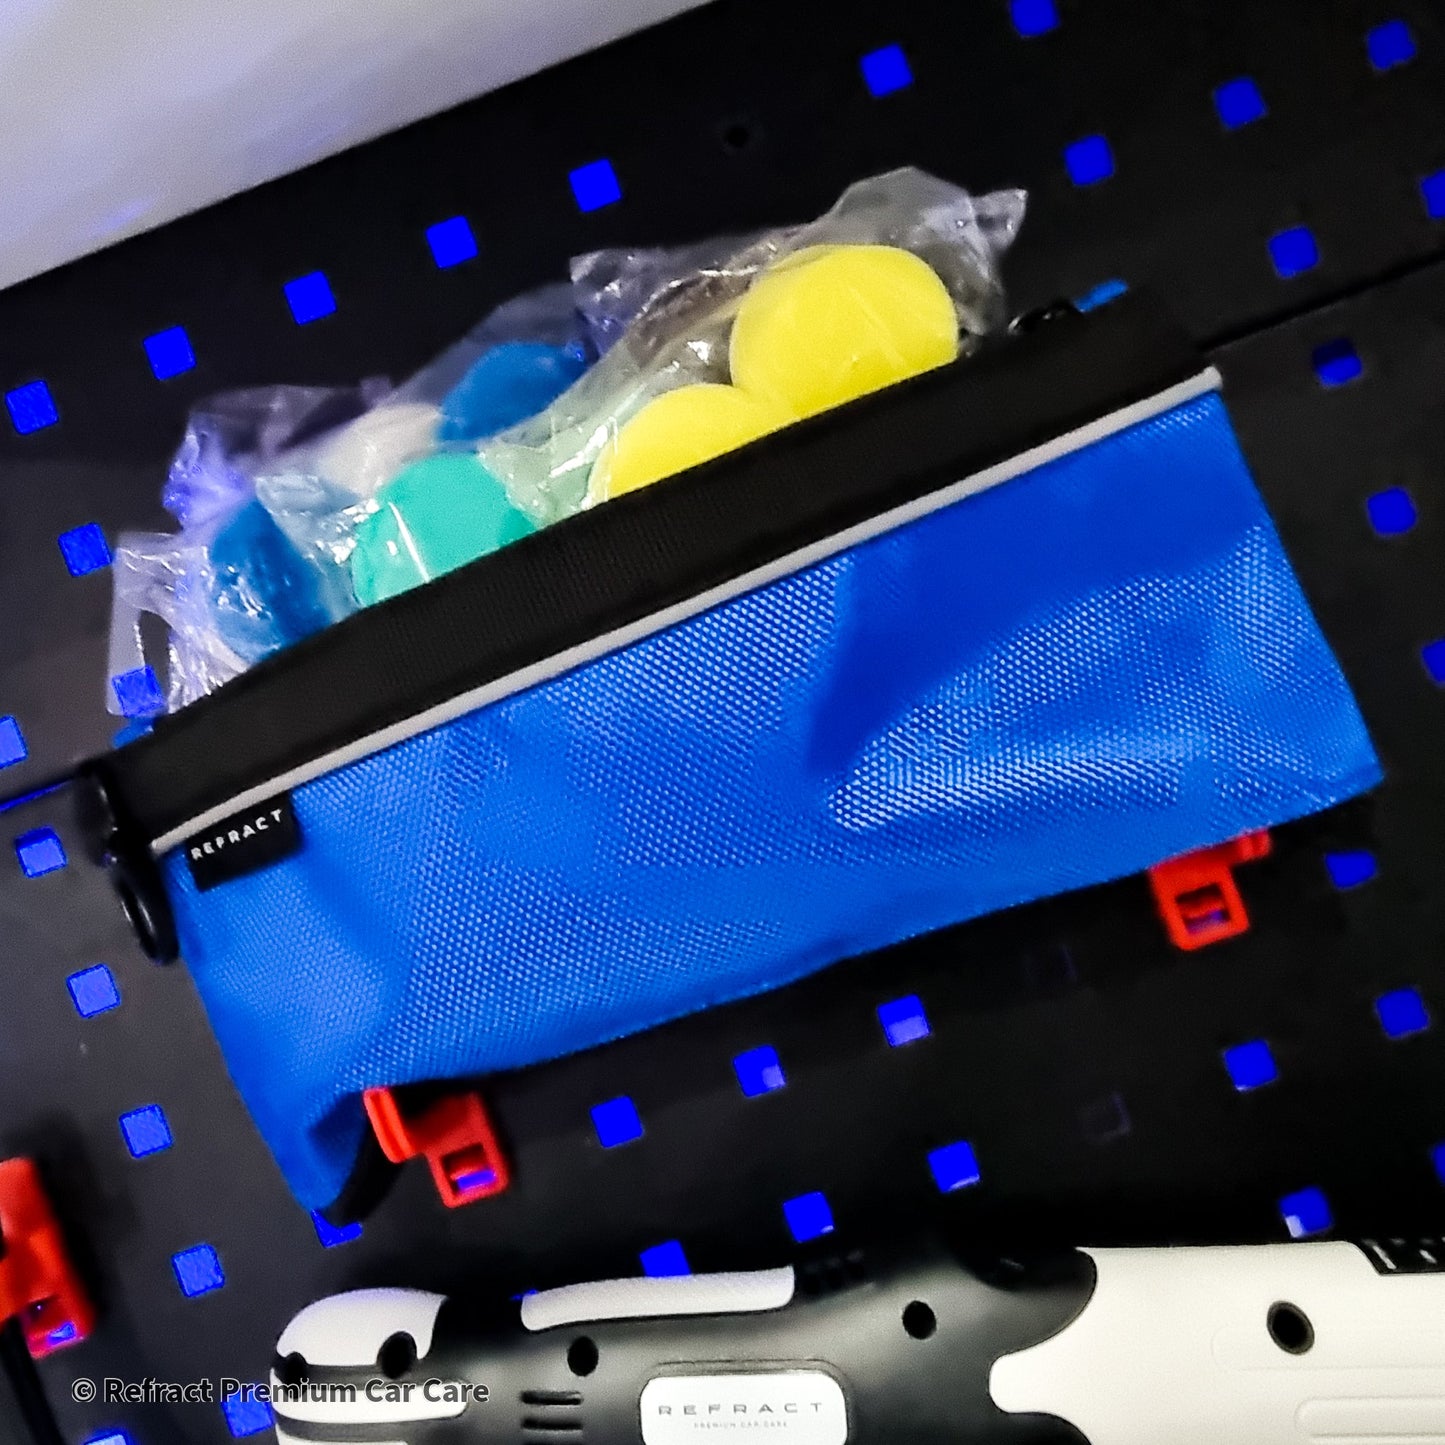
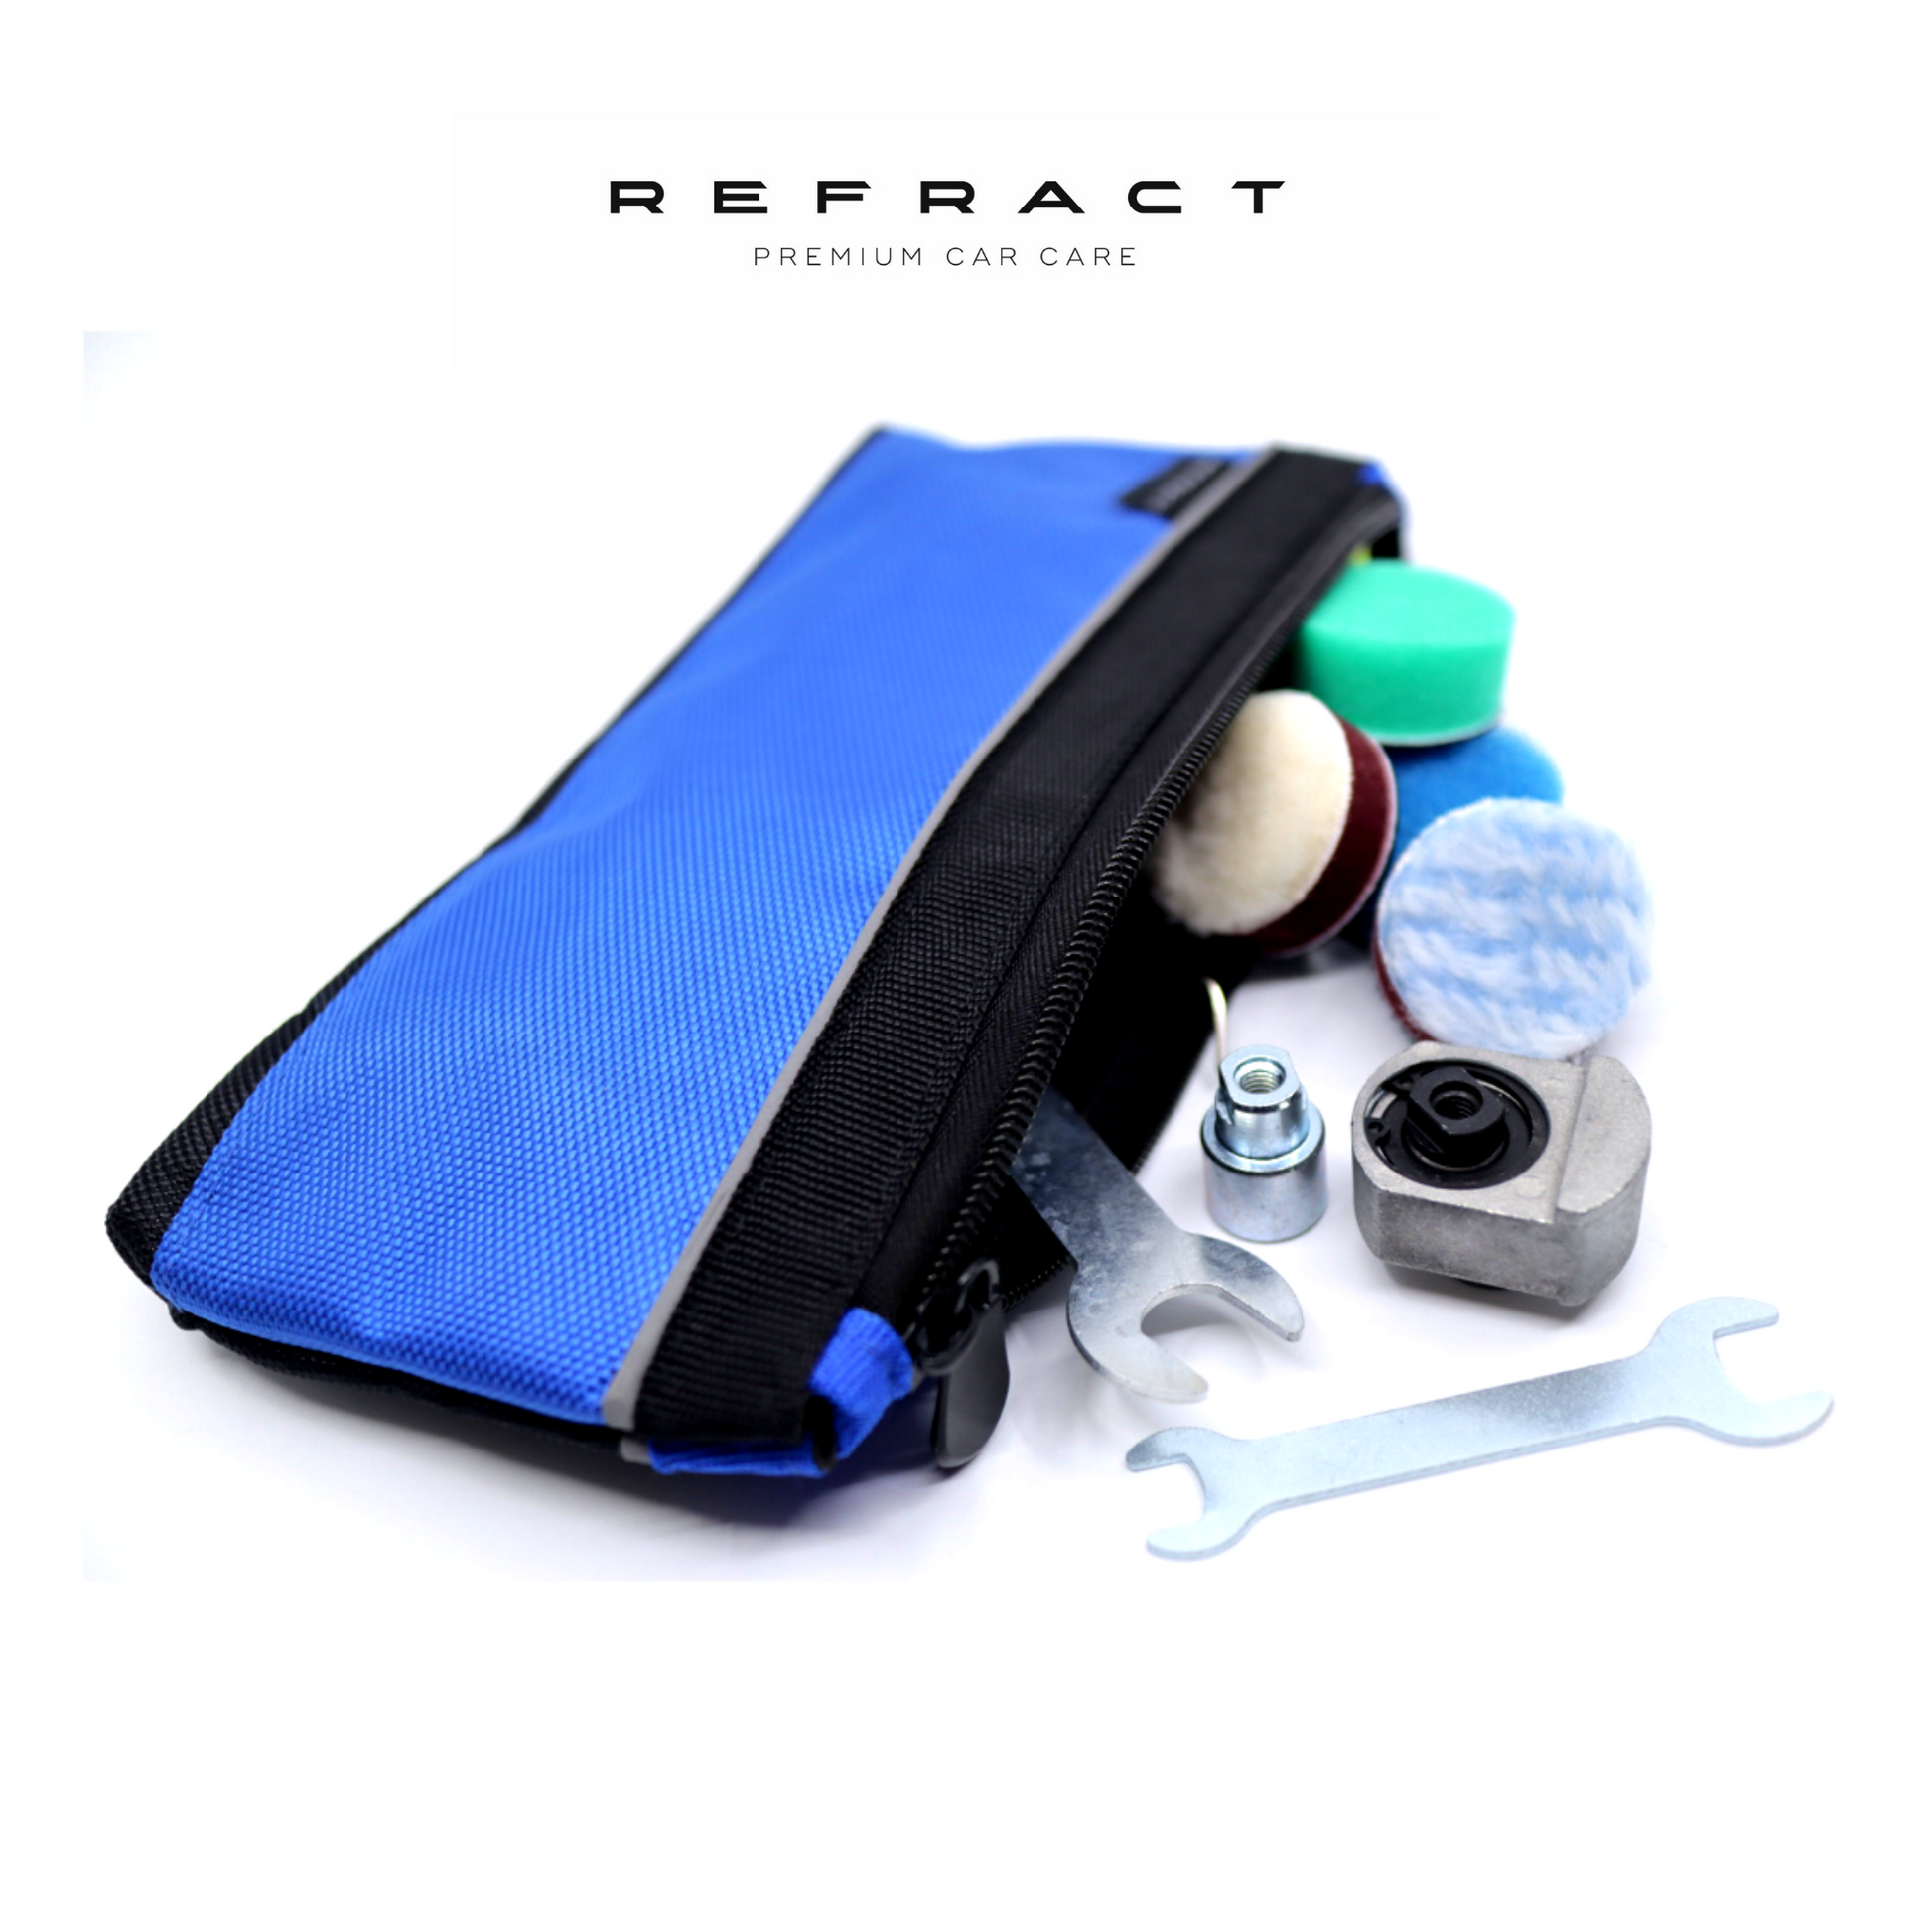
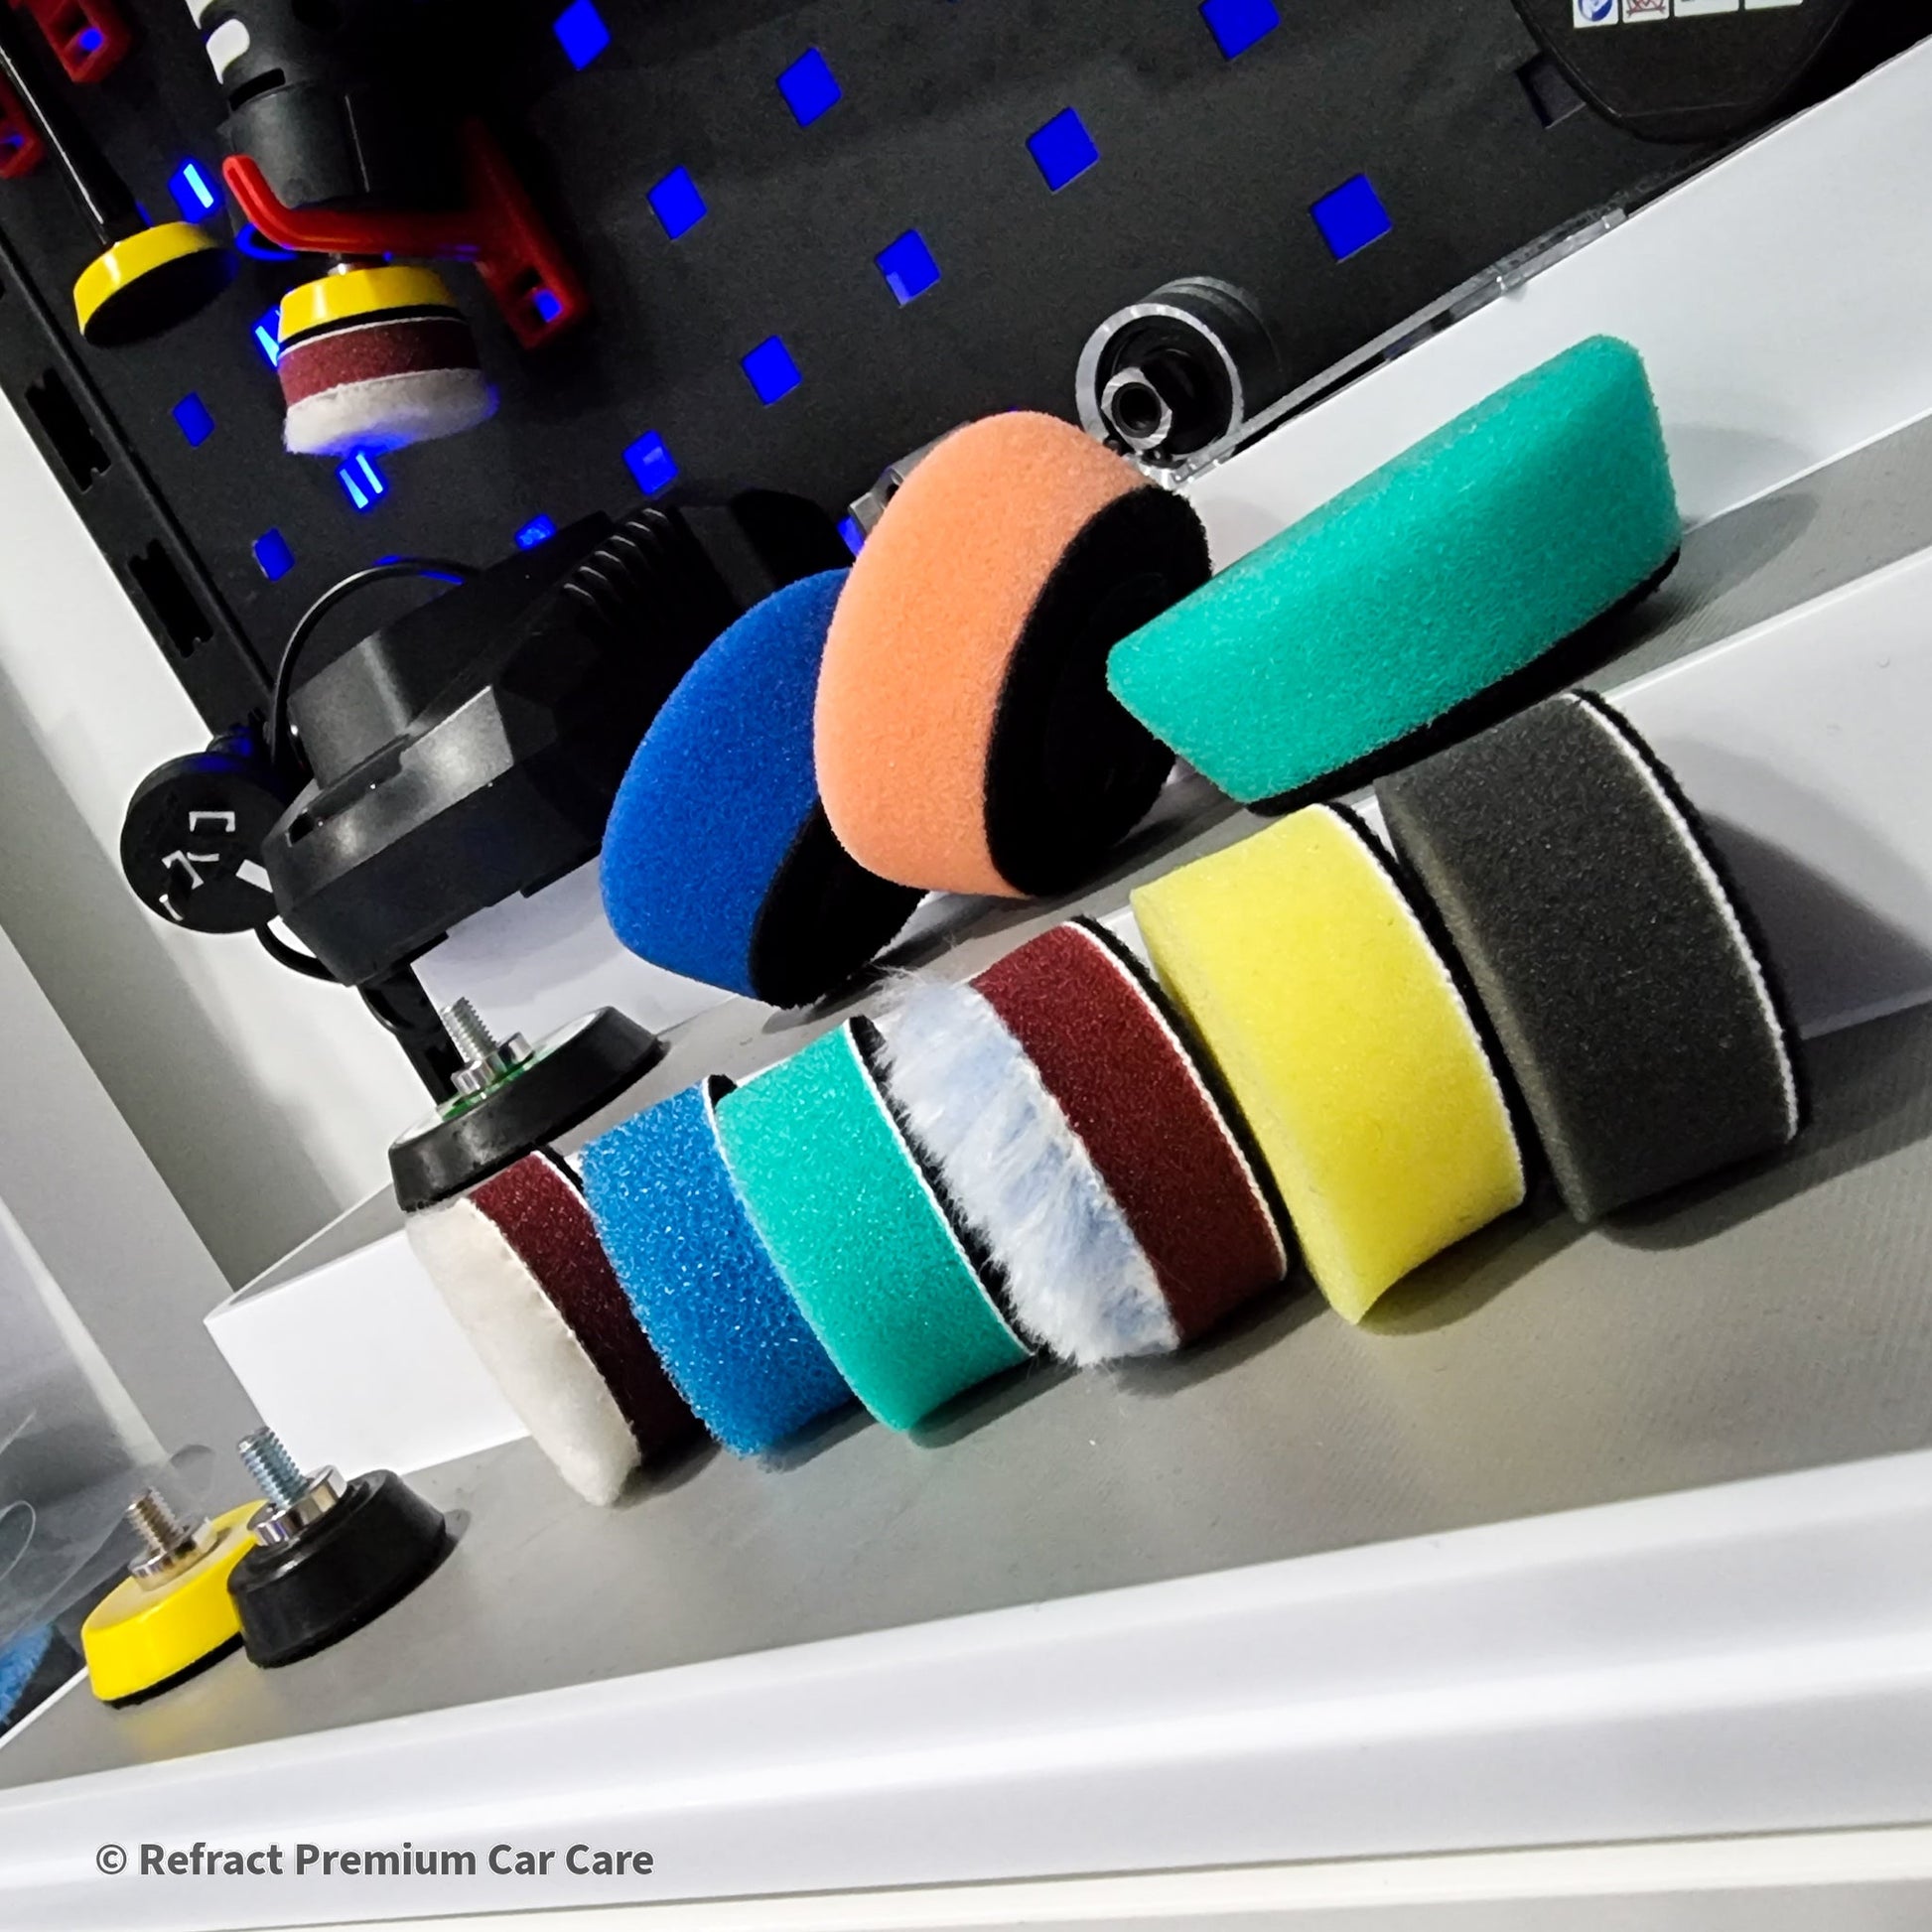
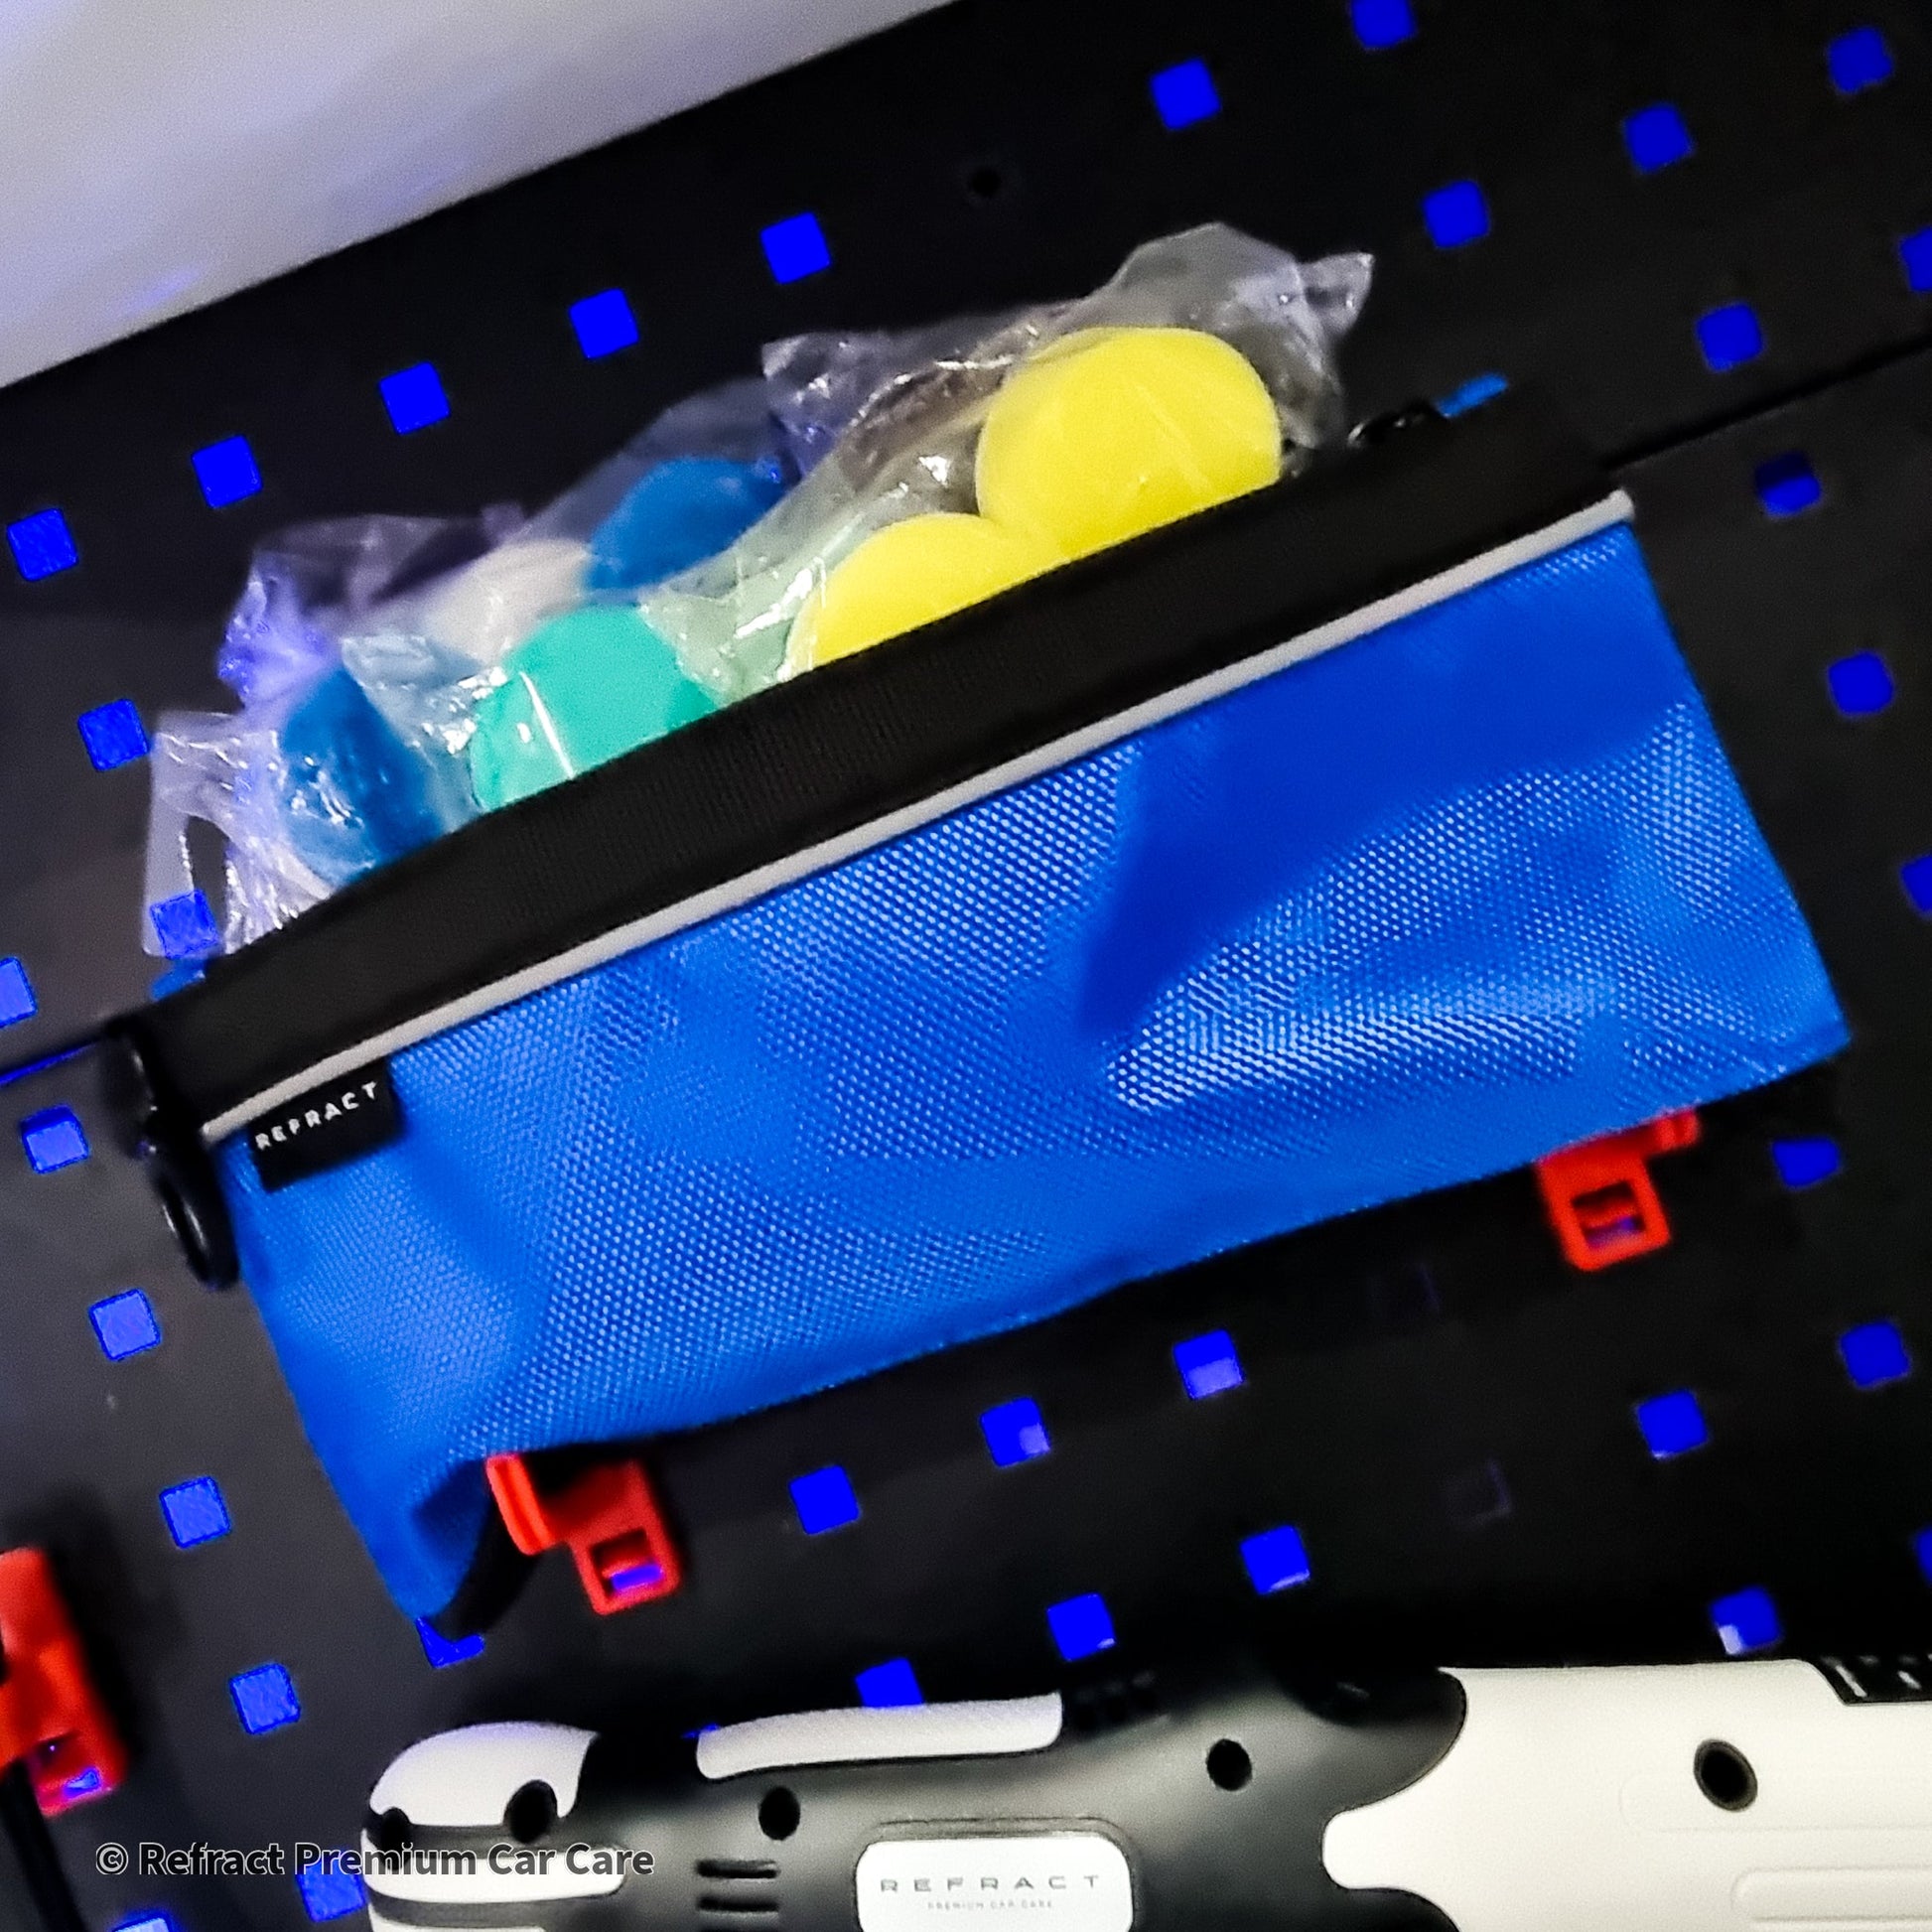
6 x 5-Packs of our 40mm Refract mini pads with the full range of Refract X-Heavy Cutting Wool Pads through to our Fine Finishing Foams! (30 Pads)
1 x 50mm Hook & Loop Backing Plate with 3 x 50mm Tapered Foam Pads Included. (Cut, Polish, Finish)
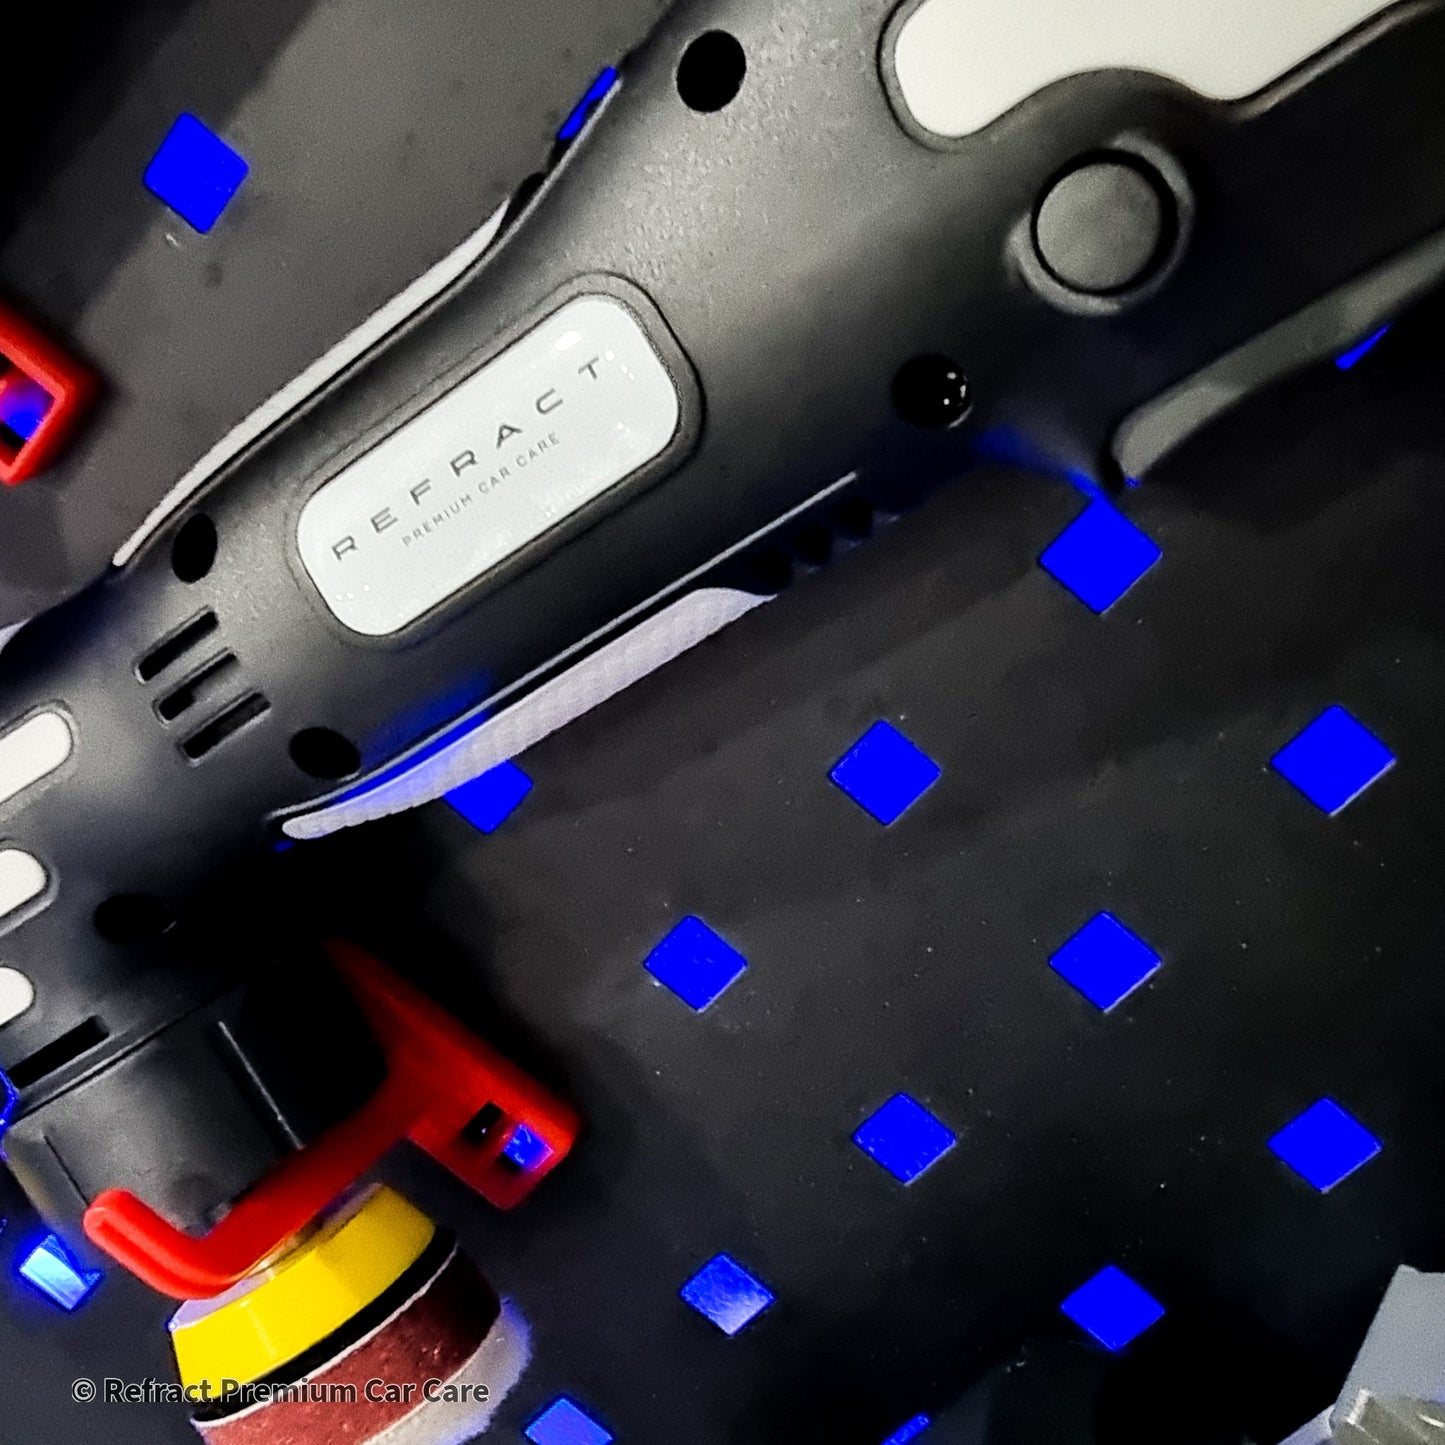
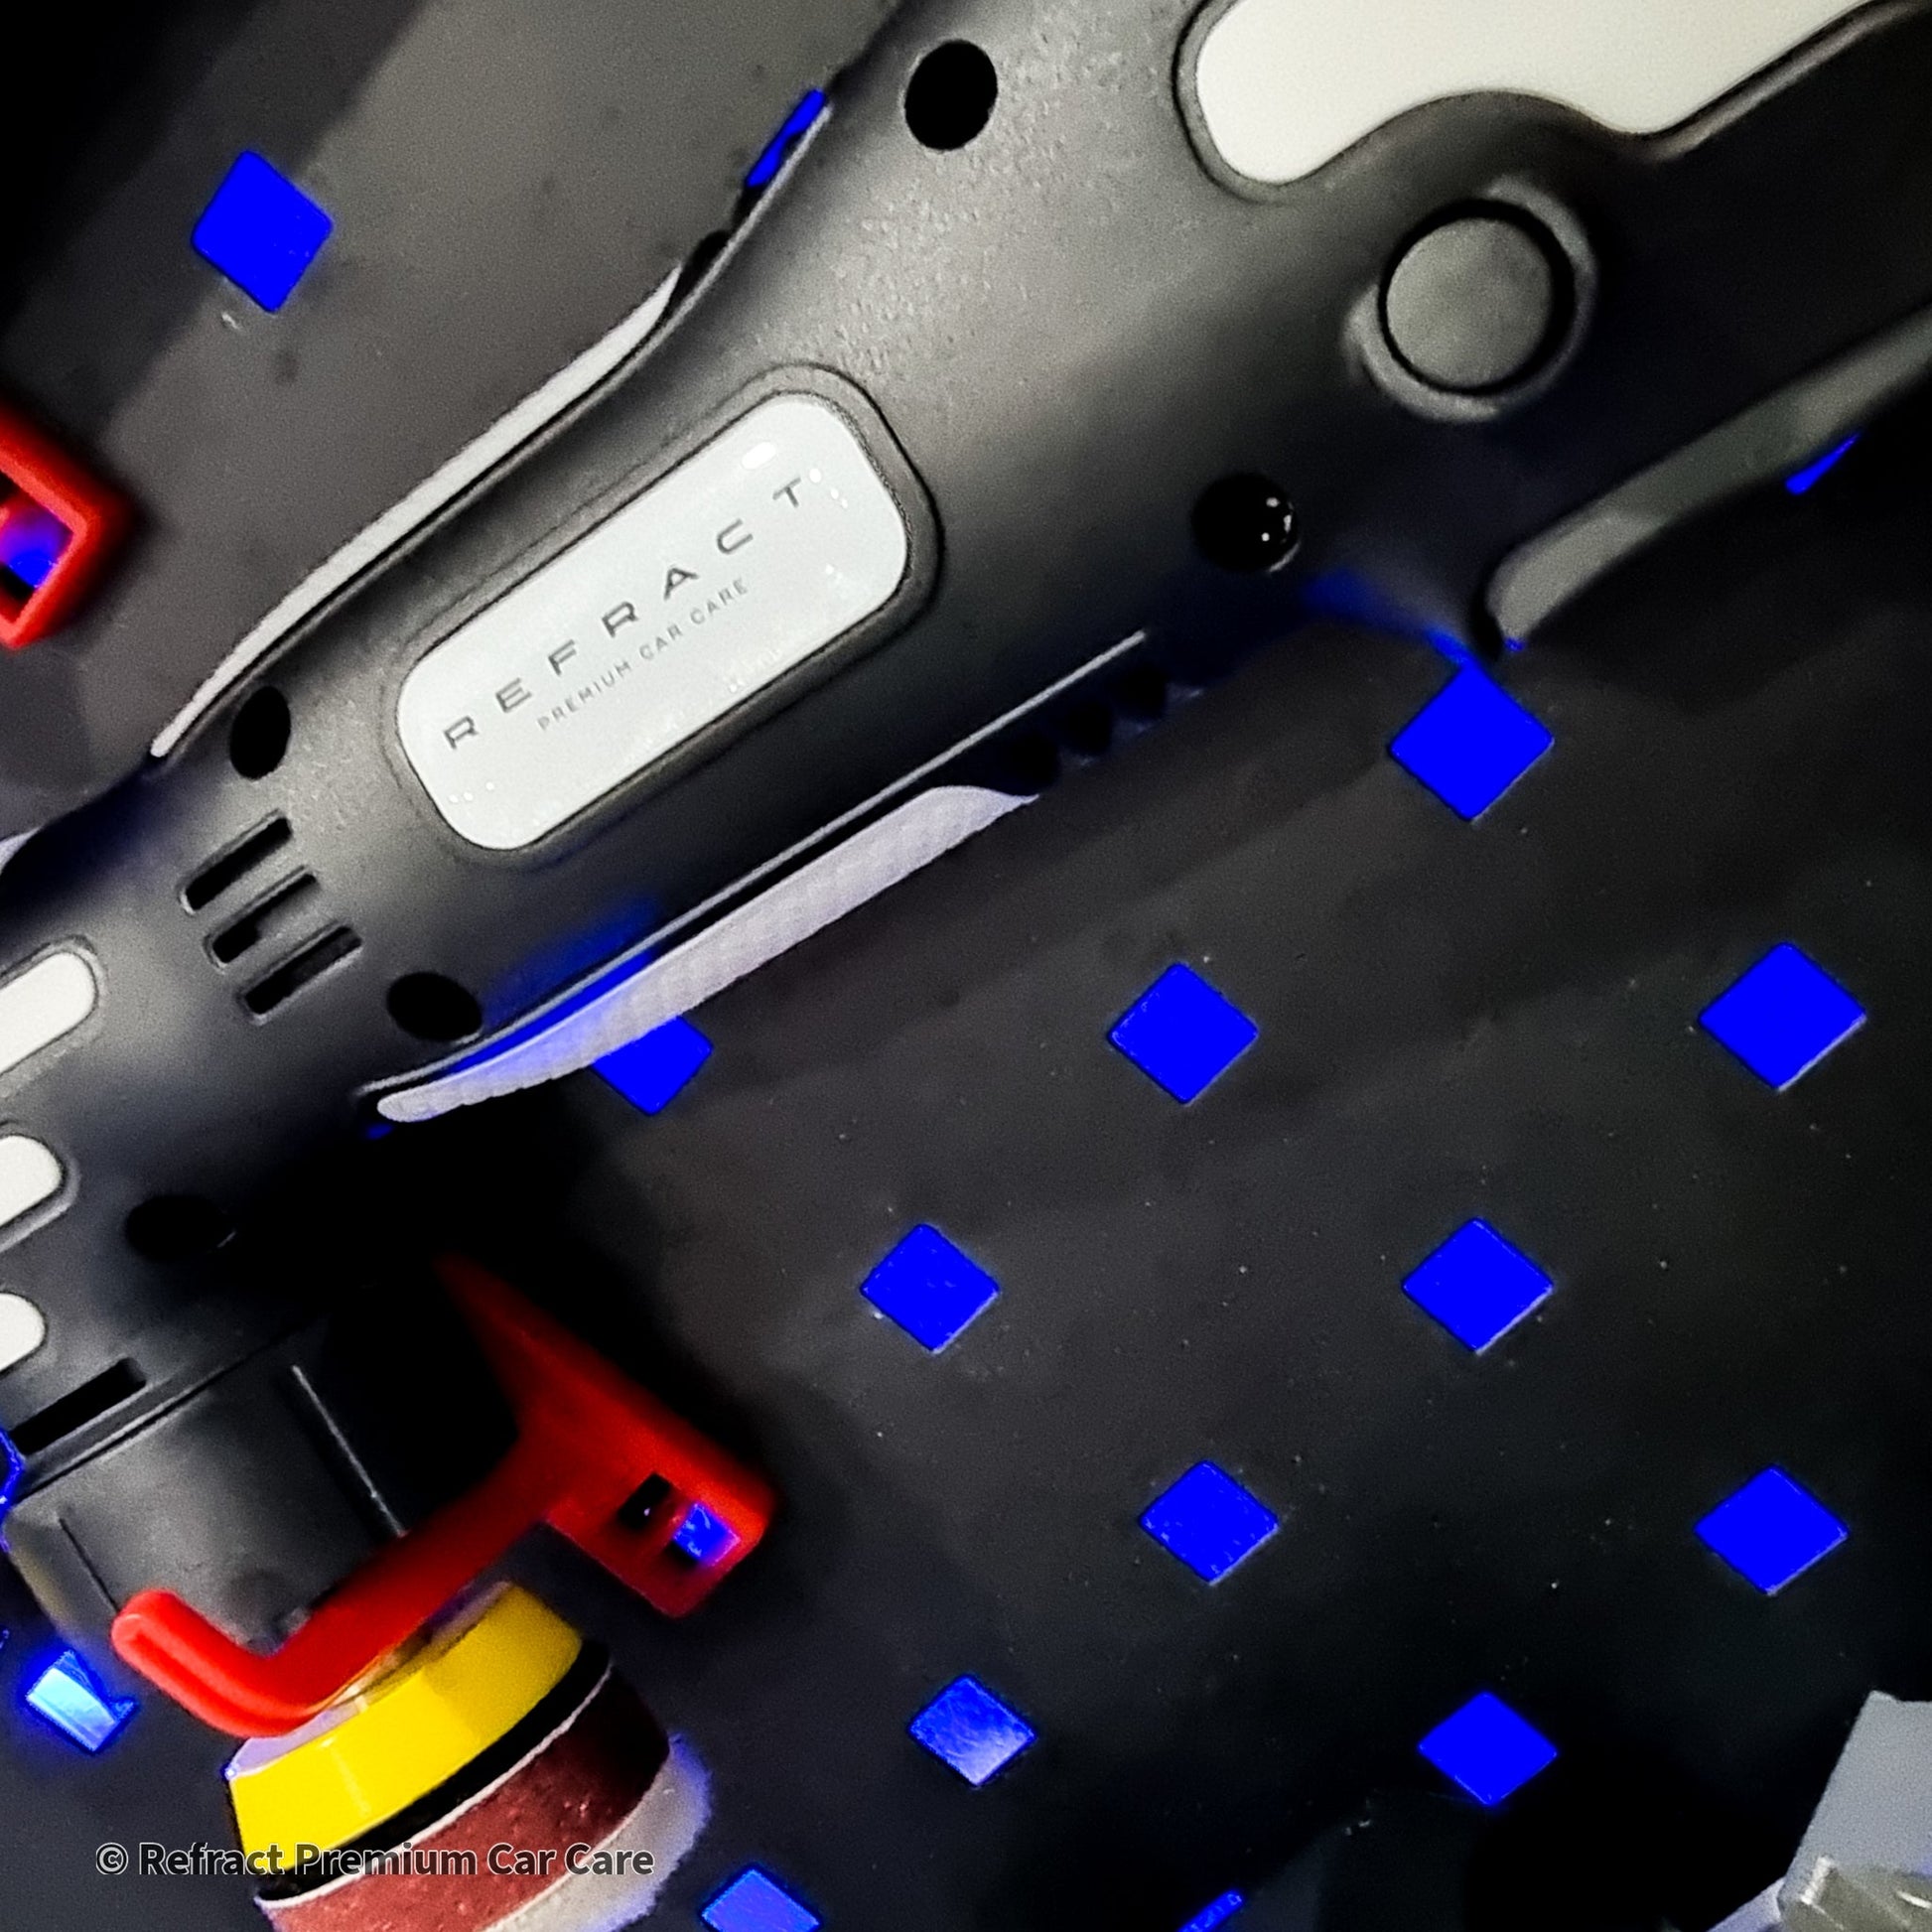
1 x Custom Internal 80 Watt 12V Mini Polisher
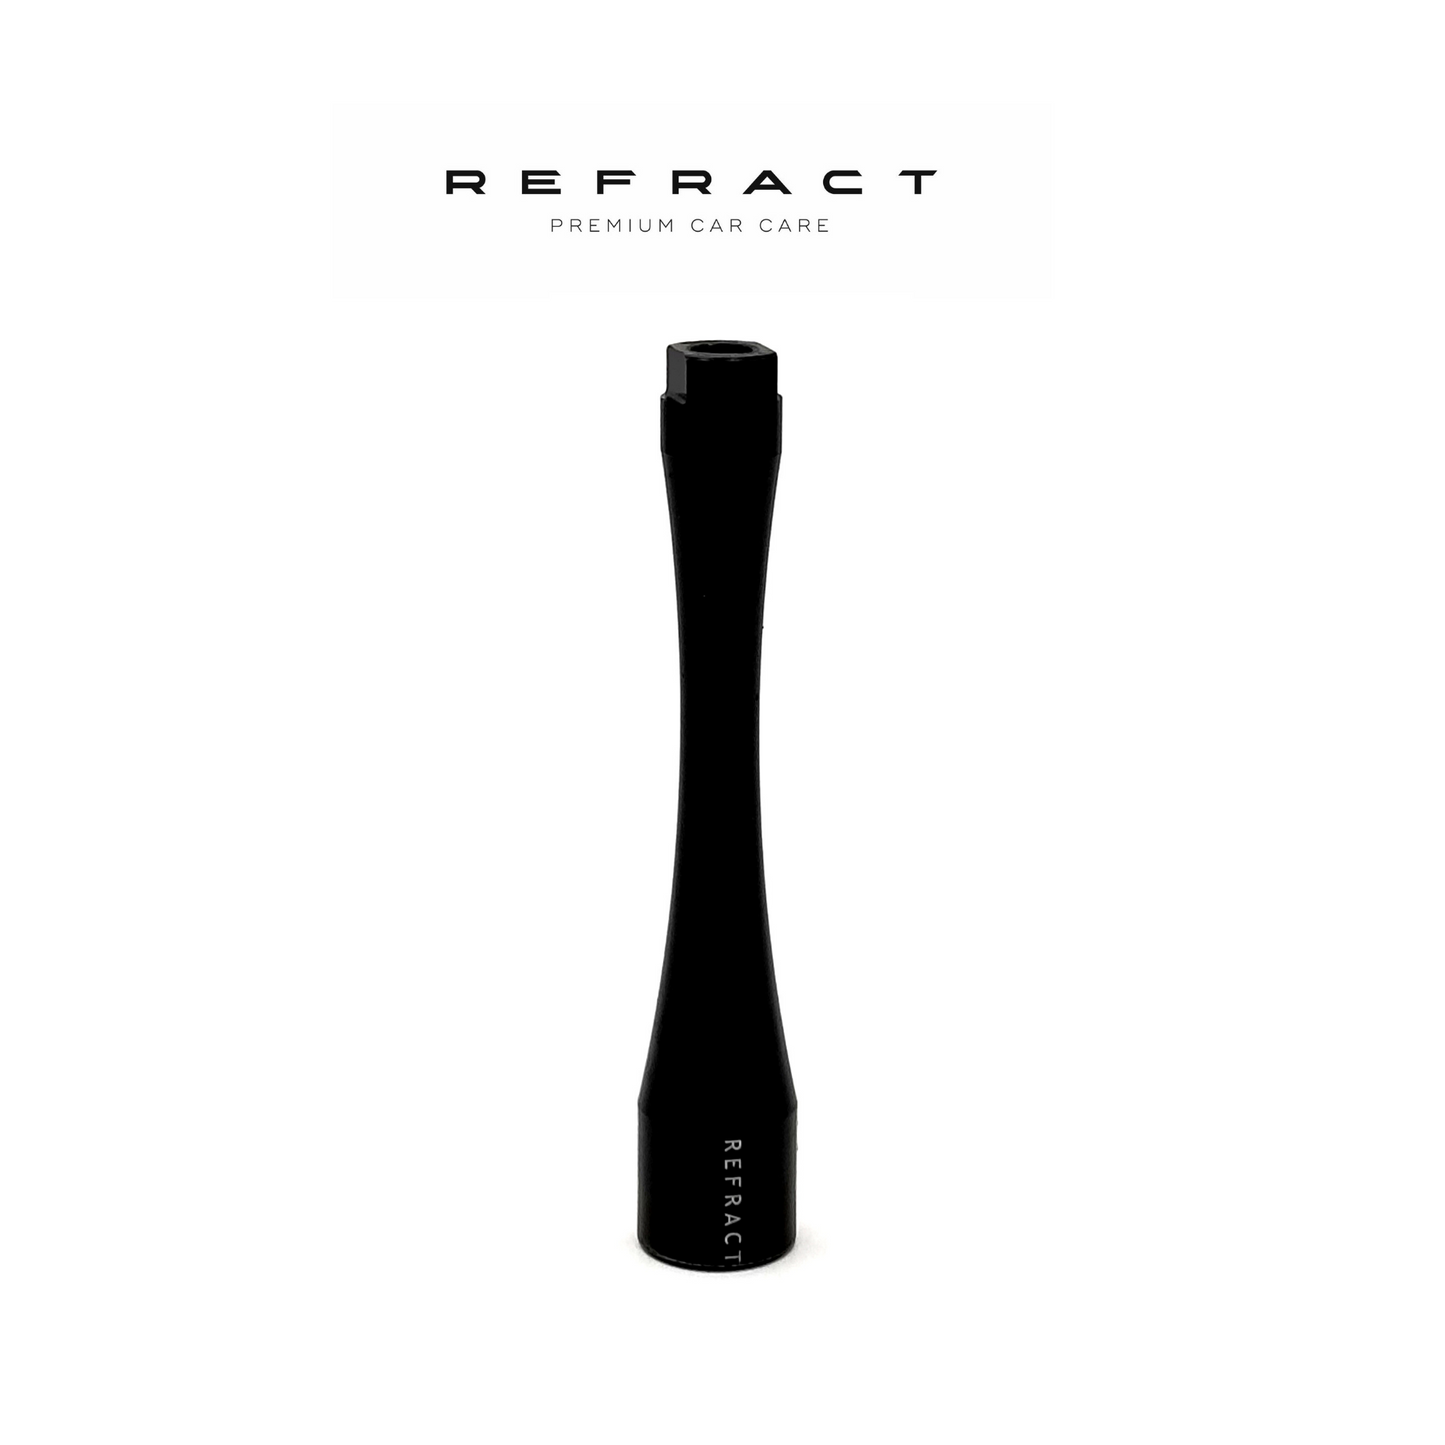
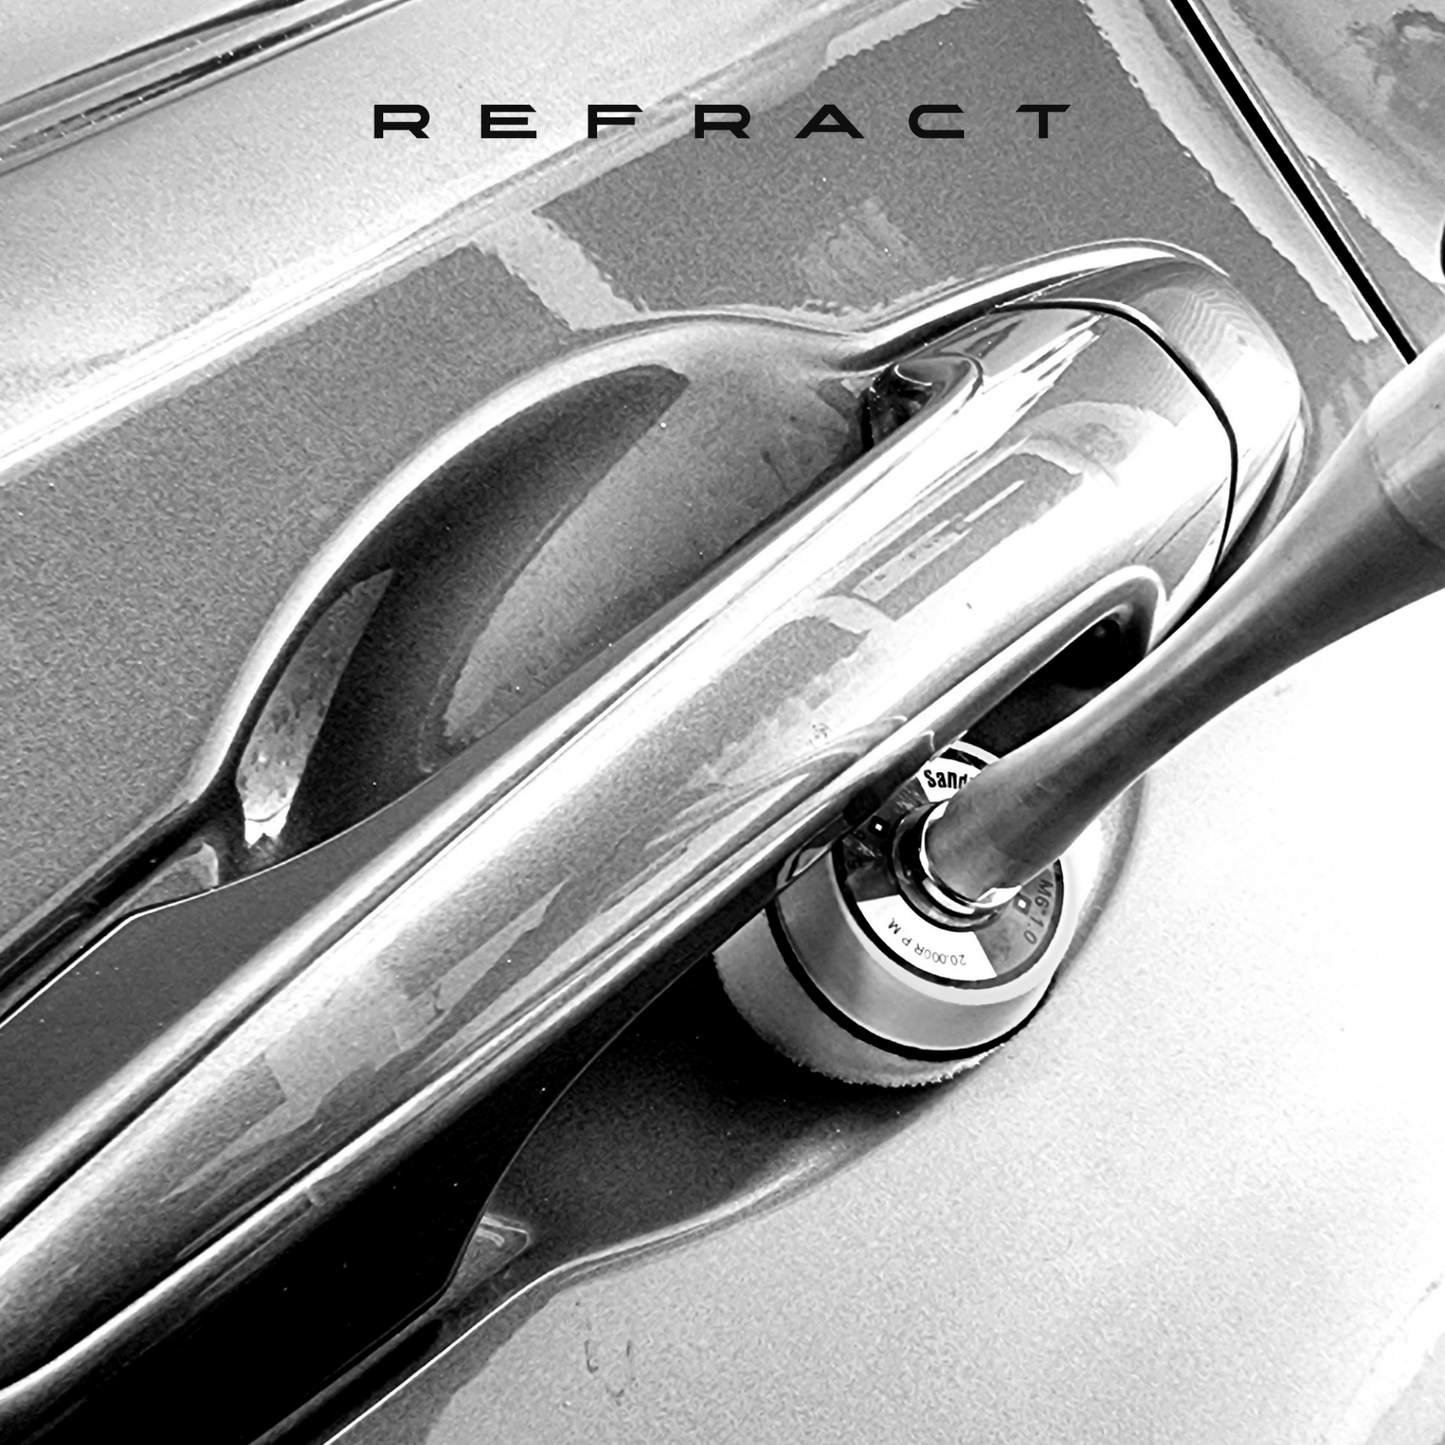
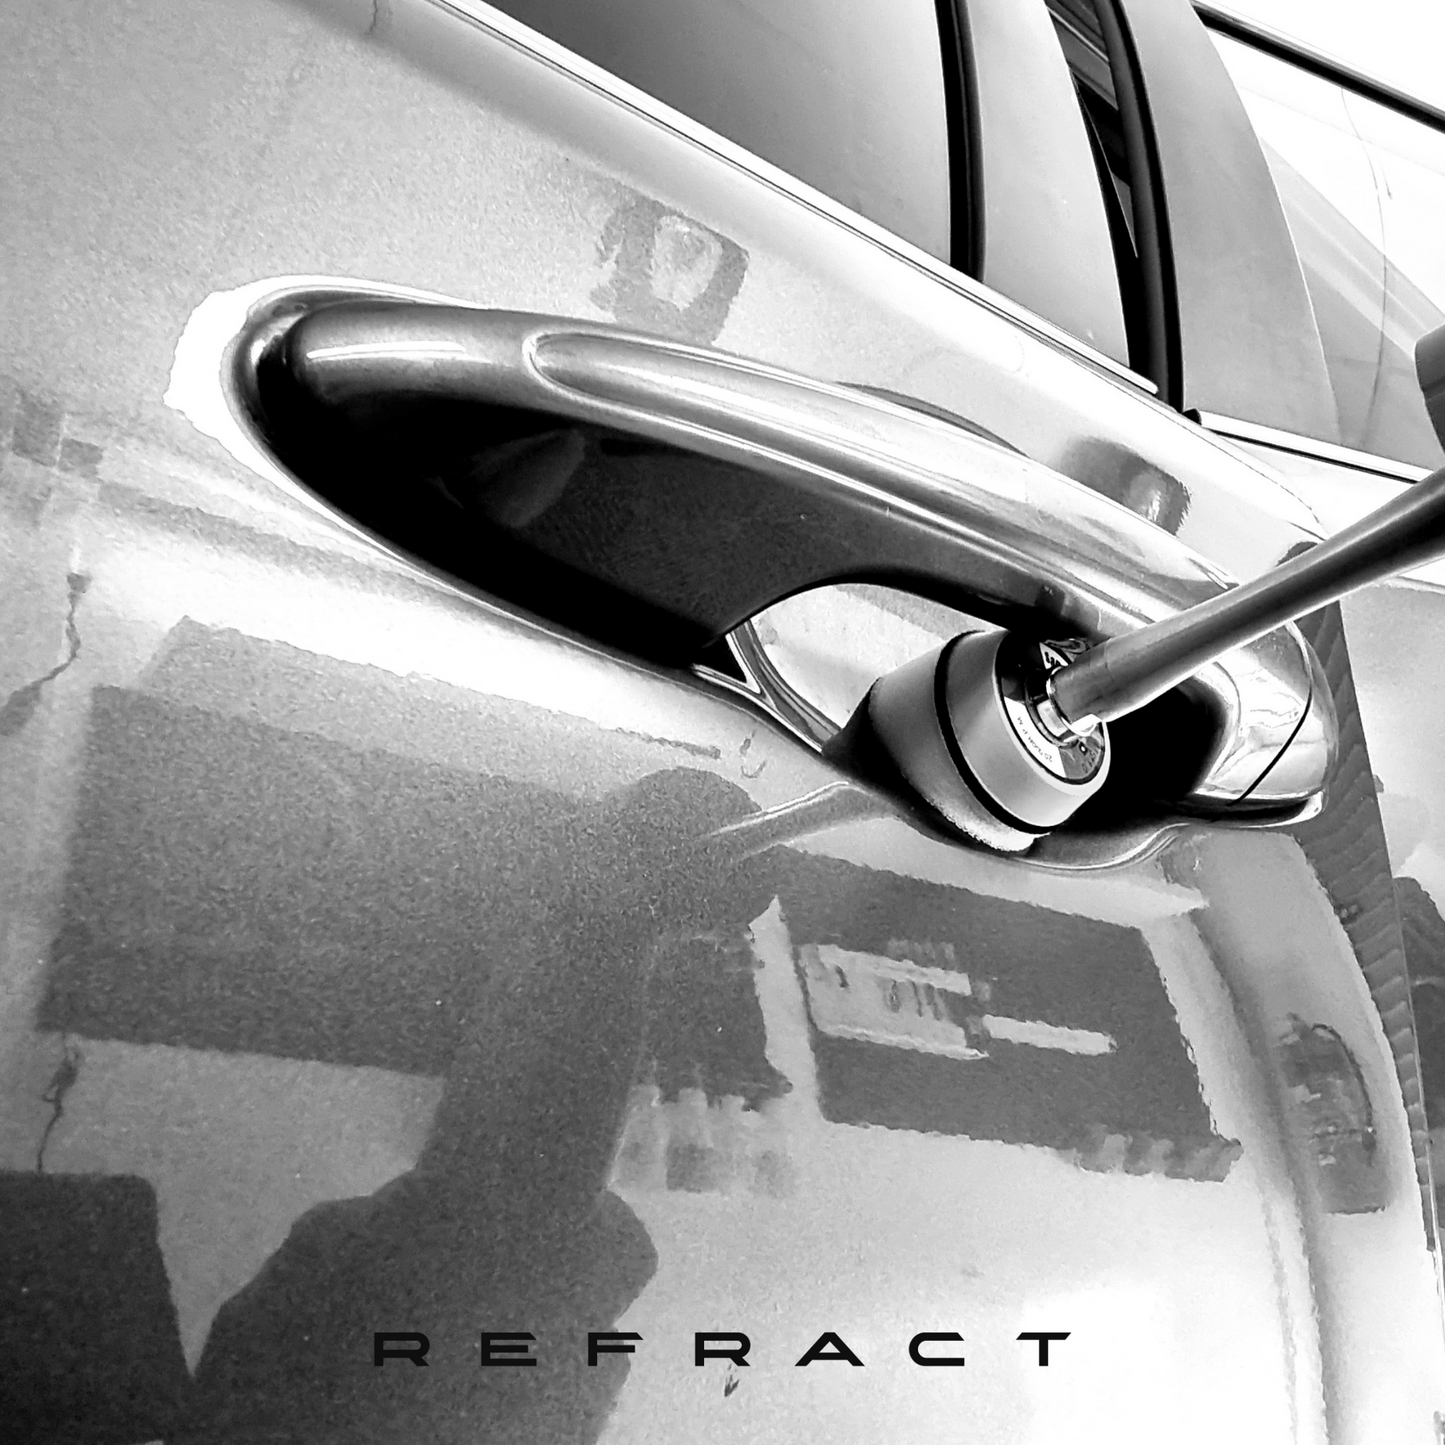
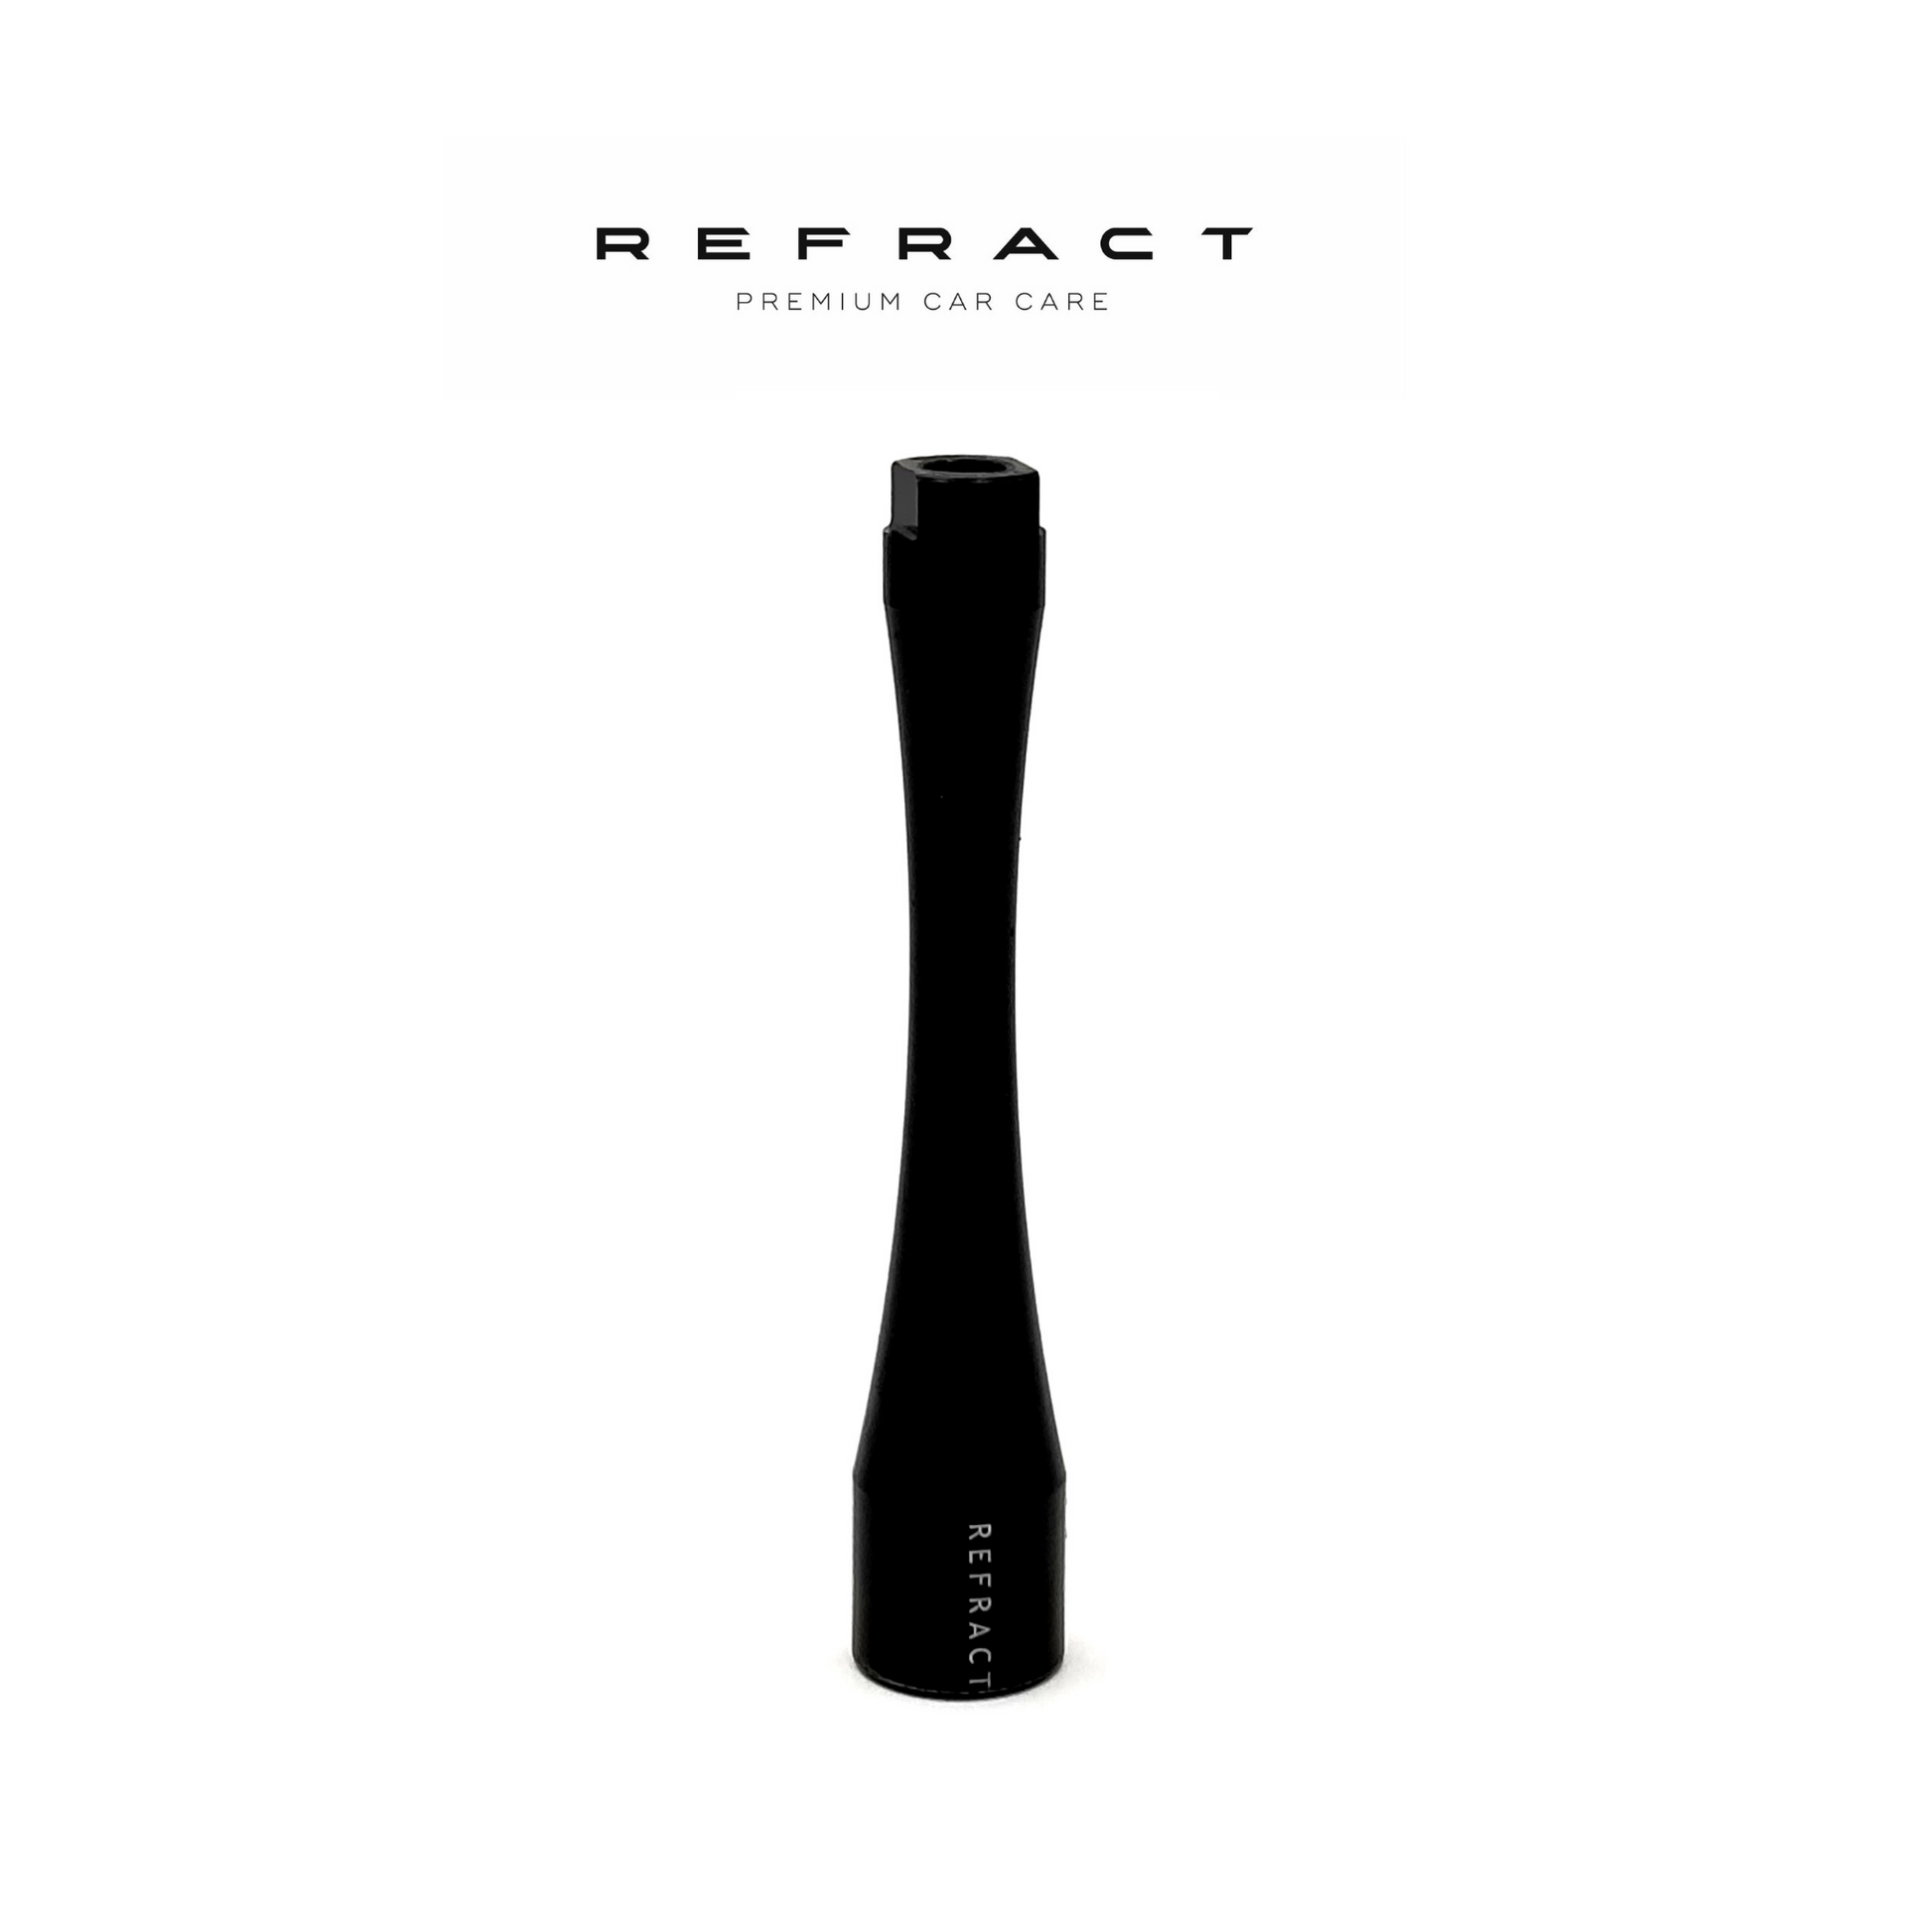
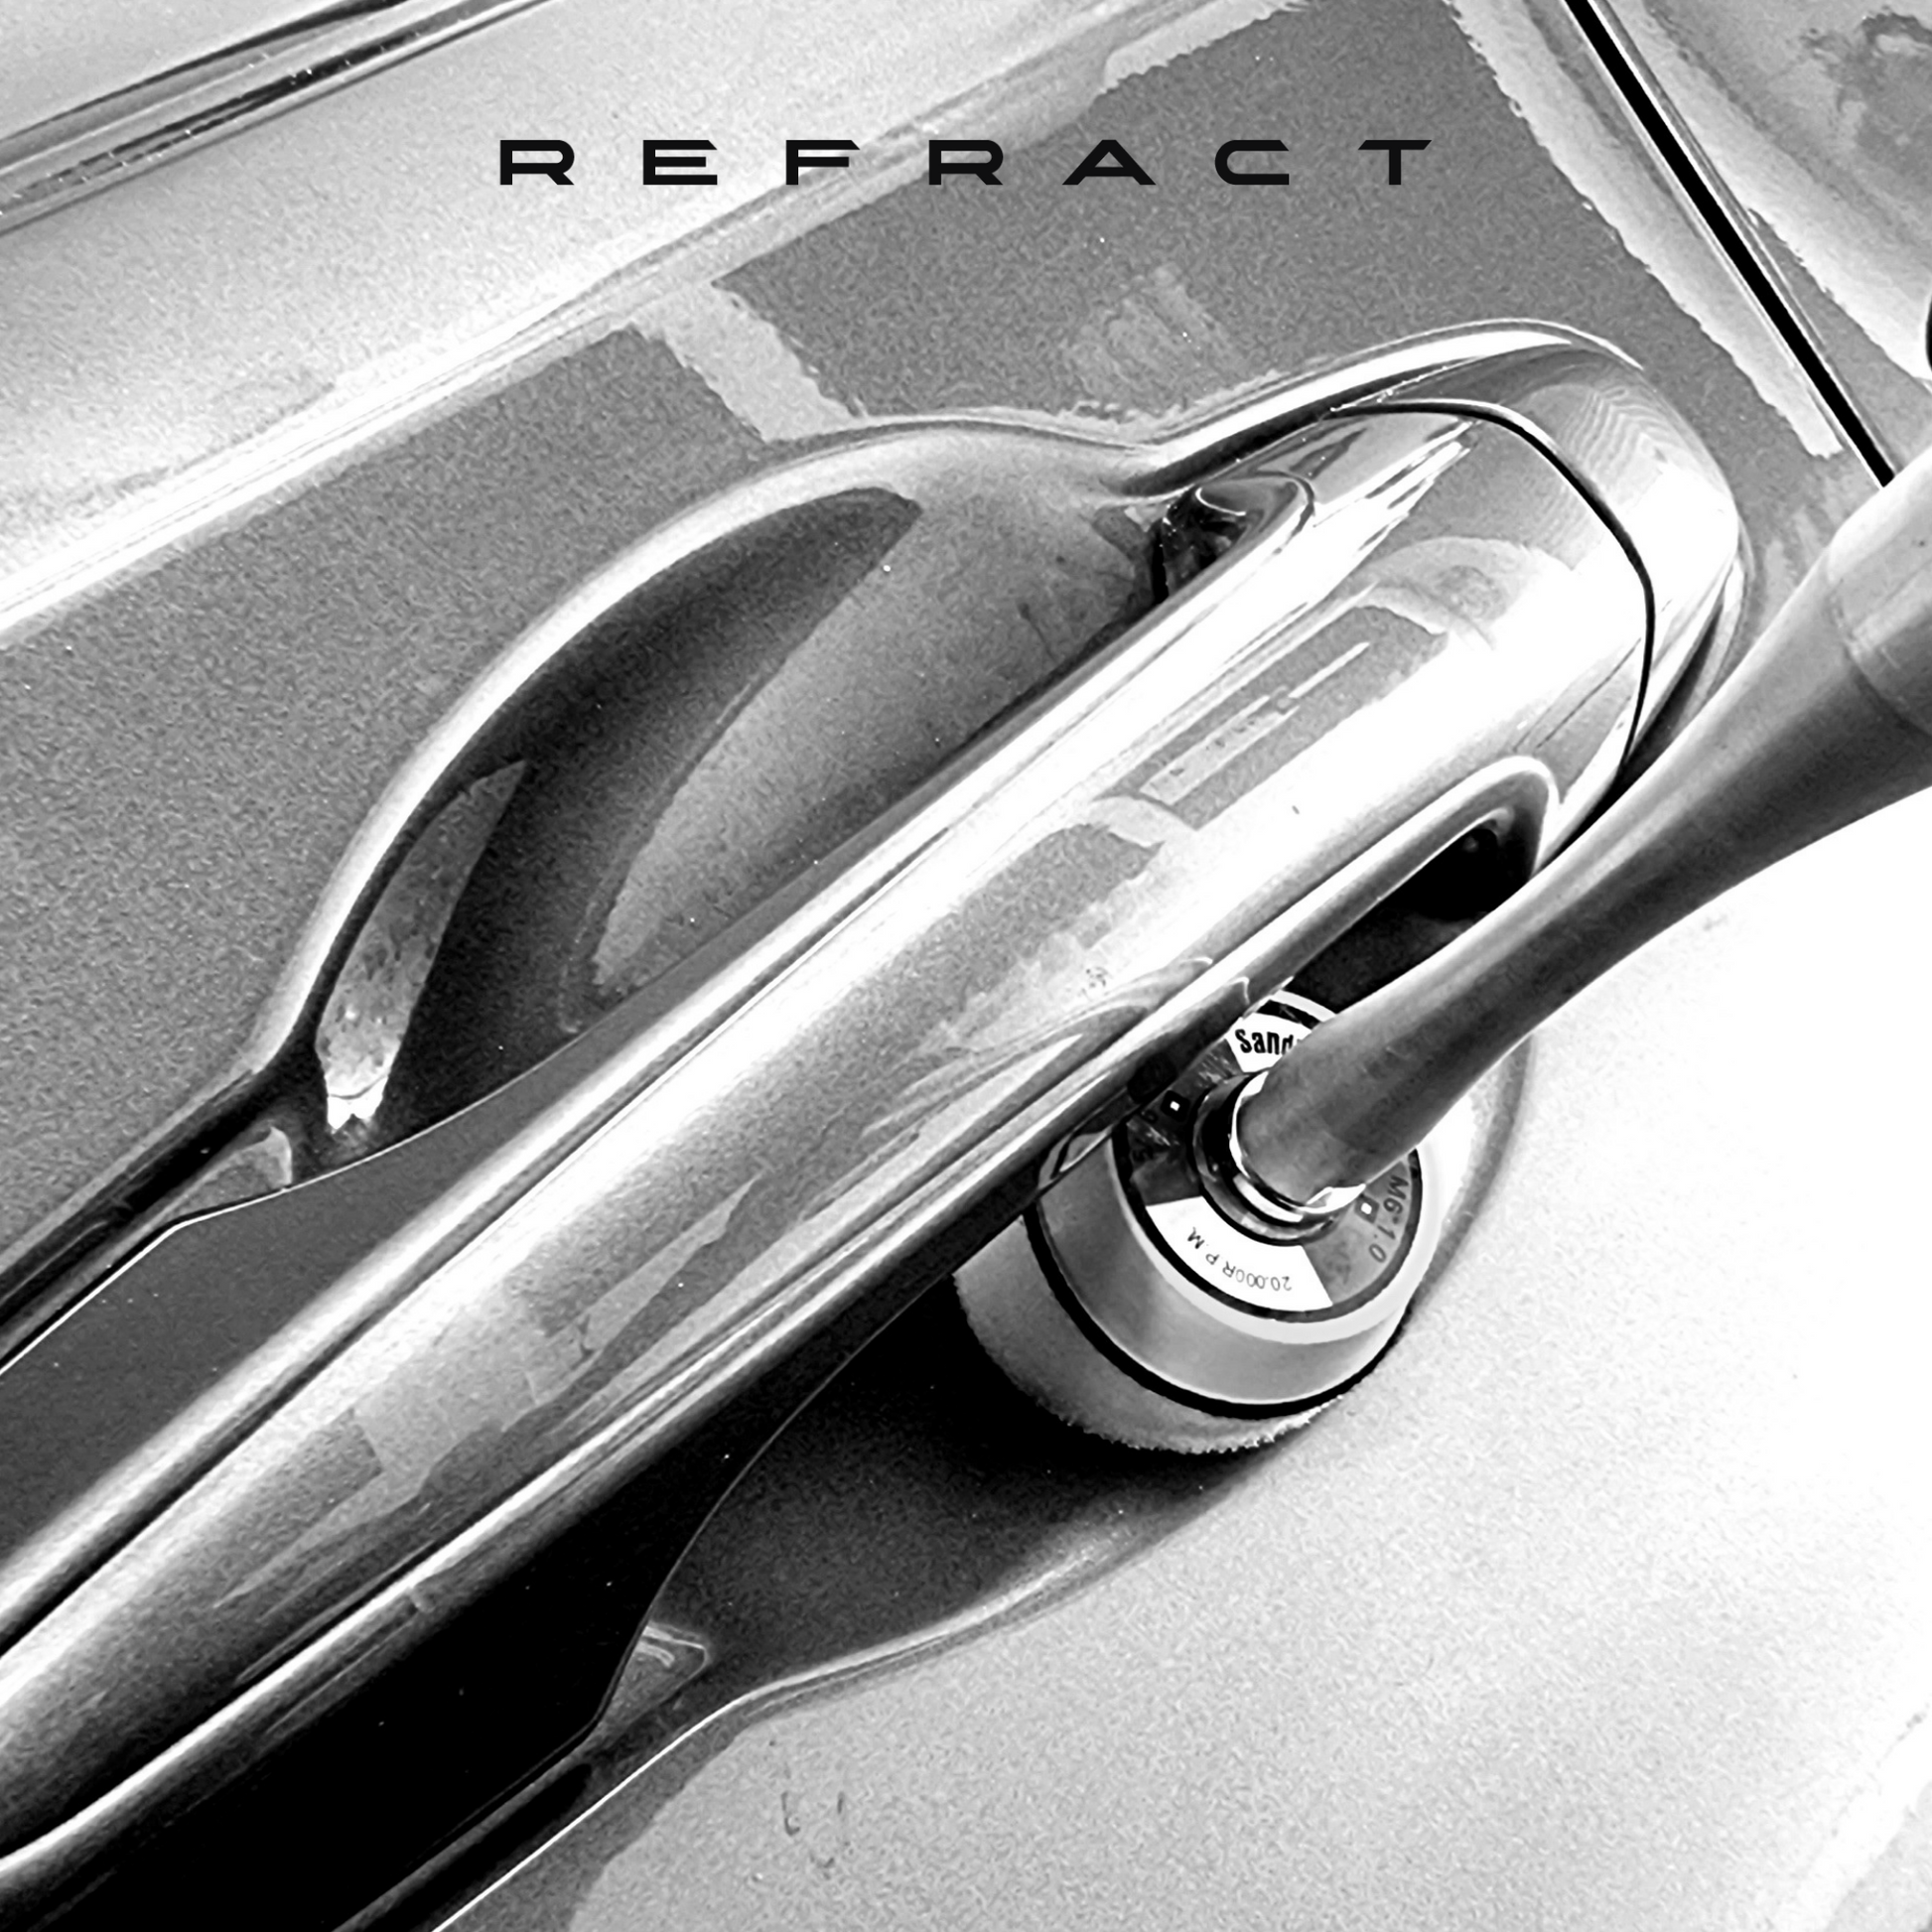
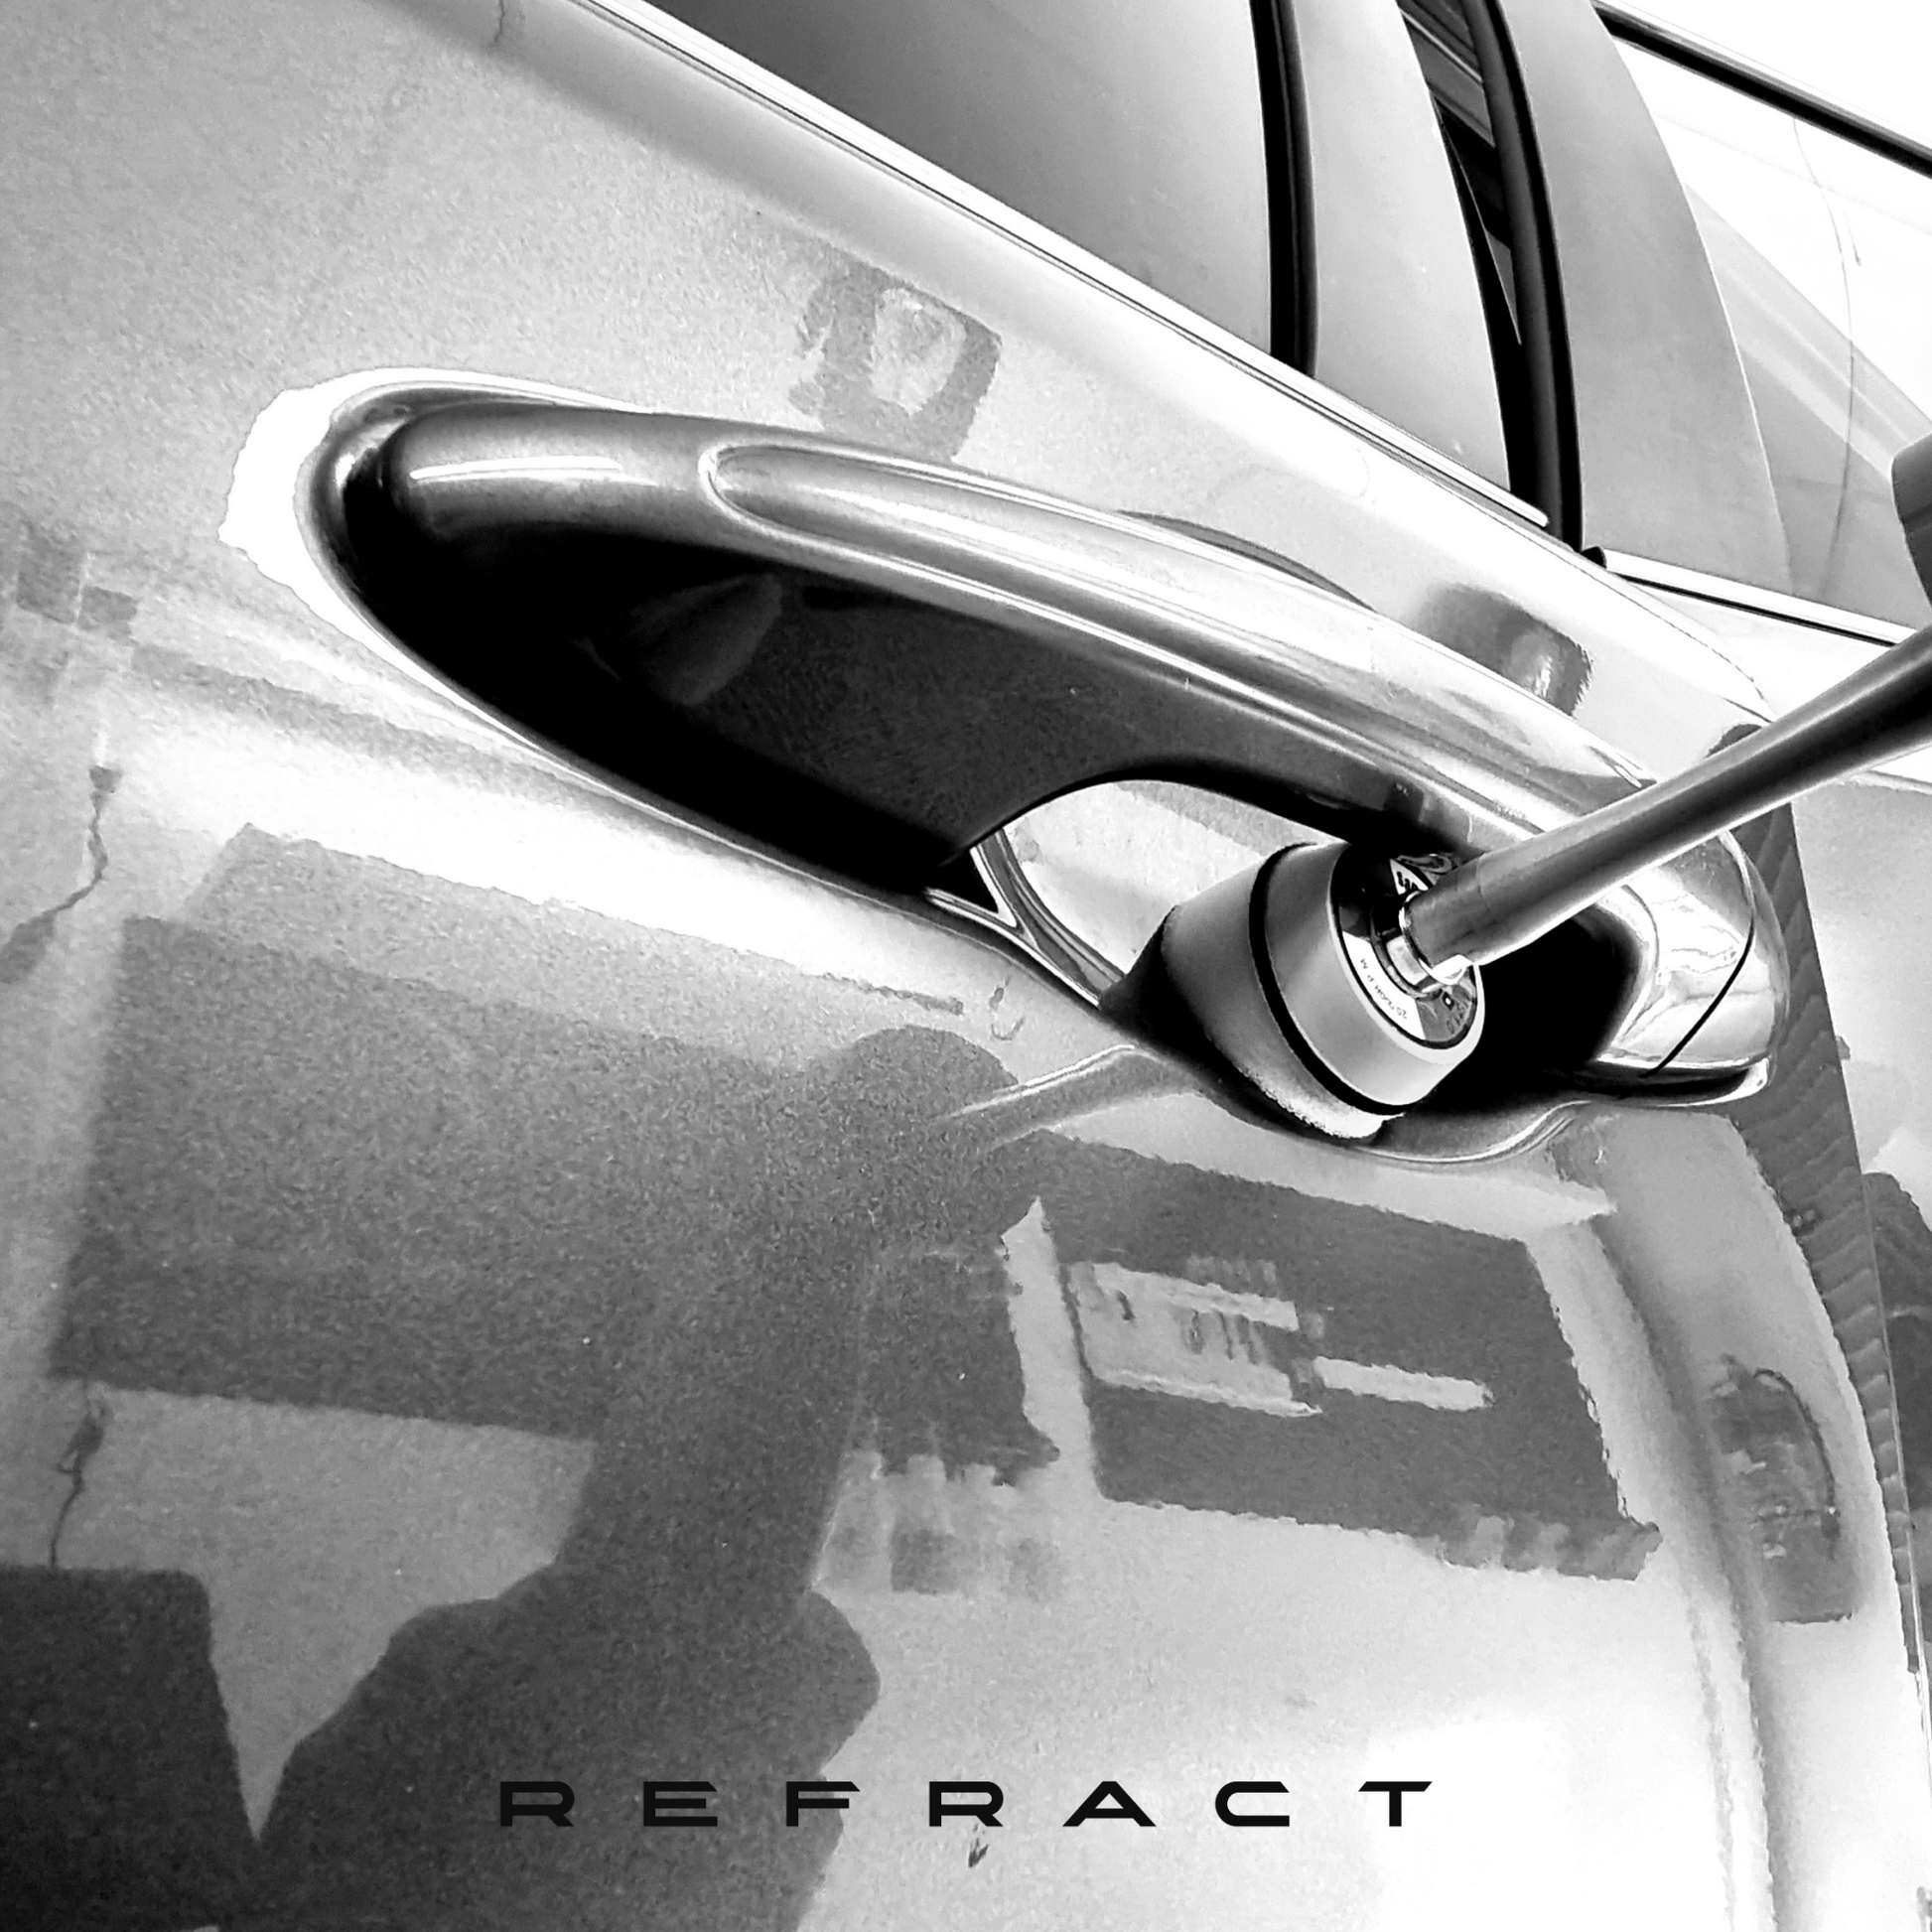
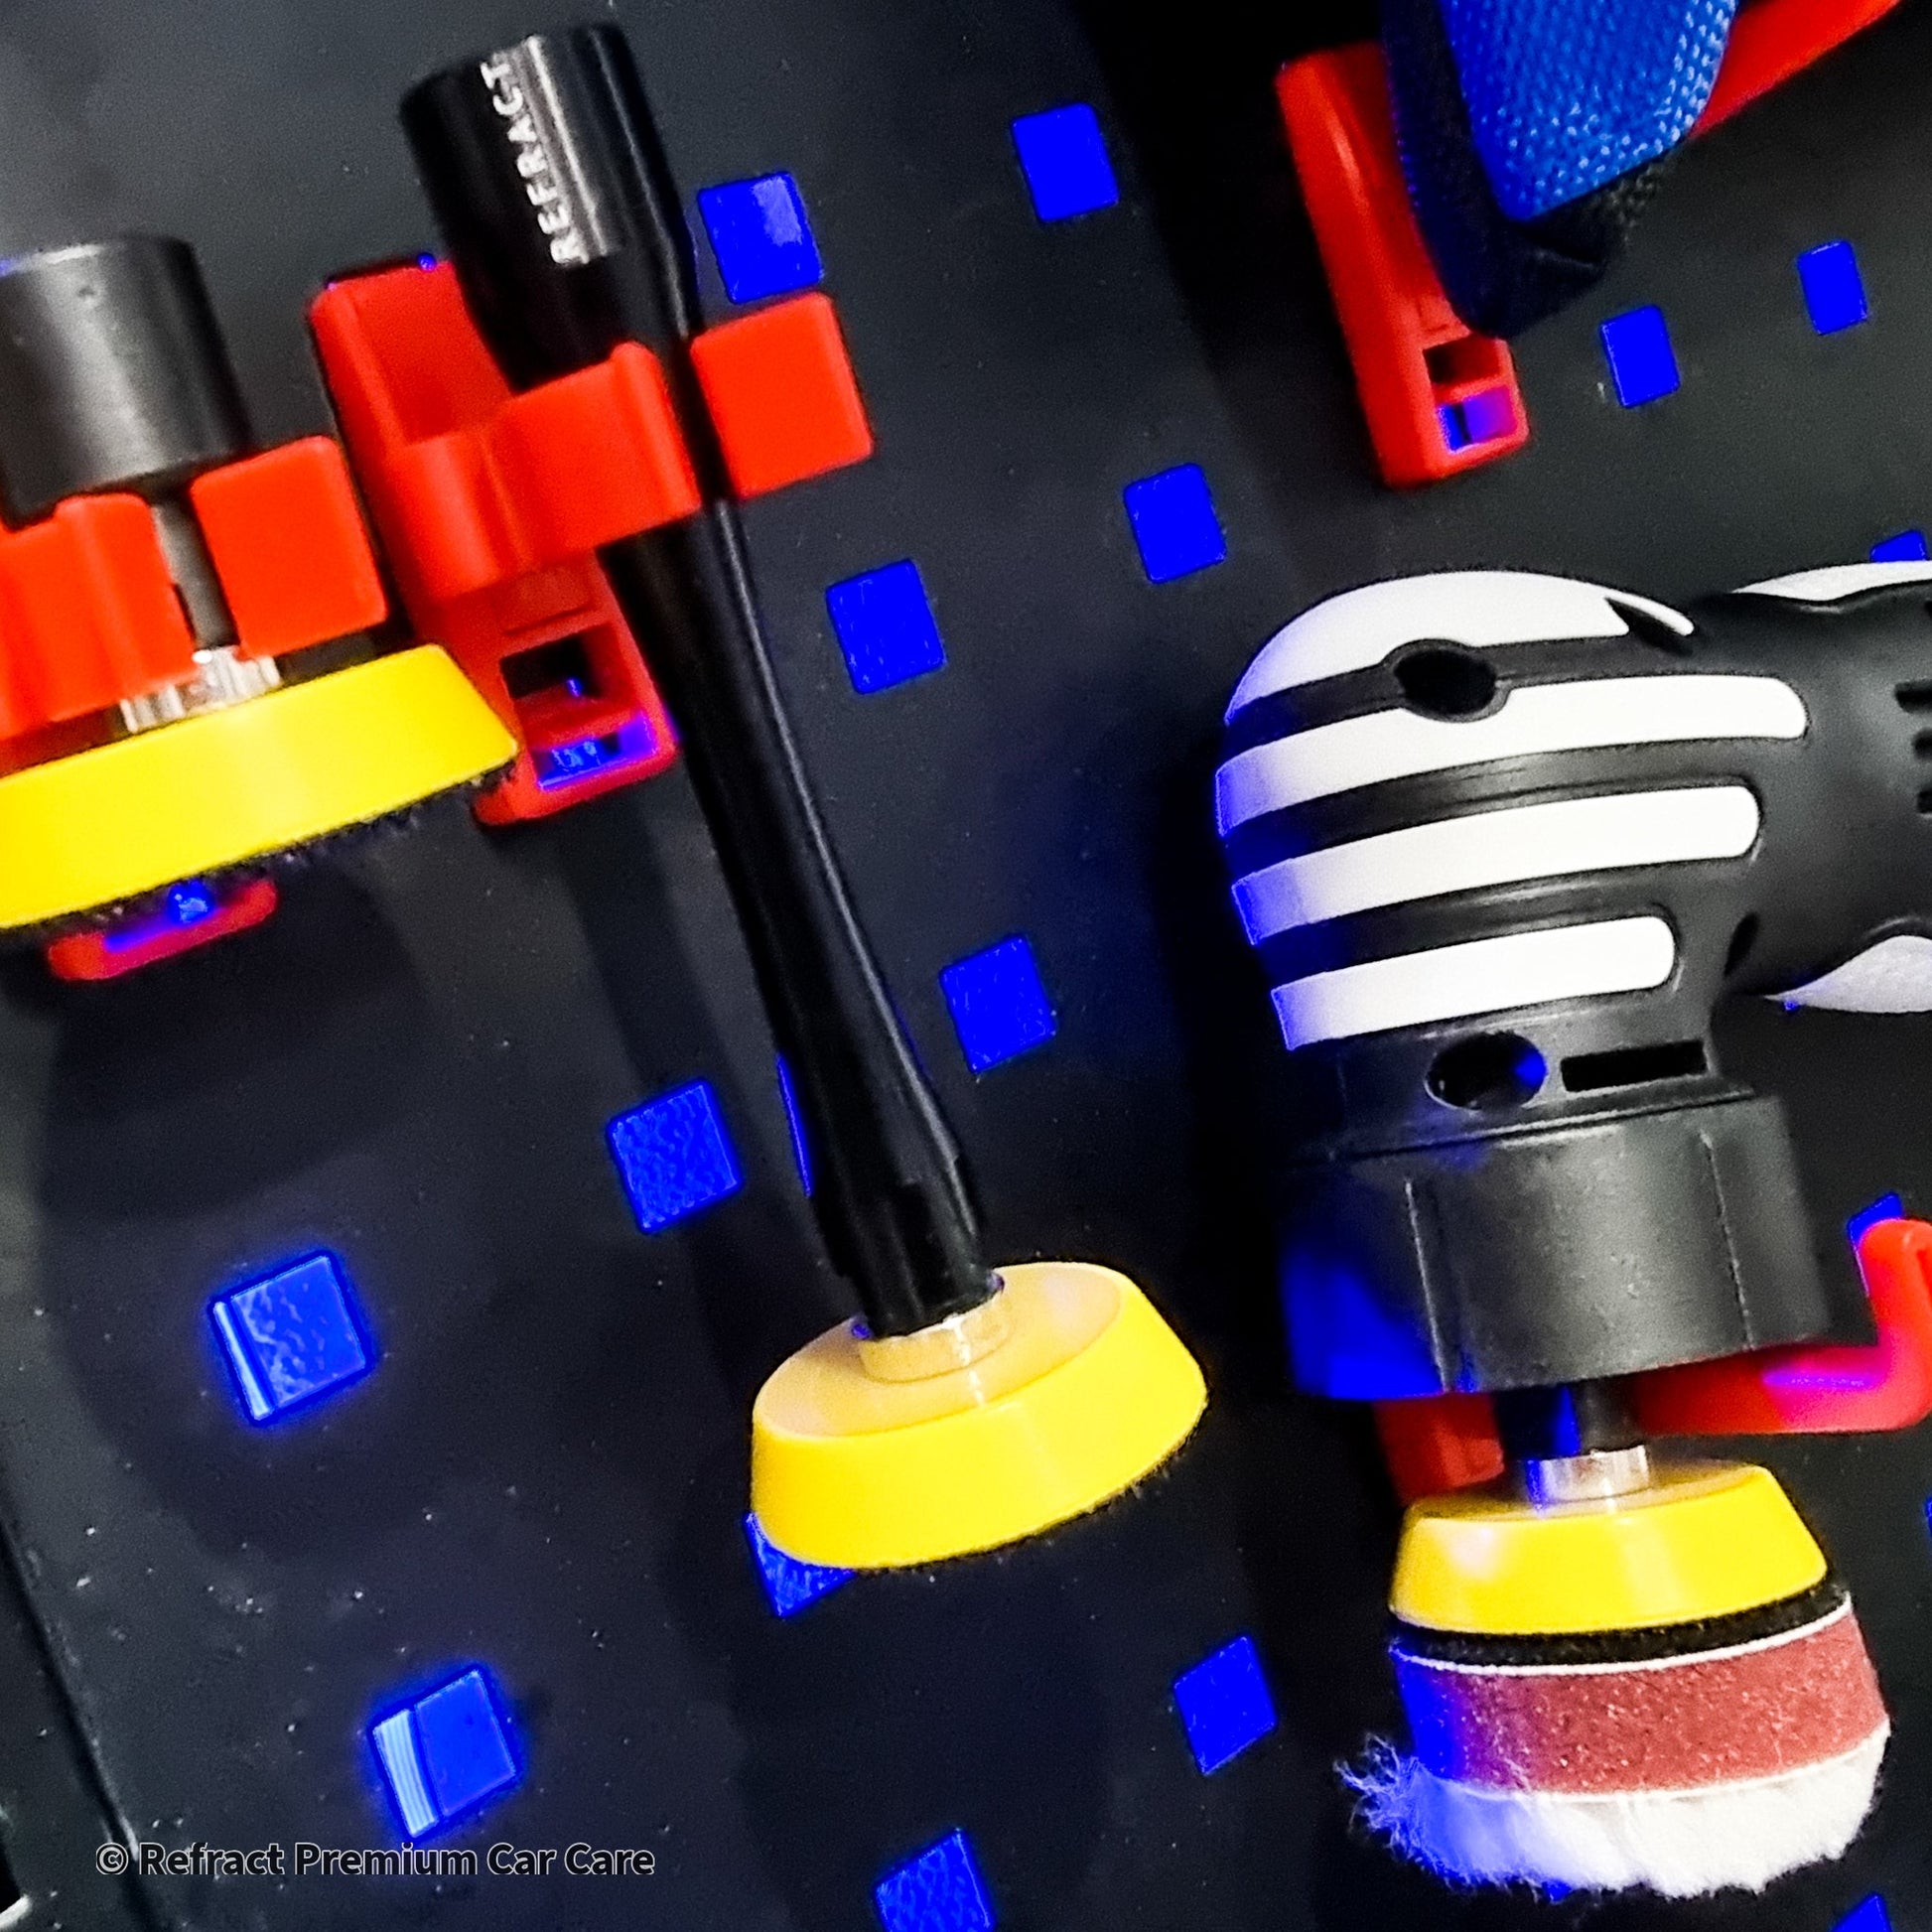
1 x 100mm Bell-Tapered Rotary Extension Bar (Brilliant for behind mirrors & deep into grilles)
1 x 26mm Short Rotary Extension Bar (Get nice & close to trim edges & in-between gaps!)
Tough Refract Accessories Canvas Pouch
Rigid-Shell Type Zippered Storage Case.
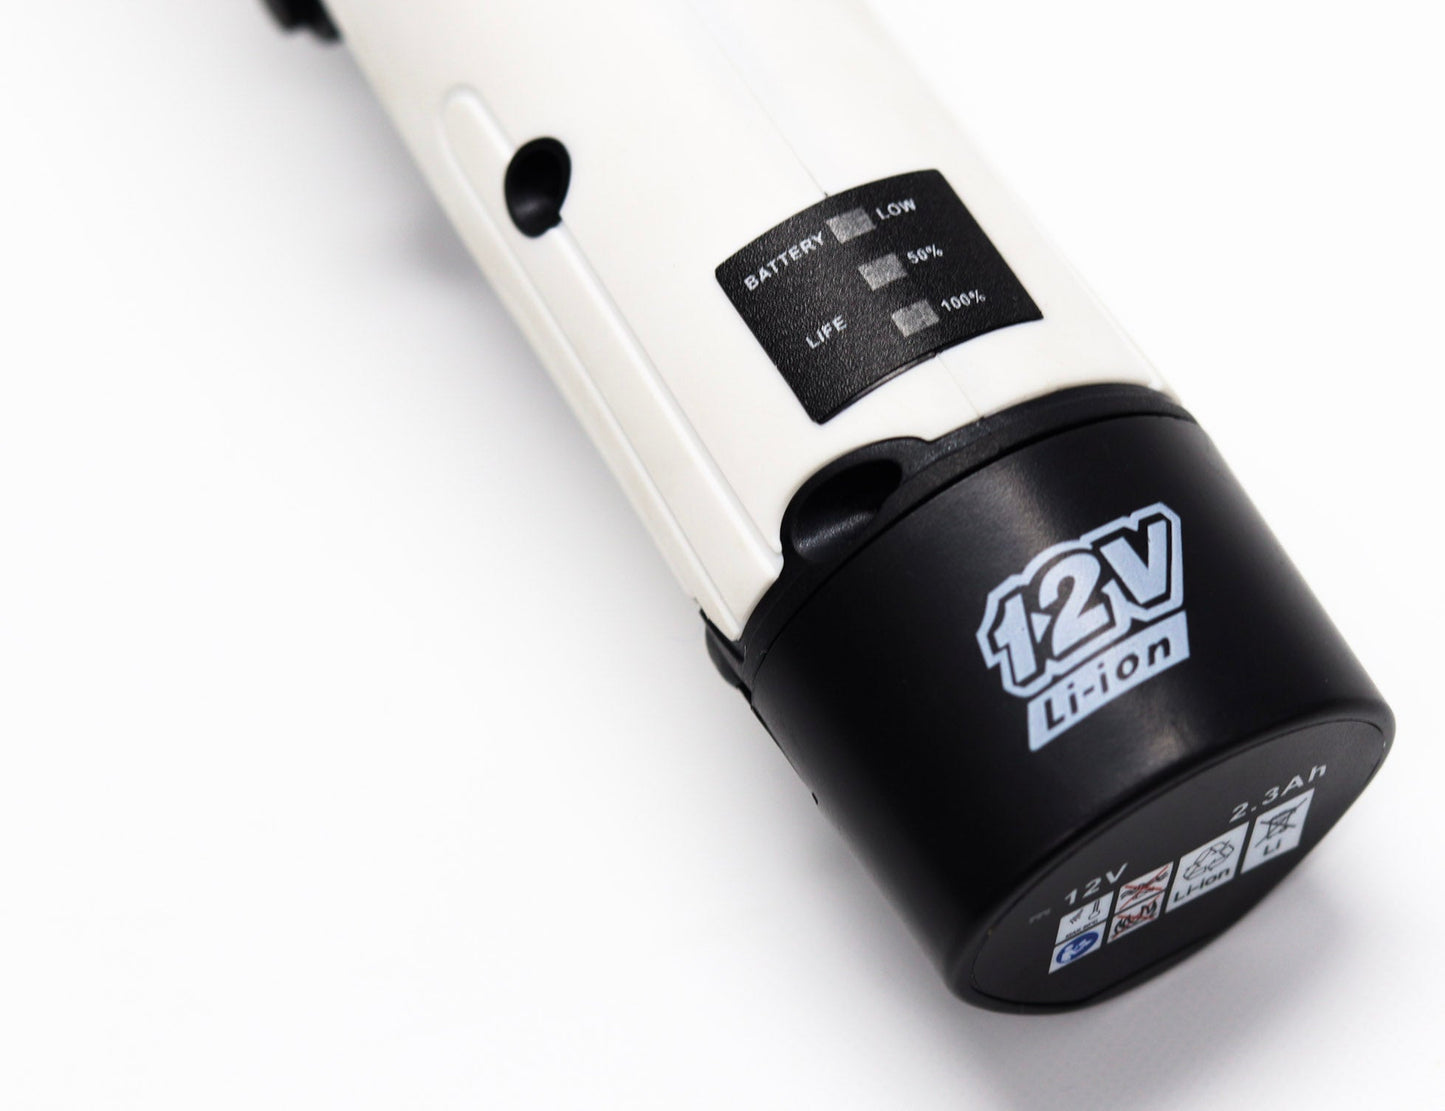
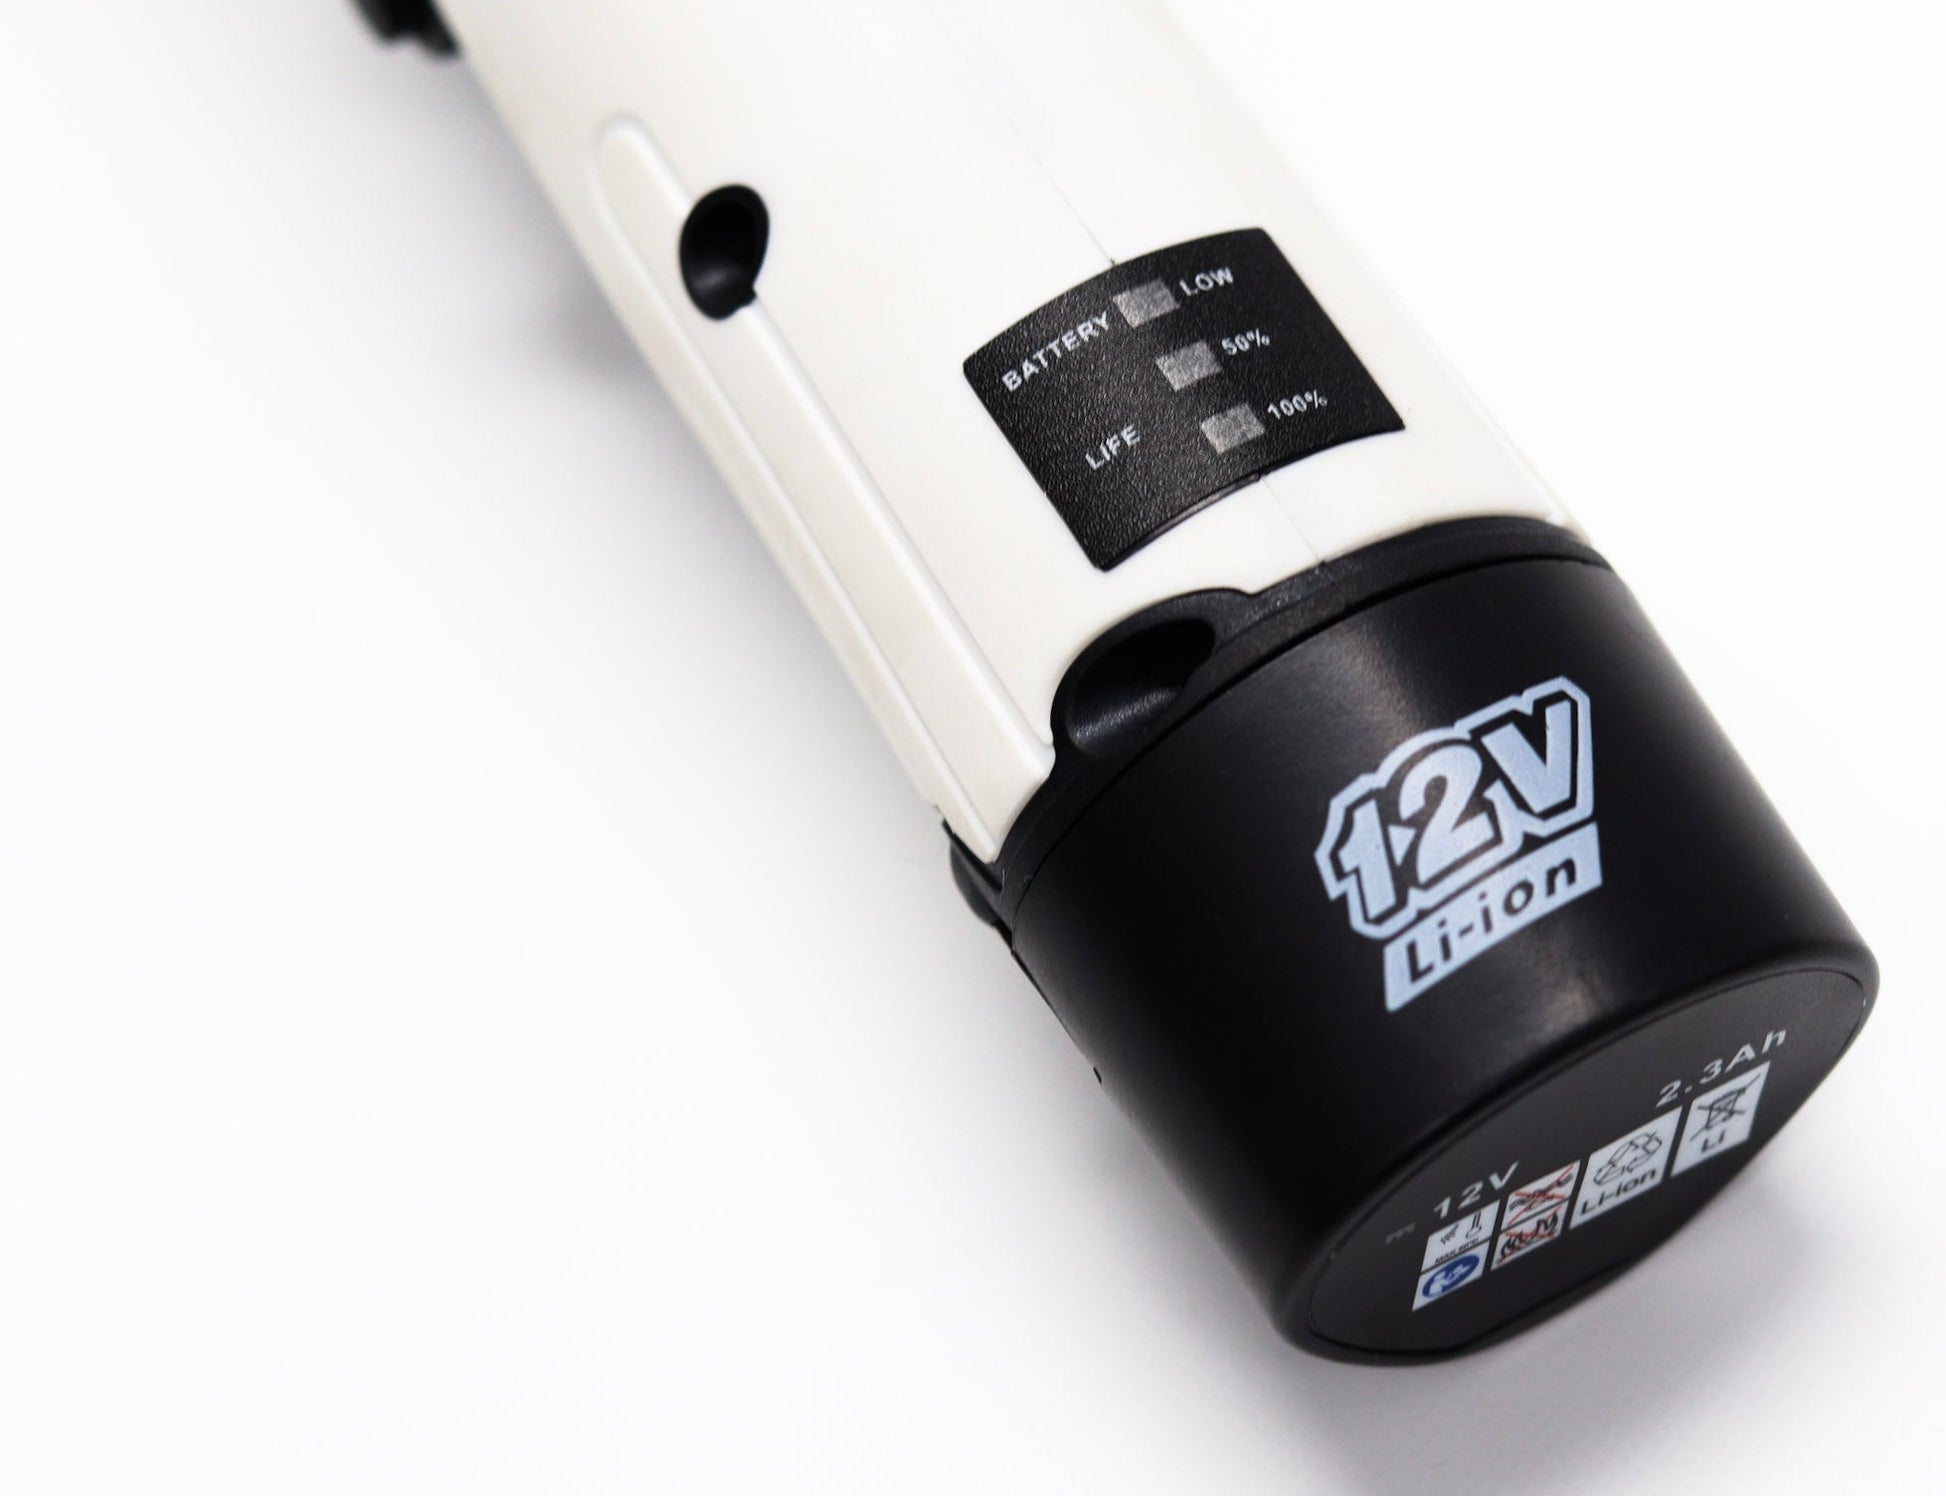
2 x 12Volt, 2.3Ah lithium Rechargeable Batteries & 240v/10amp Wall Charging Dock
1 x 30mm Hook & Loop Backing Plate (For DA & Rotary Polishing)
2 x Dual Action Orbit Attachments (3 & 12mm)
Screw-On Safety Shroud
In-built over-load sheer-shaft link pin. (Small blue pvc piece in the head accessories box)
12 Months Warranty
Q. What happens if my polisher got turned on in my Detailing Bag & it's now not working?
A. Don't stress it isn't fully broken or anything & can be fixed without returning it etc)
- 1. Remove the battery & unscrew the head shroud.
- 2. Remove any head-accessories.
- 3. With a small screwdriver undo the screws which allow half the casing to lift. (Be careful not to dislodge any wiring).
- 4. Take the broken sheer-shaft out from the transmission shaft & replace with the spare one (observing correct direction).
- 5. Place the casing back ensuring no wires are being pinched & evenly screw the casing screws until firm but not over-tightened.
- 6. Screw the safety shroud back on the head & attach the desired accessory head.
- 7. Insert battery & it'll be good to go!
- Try not to over load the polisher or get its rotation stuck. This could have happened if the trigger was depressed in a detailing bag etc or whilst being used etc. Keep the polisher stored in its hard casing bag when transporting it etc.
- Should only take a few minutes to get it going again!
Share
